SpringTask是Spring自带的功能。实现起来比较简单。
使用SpringTask实现定时任务有两种方式:
基于注解@Scheduled
@Scheduled(cron = "*/1 * * * * ?")
    public  void up(){
       System.out.println("定时任务开启:"+System.currentTimeMillis());
    }
cron表达式定义定时任务如何去执行。
基于xml的方式【@Configuration + @ImportResource + xml】需要重启应用才能生效
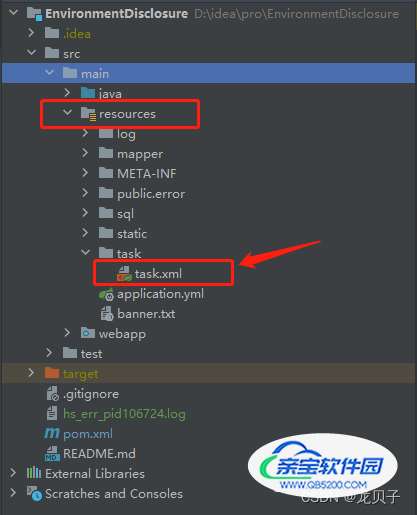
配置xml文件,定义xml文件的名称为task.xml,放置文件在resources文件夹下:
xml代码如下:
<?xml version="1.0" encoding="UTF-8"?>
<beans xmlns="http://www.springframework.org/schema/beans"
       xmlns:xsi="http://www.w3.org/2001/XMLSchema-instance"
       xmlns:aop="http://www.springframework.org/schema/aop"
       xmlns:context="http://www.springframework.org/schema/context"
       xmlns:task="http://www.springframework.org/schema/task"
       xsi:schemaLocation="http://www.springframework.org/schema/aop http://www.springframework.org/schema/aop/spring-aop-4.1.xsd
       http://www.springframework.org/schema/task http://www.springframework.org/schema/task/spring-task-4.1.xsd
       http://www.springframework.org/schema/beans http://www.springframework.org/schema/beans/spring-beans.xsd
       http://www.springframework.org/schema/context http://www.springframework.org/schema/context/spring-context-4.1.xsd">
    <!--声明一个具有一个线程的池,如果定义多个,每个对象将获取同样的运行机会-->
    <task:scheduler id="sch" pool-size="10"/>
    <!--任务的调度类-->
    <bean id="scheduleTask" class="com.cloudtop.base.task.ScheduleTask"/>
    <!--引用线程池-->
    <task:scheduled-tasks scheduler="sch">
        <!--年报调度任务 5秒-->
        <task:scheduled ref="scheduleTask" method="yearReportTask" cron="0/5 * * * * ?"/>
    </task:scheduled-tasks>

</beans>
配置类加载xml文件
package com.cloudtop.base.task;
import org.springframework.context.annotation.Configuration;
import org.springframework.context.annotation.ImportResource;
/**
 * 加载调度的配置文件
 */
@Configuration
@ImportResource(locations={"classpath:task/task.xml"})//加载调度xml
public class SpringTaskConfig {
}
任务的调度类实现
package com.cloudtop.base.task;
import com.cloudtop.base.error.exception.BusinessException;
import com.cloudtop.core.service.EnvironmentUpService;
import org.springframework.beans.factory.annotation.Autowired;
/**
 * 定时任务类
 */
public class ScheduleTask {
    @Autowired
    EnvironmentUpService environmentUpService;
    public void yearReportTask() throws BusinessException {
        System.out.println("*******定时任务执行的业务代码******");
    }
}
最后,第一种使用注解@EnableSchedu ling开启定时任务,第二种使用xml的方式配置好上面的三个文件就开启了定时任务,不用使用注解@EnableSchedu ling来开启定时任务。
@SpringBootApplication
@ServletComponentScan
@EnableAutoConfiguration(exclude = {MultipartAutoConfiguration.class})
@EnableSchedu ling
public class CloudtopWebFrameApplication extends SpringBootServletInitializer {
    @Override
    protected SpringApplicationBuilder configure(SpringApplicationBuilder builder) {
        return builder.sources(CloudtopWebFrameApplication.class);
    }
    /**
     * 主程序入口
     * 所有SpringBoot项目均采用main方法启动主程序,该部分为必须项
     * @param args
     */
    public static void main(String[] args) {
        SpringApplication.run(CloudtopWebFrameApplication.class, args);
    }
}
最后在控制台会输出结果:


