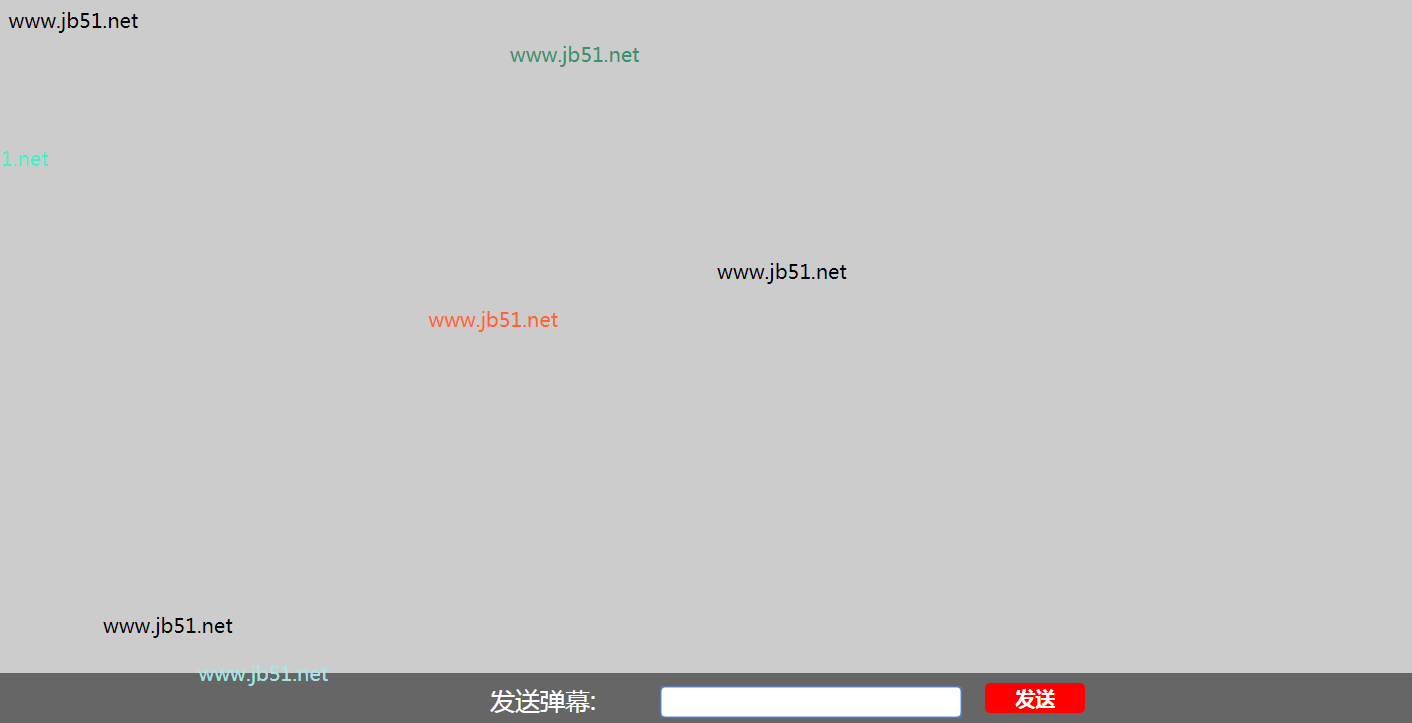
本文实例讲述了jQuery实现的页面弹幕效果。分享给大家供大家参考,具体如下:
<!DOCTYPE html>
<html lang="en">
<head>
<meta charset="UTF-8">
<meta name="viewport" content="width=device-width, initial-scale=1.0">
<meta http-equiv="X-UA-Compatible" content="ie=edge">
<title>juqery弹幕</title>
<style>
*{
margin: 0px;
padding: 0px;
}
html,body{
width: 100%;
height: 100%;
font-family: "微软雅黑";
background-color: #ccc;
margin: 0;
padding: 0;
}
.boxDom{
width: 100%;
height: 800px;
position: relative;
overflow: hidden;
}
.boxDom img{
width: 100%;
height: 100%;
}
.idDom{
width: 100%;
height: 50px;
background-color: #666;
position: fixed;
bottom: 0px;
}
.content{
width: 600px;
height: 50px;
position: absolute;
left: 500px;
top:10px;
}
.title{
font-size: 25px;
display: inline;
vertical-align: bottom;
color: #fff;
}
.text{
width: 300px;
height: 30px;
border:none;
border-radius: 5px;
text-indent: 2em;
margin-left: 60px;
}
.btn{
width: 100px;
height: 30px;
margin-left: 20px;
font-size: 20px;
font-weight: 700;
color: #fff;
background-color: red;
border:none;
border-radius: 5px;
cursor: pointer;
}
.string {
width: 300px;
height: 40px;
margin-top: 20px;
position: absolute;
color: #000;
font-size: 20px;
font-family: "微软雅黑";
}
</style>
</head>
<body>
<div class="boxDom" id="boxDom">
<!-- <img src="7.jpg" alt=""> -->
<div class="idDom">
<div class="content">
<p class="title">发送弹幕:</p>
<input type="text" class="text">
<button class="btn" id="btn" type="button">发送</button>
</div>
</div>
</div>
<script src="http://libs.baidu.com/jquery/2.0.0/jquery.min.js"></script>
<script>
$(function () {
var boxDom = $("#boxDom");
var top, right;
var pageWidth = parseInt($(document).width());
var pageHeight = parseInt($(document).height());
$("#btn").bind("click", auto);
//绑定回车键按钮
document.onkeydown = function(event){
if(event.keyCode == 13){
auto();
}
}
function auto() {
//获取输入的字符串
var str = $(".text").val();
//生成一个元素
var createSpan = $("<span class ='string'></span>");
//给元素赋值
createSpan.text(str);
//为了页面友好,清空刚输入的内容
$(".text").val("");
//生成元素一个随机的位置 为了使每一条弹幕都出现不同的位置
top = Math.floor(Math.random()*pageHeight);
createSpan.css({ "top": top, "right": -400, "color": getRandomColor() });
boxDom.append(createSpan);
//元素在dom运动起来
//首先有一个span,只让最后一个动起来
var spandom = $("#boxDom>span:last-child");//找到最后一个span
spandom.animate({"right":pageWidth+300},10000,function(){
$(this).remove();
});
}
//定义一个可以生成随机颜色的方法
function getRandomColor(){
var colorArr = ['1','2','3','4','5','6','7','8','9','A','B','C','D','E','F'];
var color = "";
for(var i=0;i<6;i++){
color += colorArr[Math.floor(Math.random()*16)];
}
return "#"+color;
}
})
</script>
</body>
</html>
运行效果如下图所示:

感兴趣的朋友还可以使用在线HTML/CSS/JavaScript代码运行工具:http://tools.softyun.net/code/HtmlJsRun,测试一下运行效果。
希望本文所述对大家jQuery程序设计有所帮助。