本文着重讲解了SpringBoot 整合 JMSTemplate的代码实例,文中通过代码实例讲解的非常细致,对大家的工作和学习具有一定的参考学习价值,需要的朋友们下面随着小编来一起学习学习吧
1.1 添加依赖
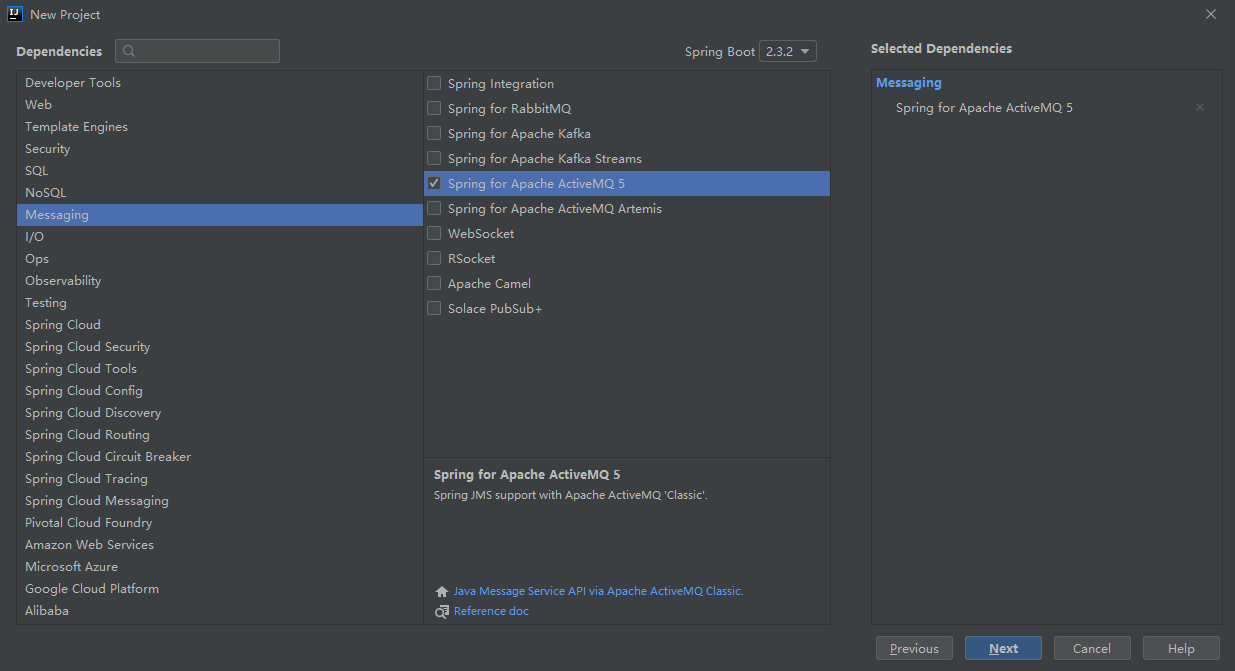
可以手动在 SpringBoot 项目添加依赖,也可以在项目创建时选择使用 ActiveMQ 5 自动添加依赖。高版本 SpringBoot (2.0 以上) 在添加 activemq 连接池依赖启动时会报 Error creating bean with name 'xxx': Unsatisfied dependency expressed through field 'jmsTemplate'; 可以将 activemq 连接池换成 jms 连接池解决。
<dependency>
	<groupId>org.springframework.boot</groupId>
	<artifactId>spring-boot-starter-activemq</artifactId>
</dependency>

<!-- activemq 连接池 -->
<dependency>
  <groupId>org.apache.activemq</groupId>
  <artifactId>activemq-pool</artifactId>
</dependency>

<!-- jms 连接池 -->
<dependency>
  <groupId>org.messaginghub</groupId>
  <artifactId>pooled-jms</artifactId>
</dependency>
1.2 添加配置
spring:
 activemq:
  broker-url: tcp://127.0.0.1:61616
  # 是否是内存模式
  in-memory: false
  pool:
   # 是否用 PooledConnectionFactory 代替普通的 ConnectionFactory
   enabled: true
   # 最大连接数
   max-connections: 10
   # 连接空闲超时
   idle-timeout: 30000
1.3 测试类
/**
 * Created with IntelliJ IDEA.
 *
 * @author Demo_Null
 * @date 2020/8/5
 * @description MQ 测试
 */
@RunWith(SpringJUnit4ClassRunner.class)
@SpringBootTest()
public class MyMQTest {

  @Autowired
  private JmsTemplate jmsTemplate;

  @Test
  public void jms() {
    jmsTemplate.convertAndSend(new ActiveMQQueue("myTest"), "测试消息");
  }
}
1.4 运行结果


