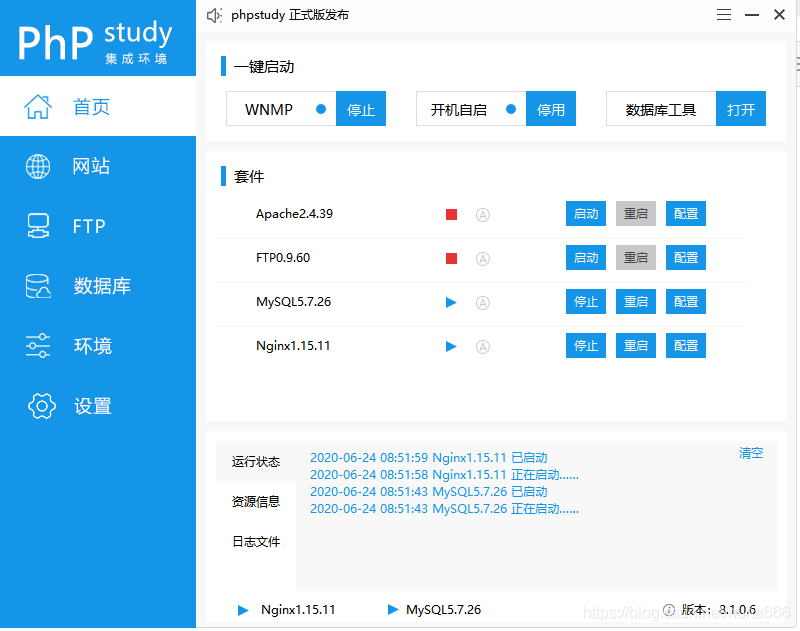
1.下载phpstudy(到官网下载),并安装后,启动phpstudy
2. 进入C:\Windows\System32\drivers\etc路径下的hosts文件,进行如下配置
127.0.0.1 xxxxadmin.com
127.0.0.1 xxxxpartneradmin.com
127.0.0.1 xxxxboadmin.com
127.0.0.1 xxxxbadmin.com
3.在面板的网站下,点击创建网站,如图所示

4.修改nginx文件配置
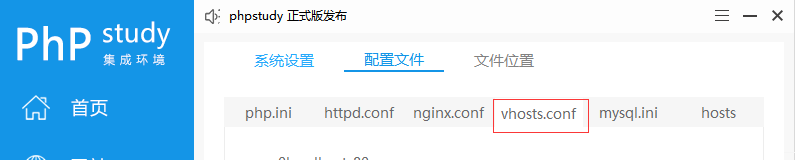
找到相对应的文件,修改如下(主要增加nginx环境配置伪静态去掉index.php)
server {
    listen    80;
    server_name newsaiboweb.com;
    root  "E:/phpstudy_pro/WWW/new-saibo-web/public";
    location / {
      index index.php index.html error/index.html;
      if (!-e $request_filename){
        rewrite ^(.*)$ /index.php?s=$1 last;
    break;
      }
      error_page 400 /error/400.html;
      error_page 403 /error/403.html;
      error_page 404 /error/404.html;
      error_page 500 /error/500.html;
      error_page 501 /error/501.html;
      error_page 502 /error/502.html;
      error_page 503 /error/503.html;
      error_page 504 /error/504.html;
      error_page 505 /error/505.html;
      error_page 506 /error/506.html;
      error_page 507 /error/507.html;
      error_page 509 /error/509.html;
      error_page 510 /error/510.html;
      autoindex off;
    }
    location ~ \.php(.*)$ {
      fastcgi_pass  127.0.0.1:9000;
      fastcgi_index index.php;
      fastcgi_split_path_info ^((?U).+\.php)(/?.+)$;
      fastcgi_param SCRIPT_FILENAME $document_root$fastcgi_script_name;
      fastcgi_param PATH_INFO $fastcgi_path_info;
      fastcgi_param PATH_TRANSLATED $document_root$fastcgi_path_info;
      include    fastcgi_params;
    }
}
5.到此结束了,本地跑下试试!

