上一篇讲解到利用 Azure DevOps 将整个 Azure Web App,Azure Traffic Manager profile,Azure Storage Account,Azure Key Vault 部署到 Azure 上,我们也知道整个 Infra 架构已经实现了自动化部署,而 整个项目Web应该却没事实现CI/CD,那么我们今天继续关注 Azure DevOps。
--------------------Azure Terraform 系列--------------------
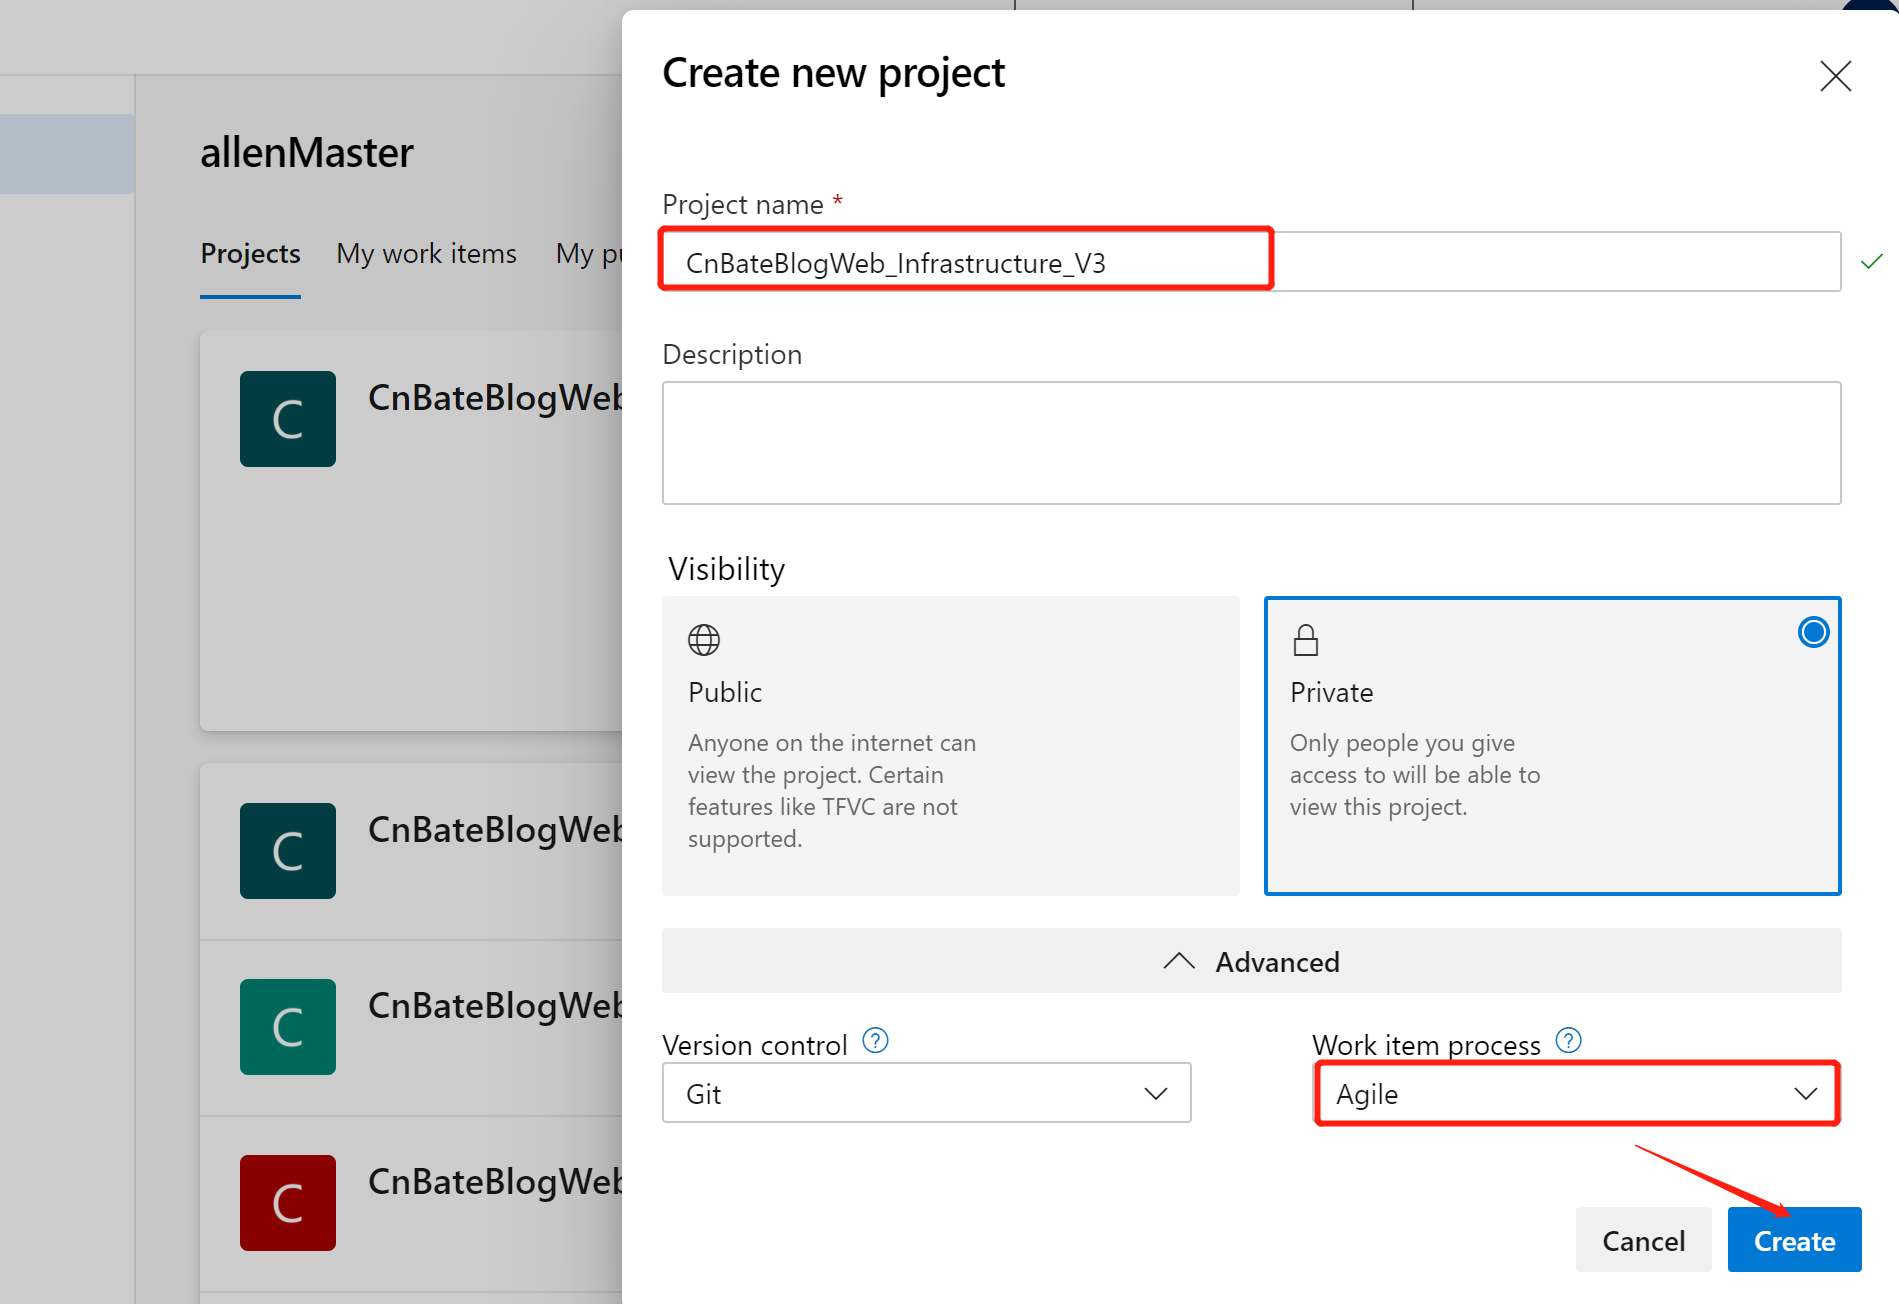
输入项目名称 “CnBateBlogWeb_Infrastructure_V3”,点击 “Create” 创建项目。
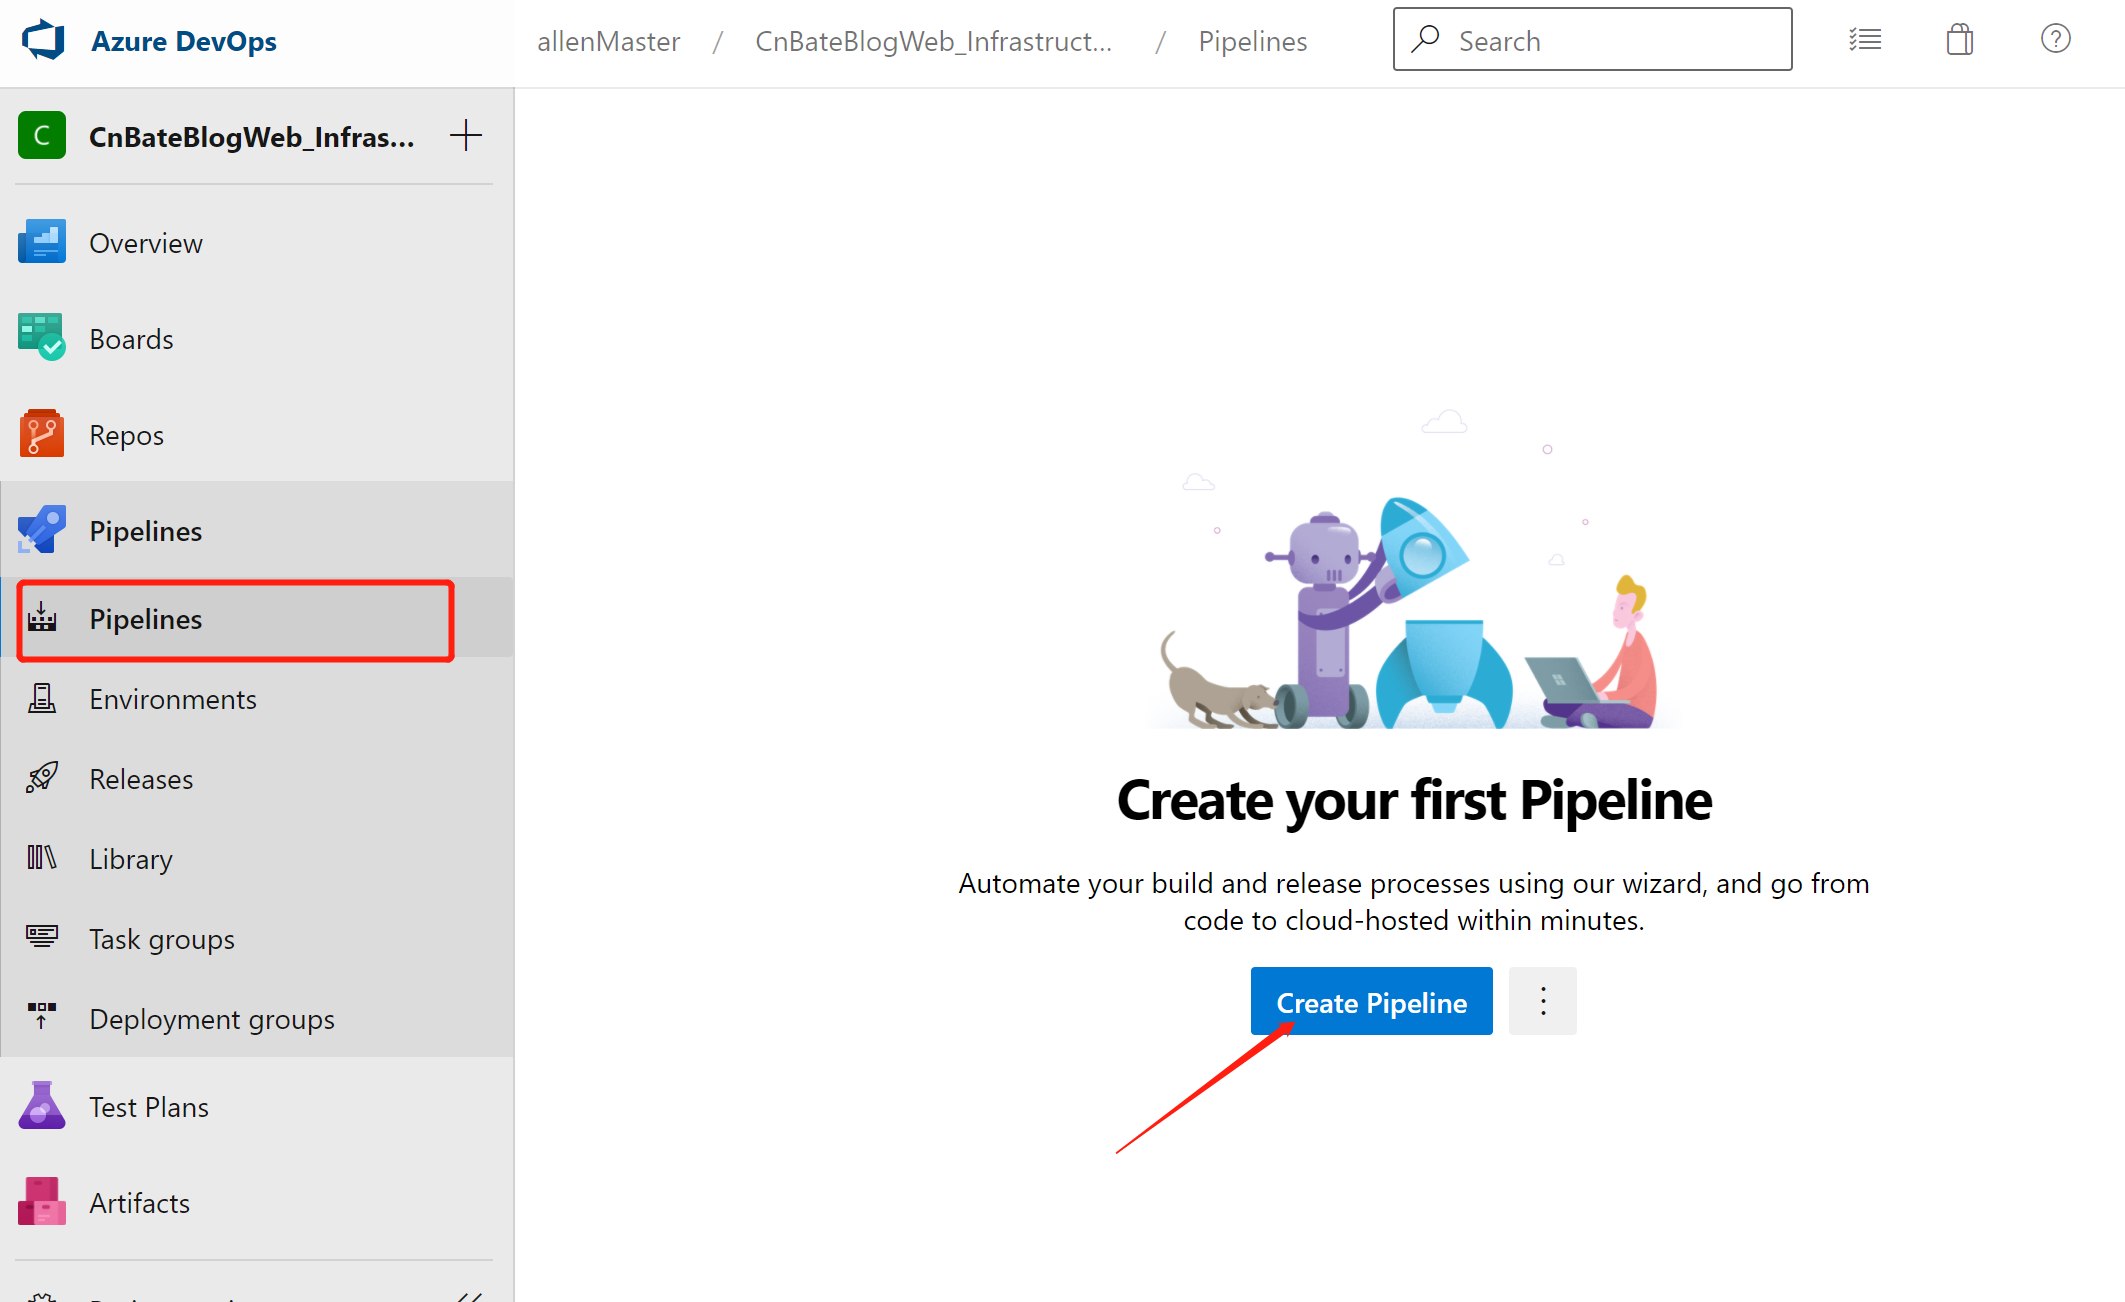
选择 “Pipelines=》pipelines”,点击 “Create Pipeline” 创建管道
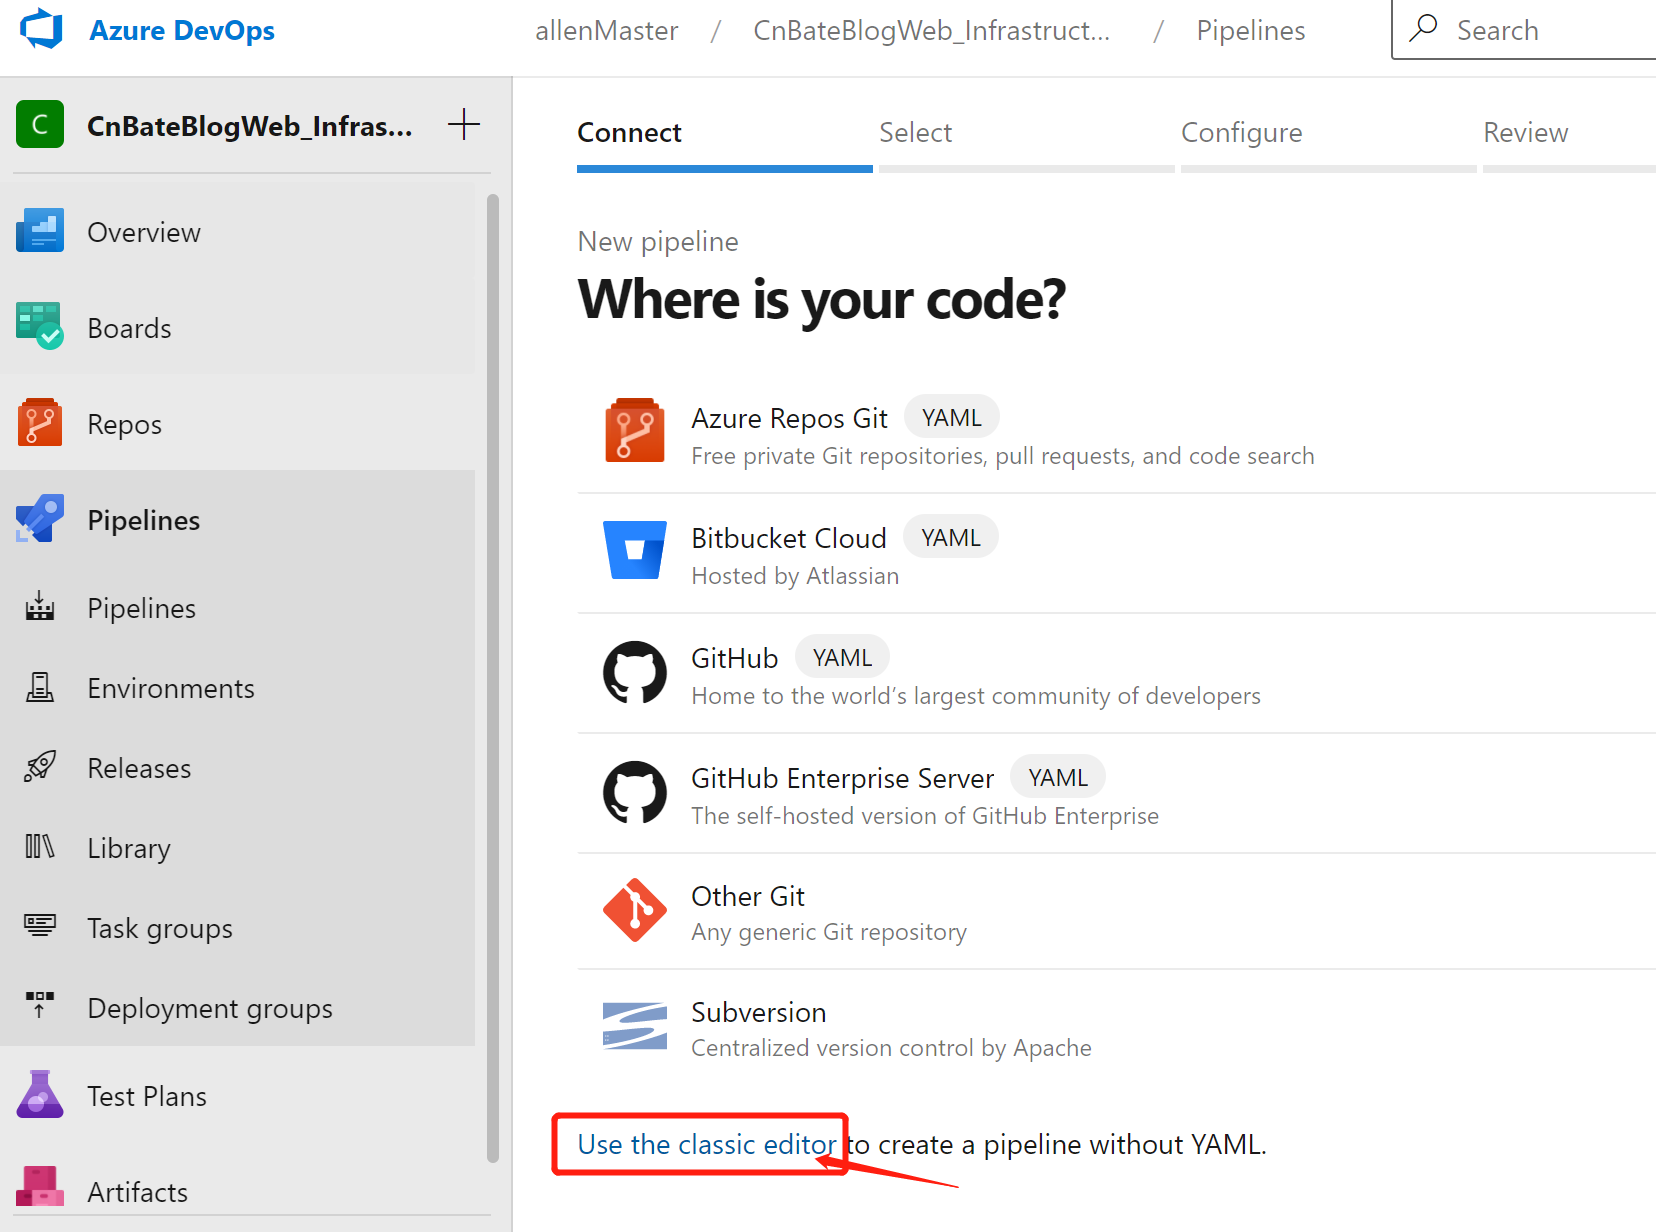
点击图中圈中的部分,使用经典编辑器创建没有 YAML 的管道
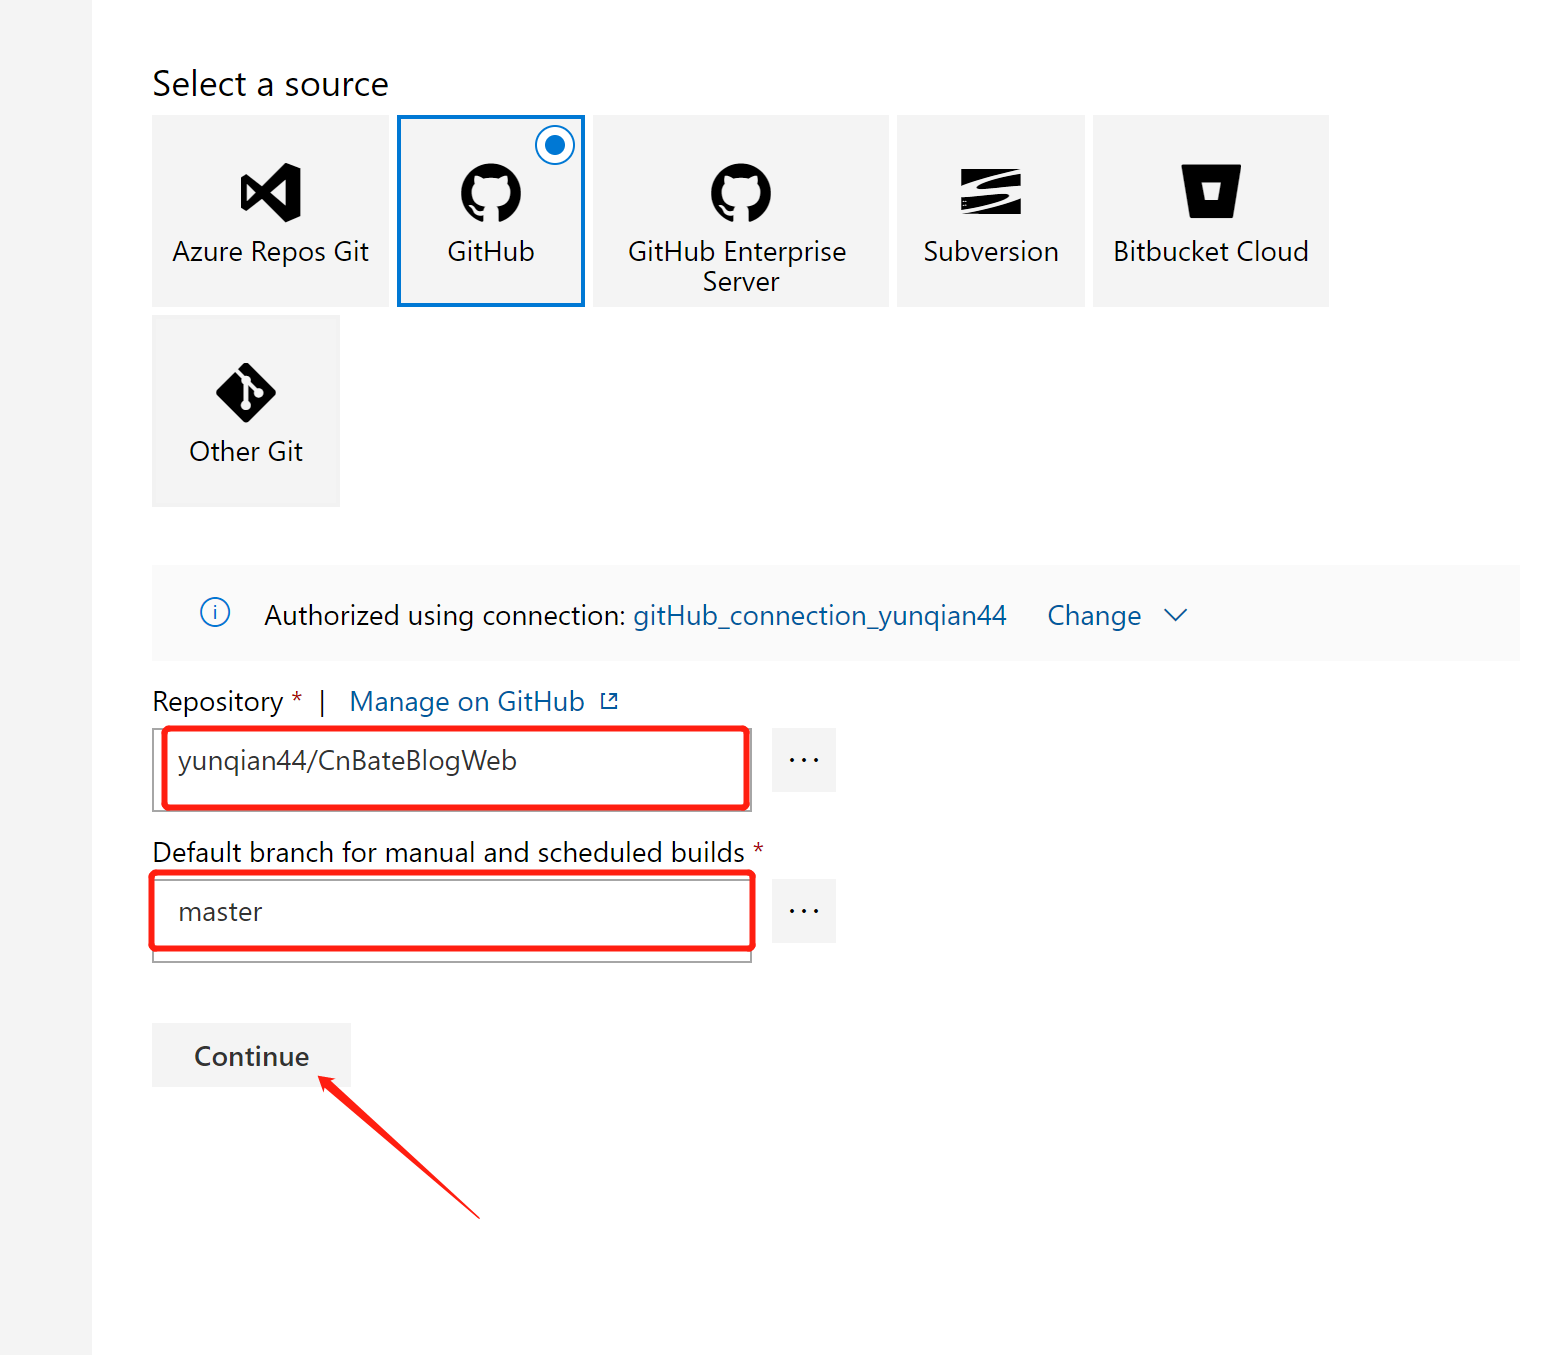
选择 “GitHub”,并且验证连接
Repository 选择项目代码所在的 Repository
Default branch for manual and scheduled builds 选择:“master”
点击 “Continues”,进入下一步
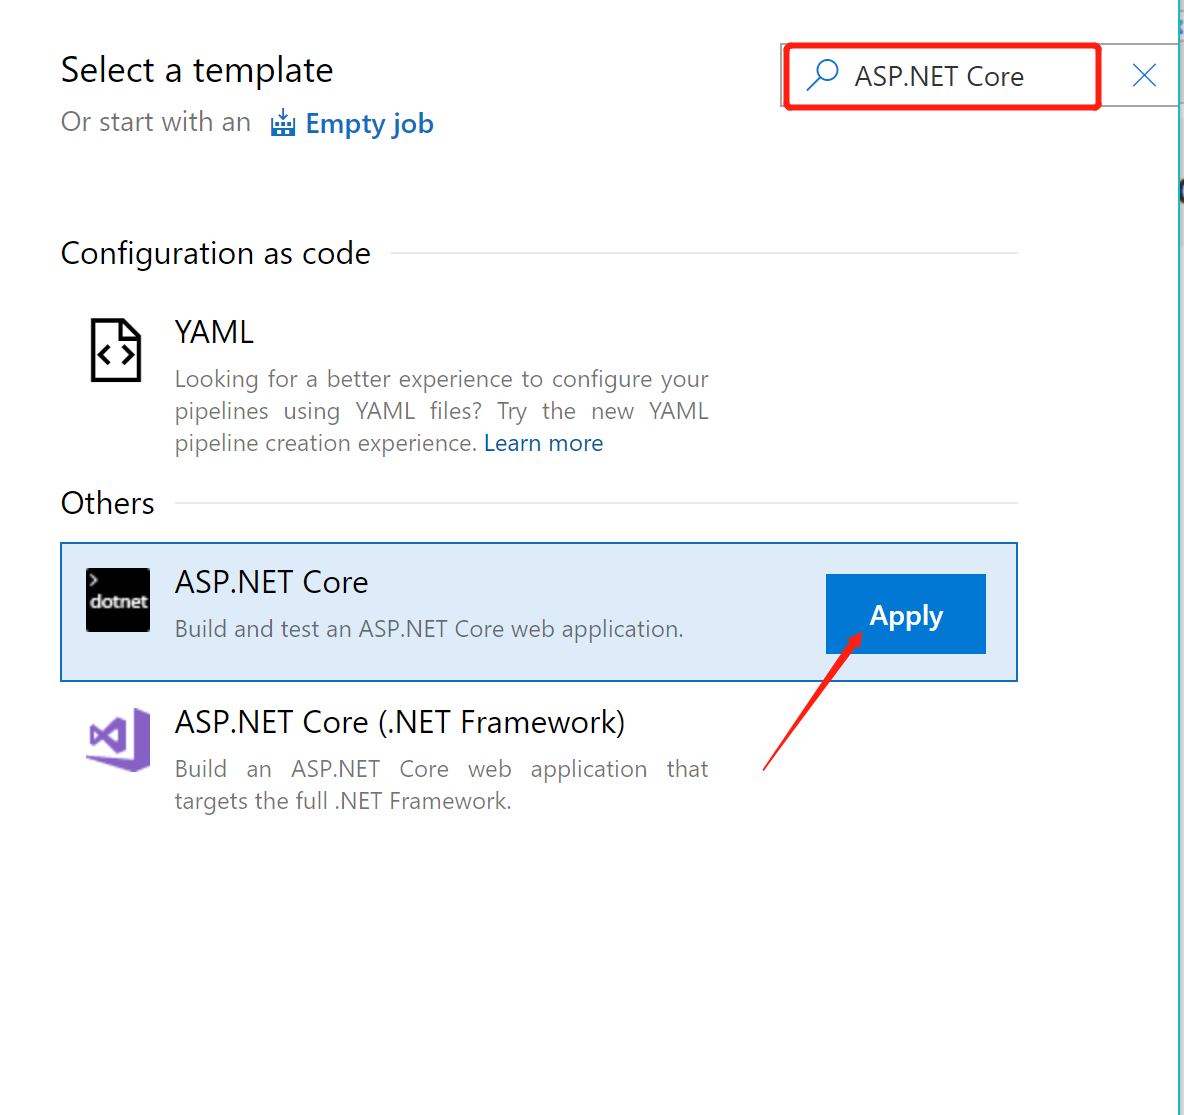
需要选择模板,搜索框中输入 “ASP.NET Core”,选择对应的模板,点击“Apply”
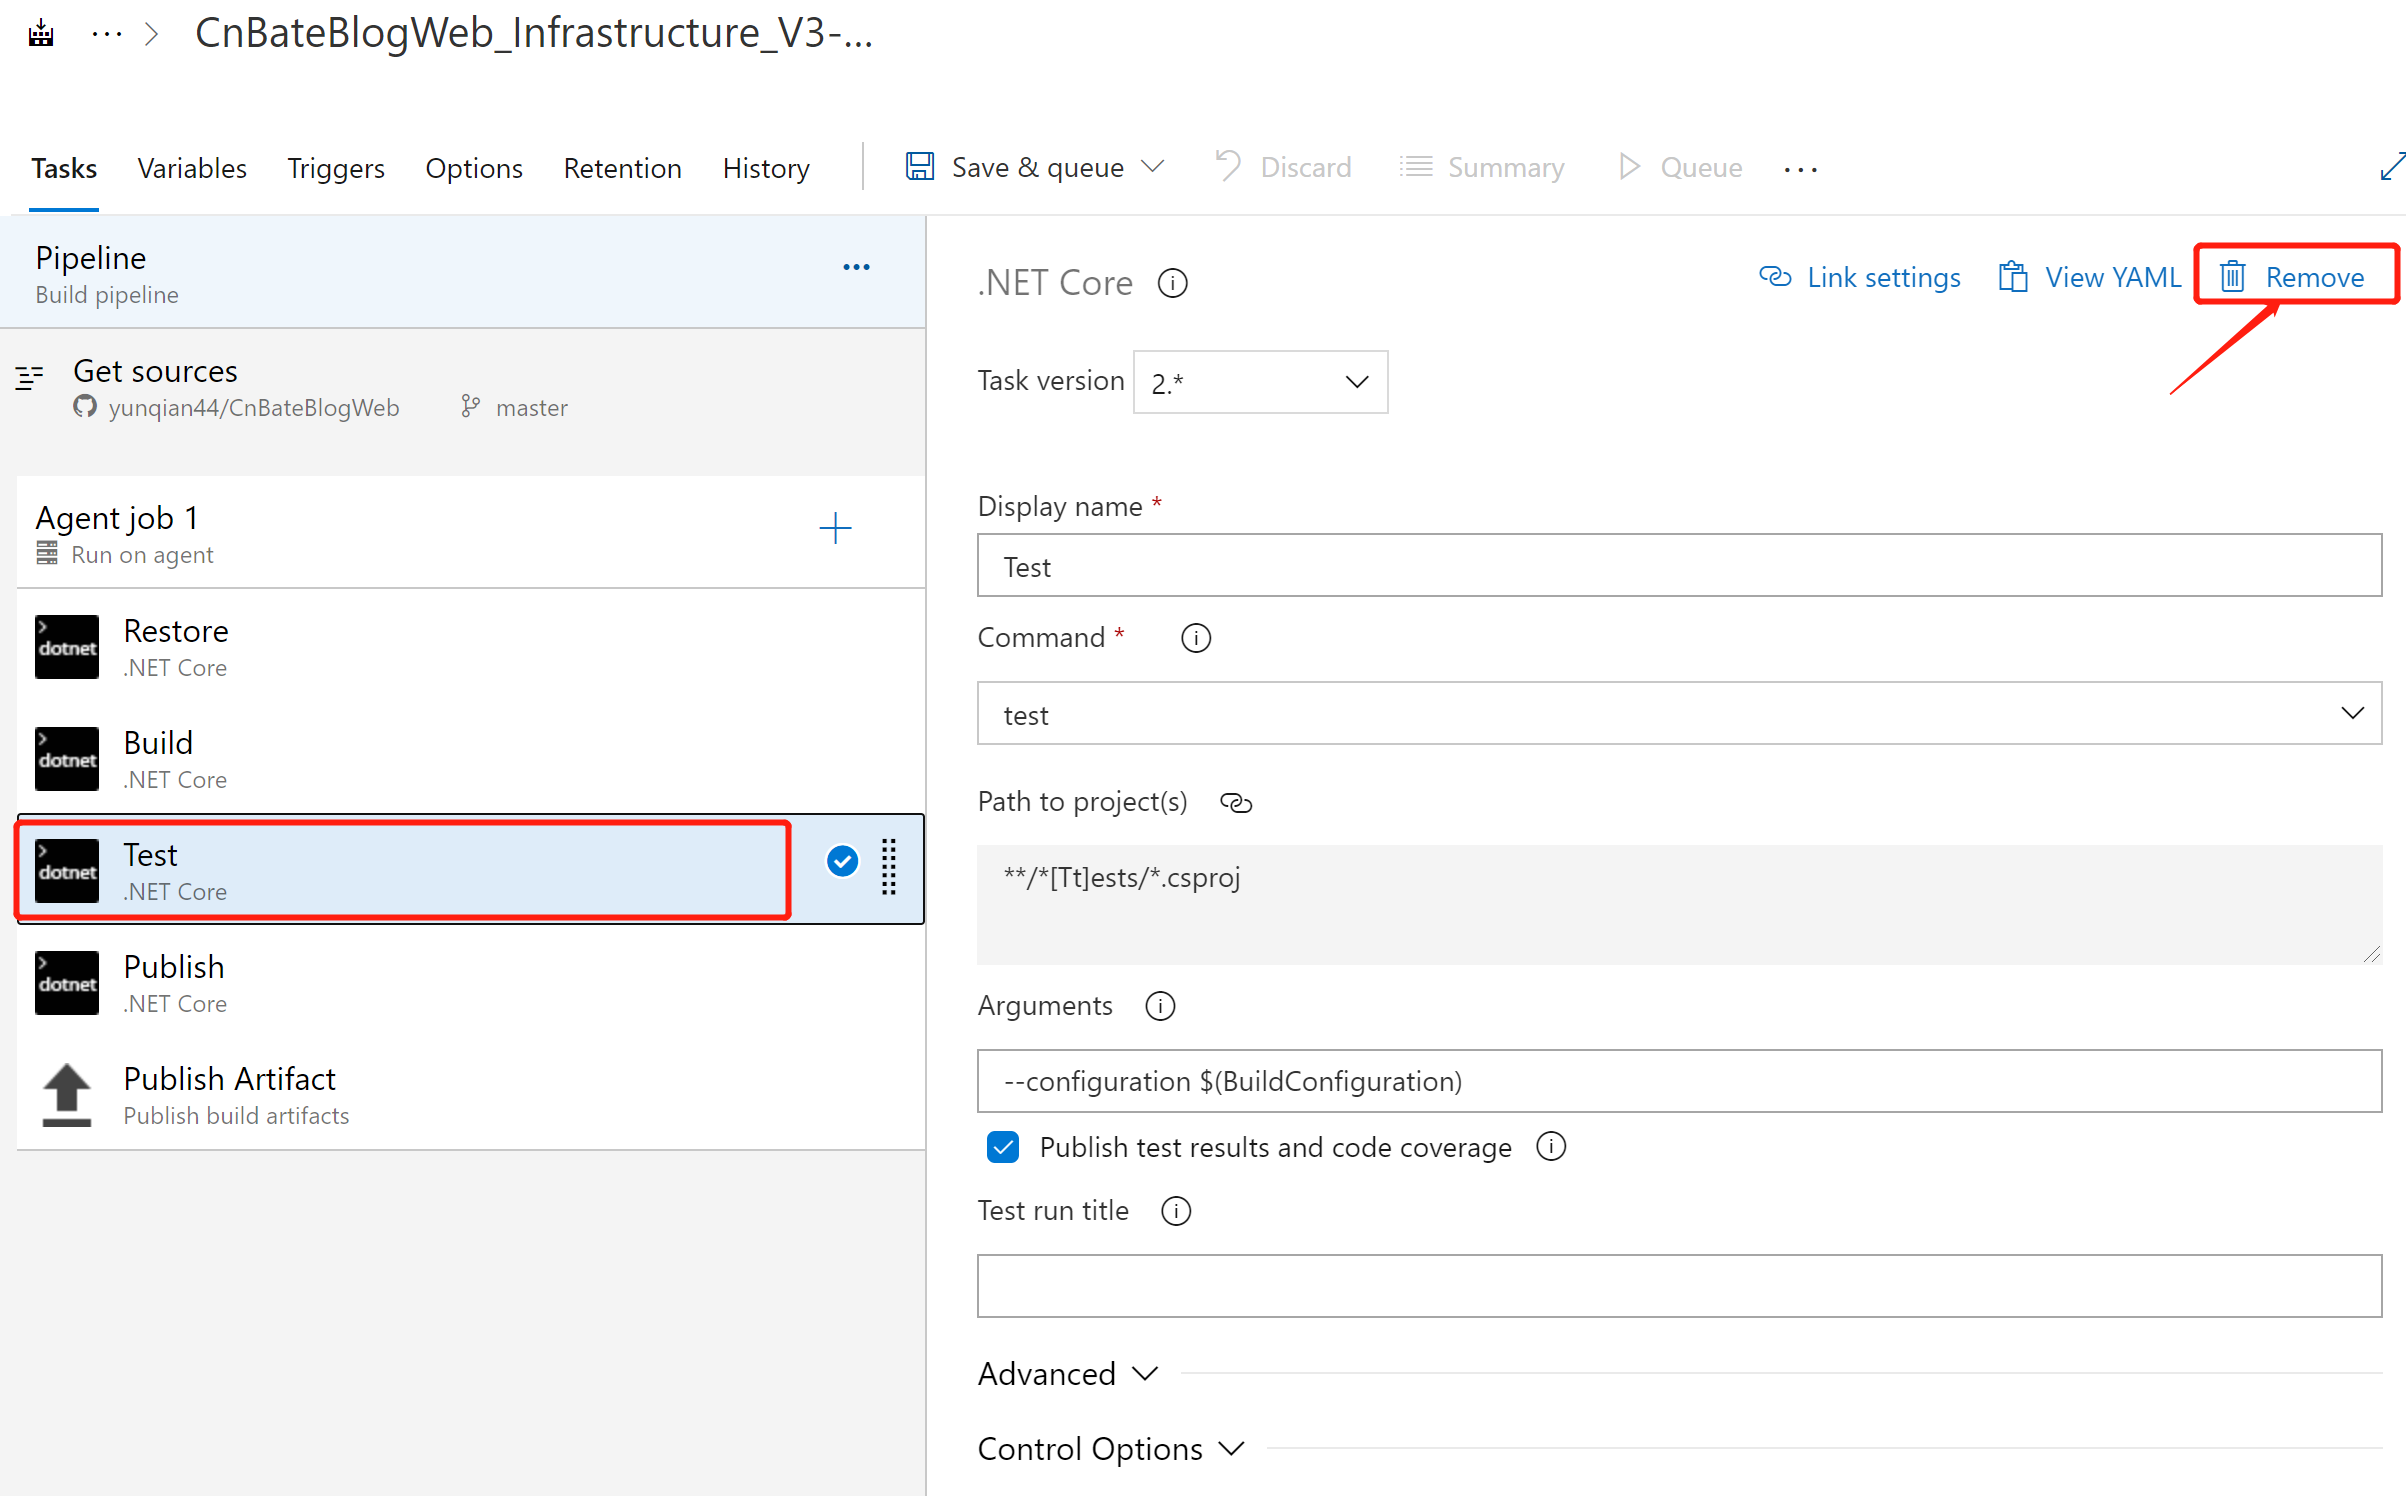
由于我这里演示的 Web 项目没有单元测试,所有可以将 “Test” 整个Task 移除掉
选中当前 “Task”,点击 “Remove” 进行移除。
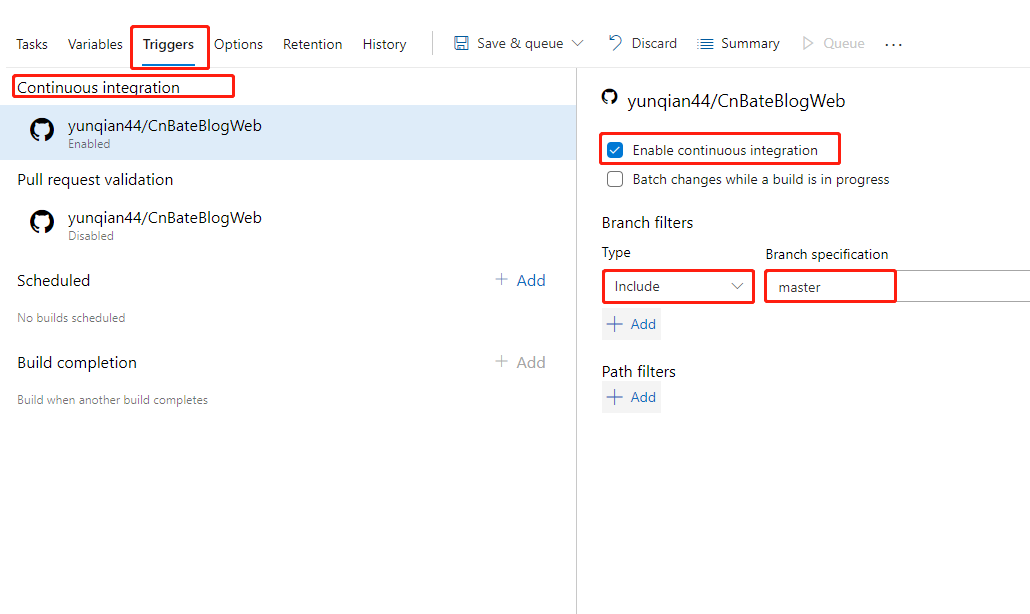
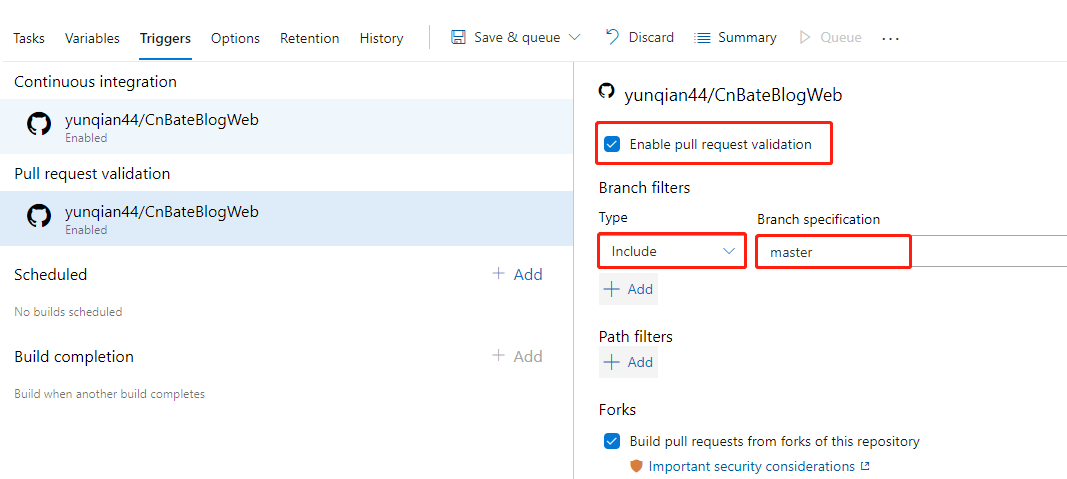
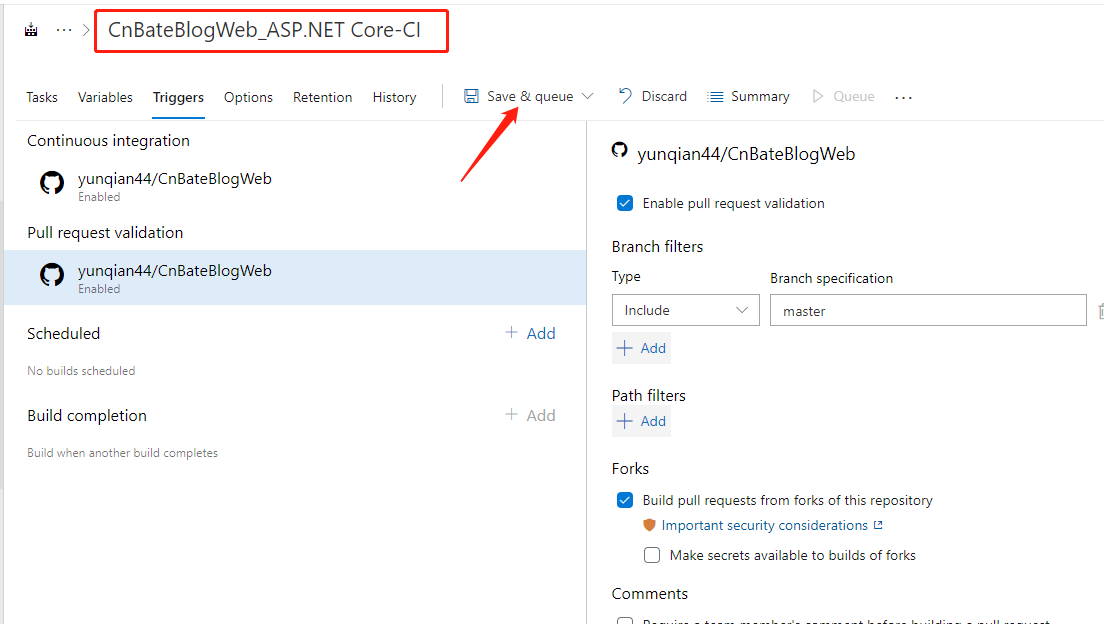
切换到 “Triggers”,开启 “Enable continuous intergration” 和 “Enable pull request validation”
最后,我们修改当前 pipeline 的名称为 “CnBateBlogWeb_ASP.NET Core-CI”,并且点击 “Save&queue” 保存并且加入到队列
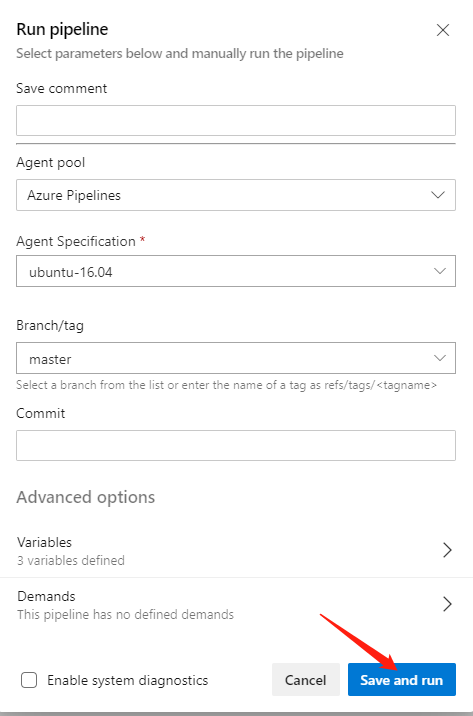
运行 pipeline,点击 “Save and run”
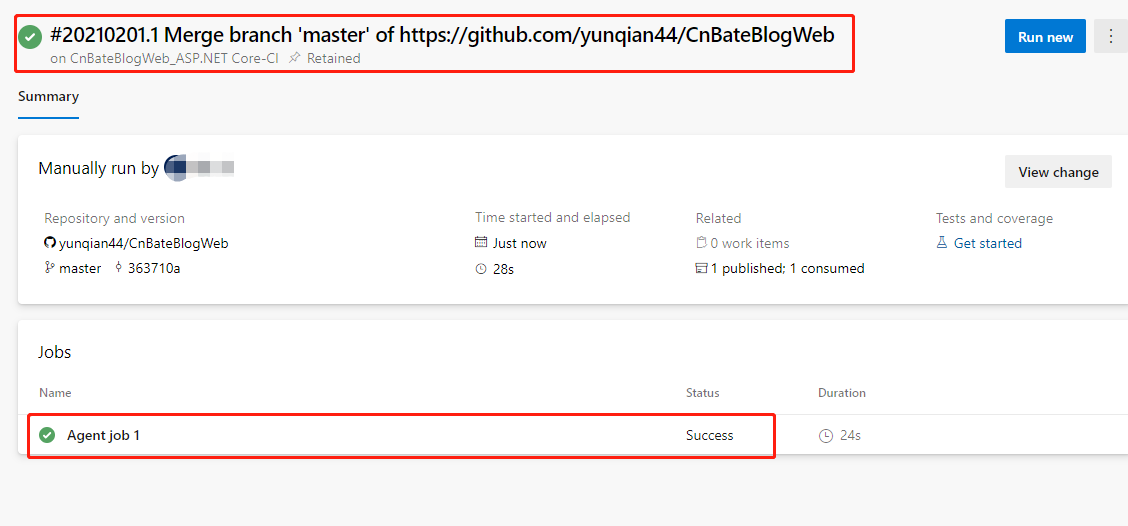
稍等之后,我们可以看到运行成功
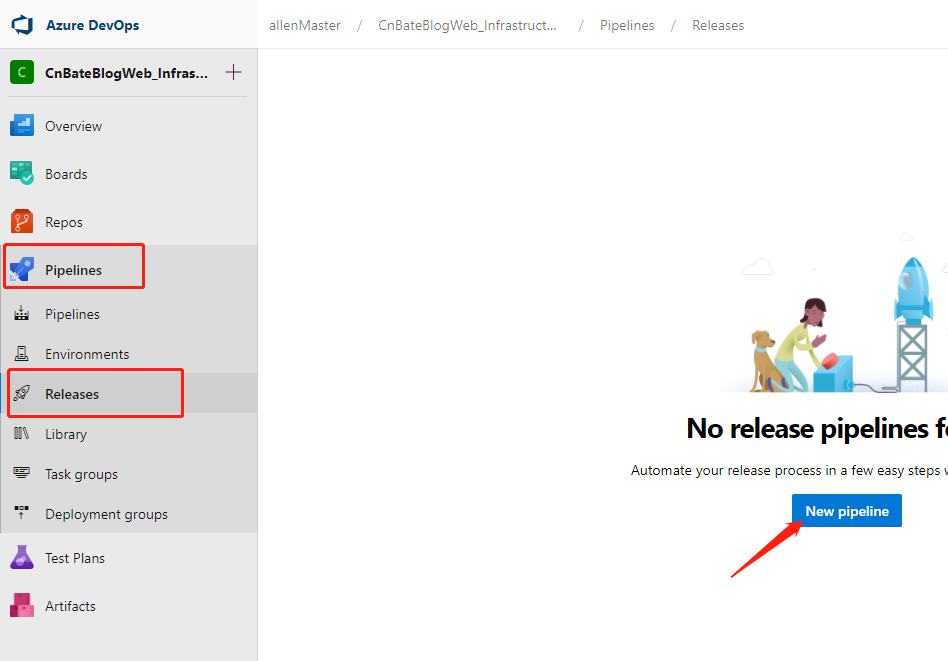
选择 “Pipeline=》Releases”,点击 “New pipeline” 创建新的 releases pipeline
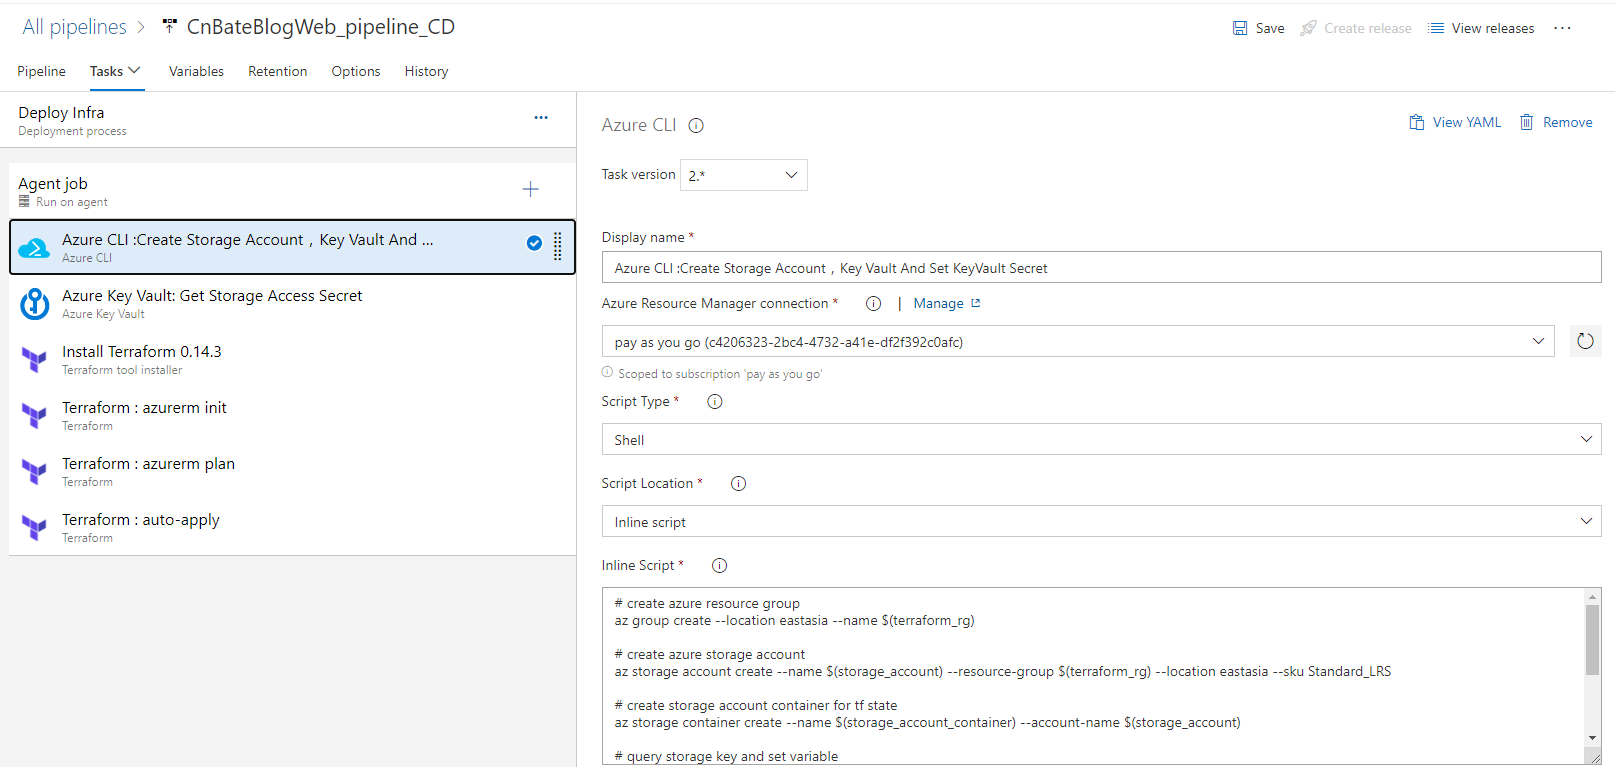
首先添加 Infra Stage,我就不过多演示了,大家可以参考
相关 Task
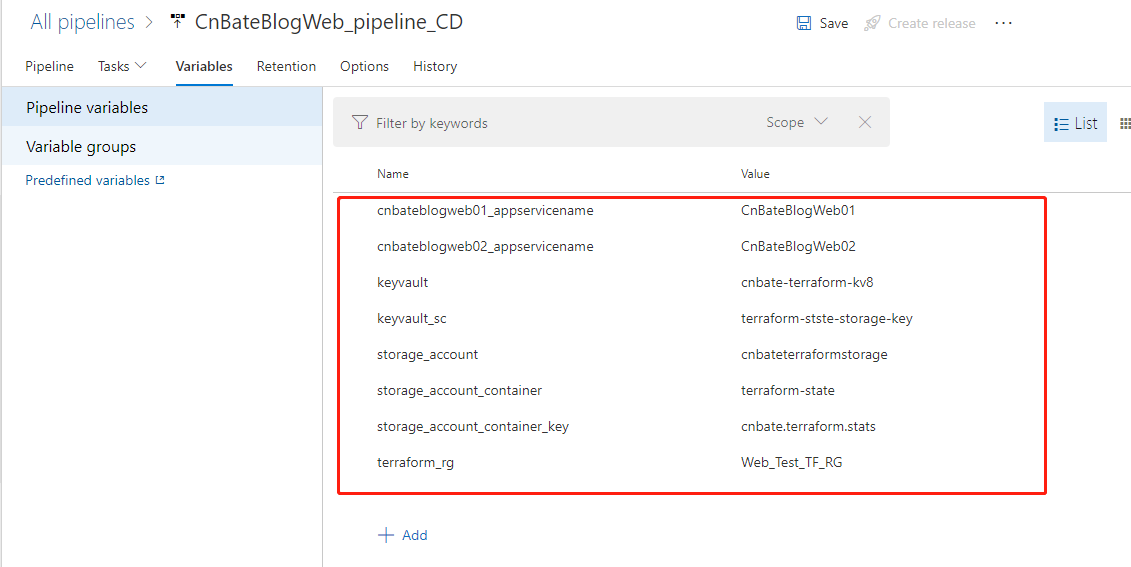
相关参数变量:
| Name | Value |
| cnbateblogweb01_appservicename |
CnBateBlogWeb01 |
| cnbateblogweb02_appservicename |
CnBateBlogWeb02 |
| keyvault | cnbate-terraform-kv8 |
| keyvault_sc | terraform-stste-storage-key |
| storage_account | cnbateterraformstorage |
| storage_account_container | terraform-state |
| storage_account_container_key | cnbate.terraform.stats |
| terraform_rg | Web_Test_TF_RG |
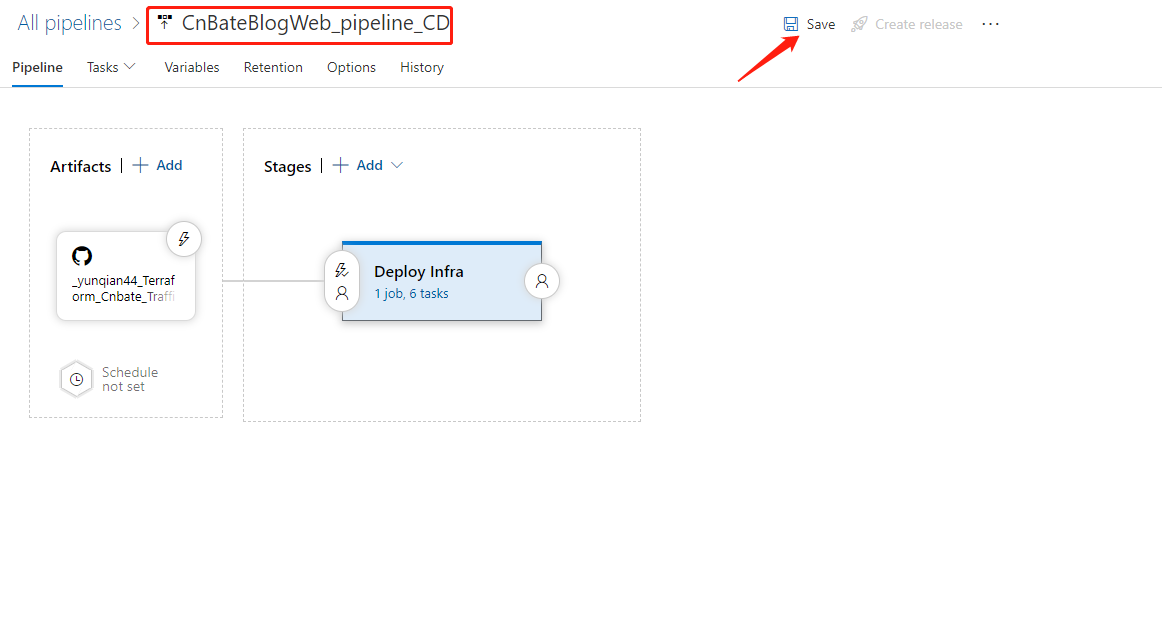
修改 “releases pipeline” 名称 “CnBateBlogWeb_pipeline_CD”,点击 “Save” 进行保存操作
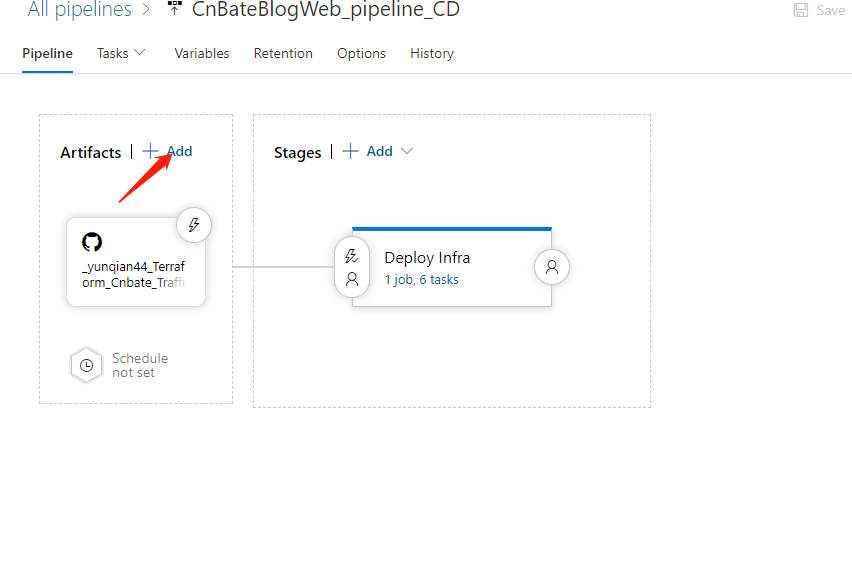
点击 “+Add”,添加新的 “Artifacts”
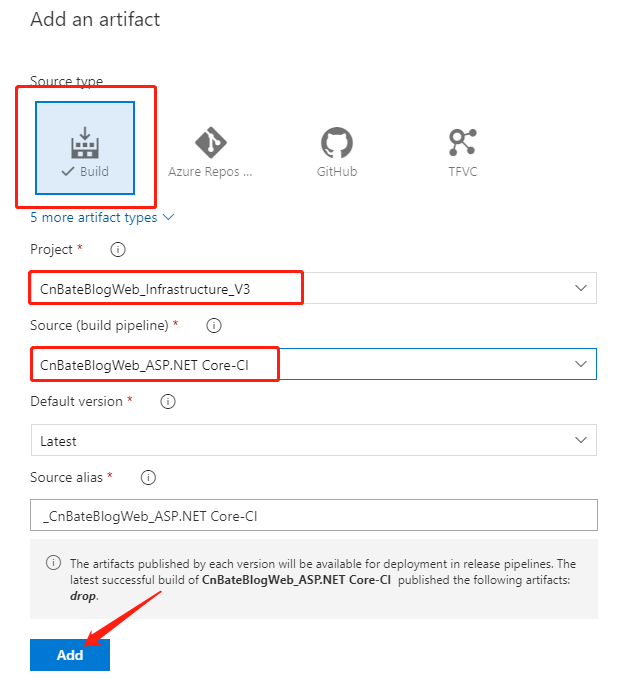
选择 “Build”,编辑相关参数
Project 选择:“CnBateBlogWeb_Infrastructure_V3”
Source(build pipeline):"CnBateBlogWeb_ASP.NET Core-CI"
点击 “Add”,确认添加 "Artifacts"
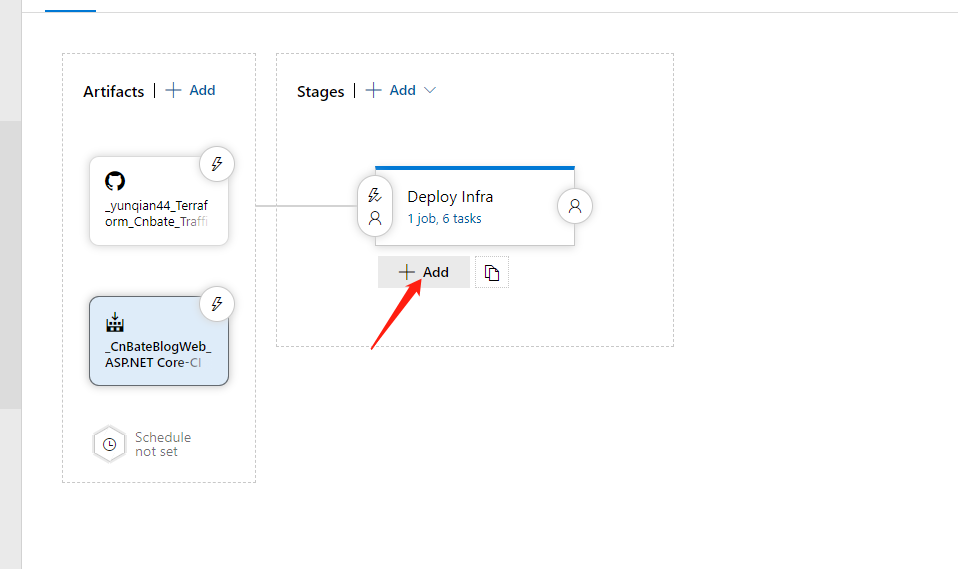
点击 “+Add” 添加 Application Deploy Step
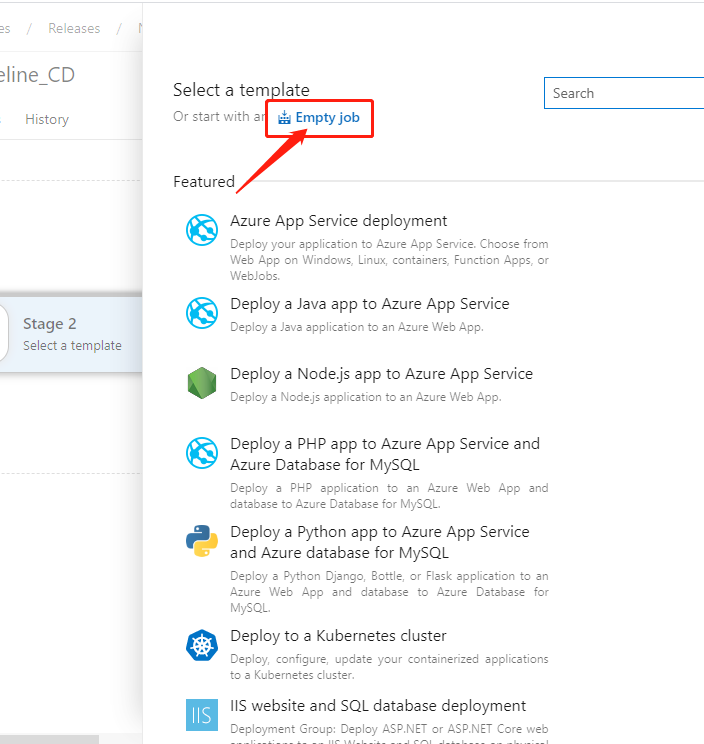
模板选择先点击 “Empty job”,添加一个新的空Job
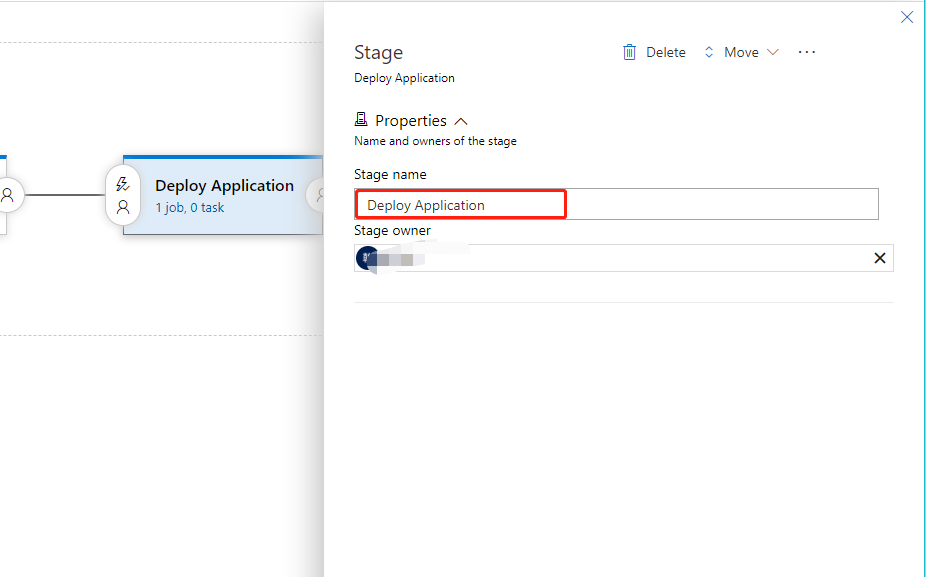
修改当前 Stage name 为 “Deploy Application”
接下来我们为当前 Job 添加 task
搜索框中输入 “Azure App Service deploy”,点击 “Add”

修改相关参数
Display name:“Azure App Service Deploy: $(cnbateblogweb01_appservicename)”
Azure subscription 选择当前自己的订阅
App Service type 选择:“Web App on Linux”
App Service name:“$(cnbateblogweb01_appservicename)”
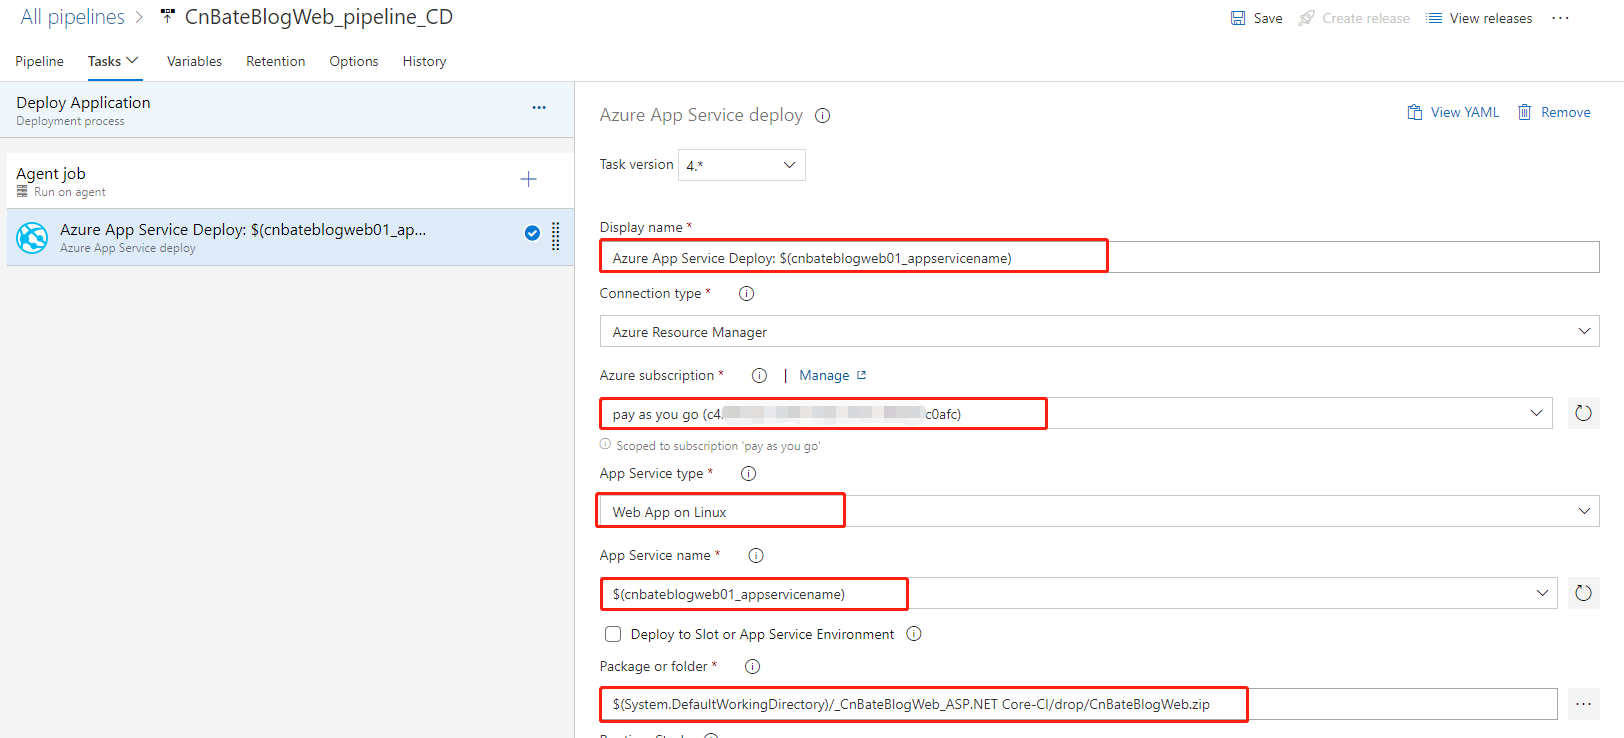
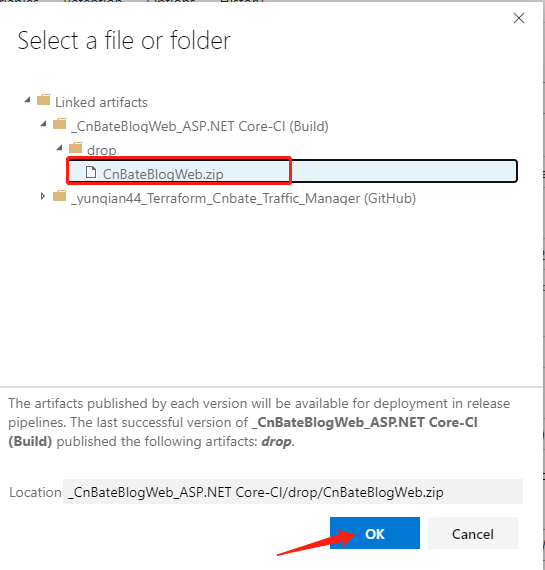
Package of folder:选择 "CnBateBlogWeb_ASP.NET Core-CI" 下的项目 Build 成功的 Package or folder,点击 “OK”
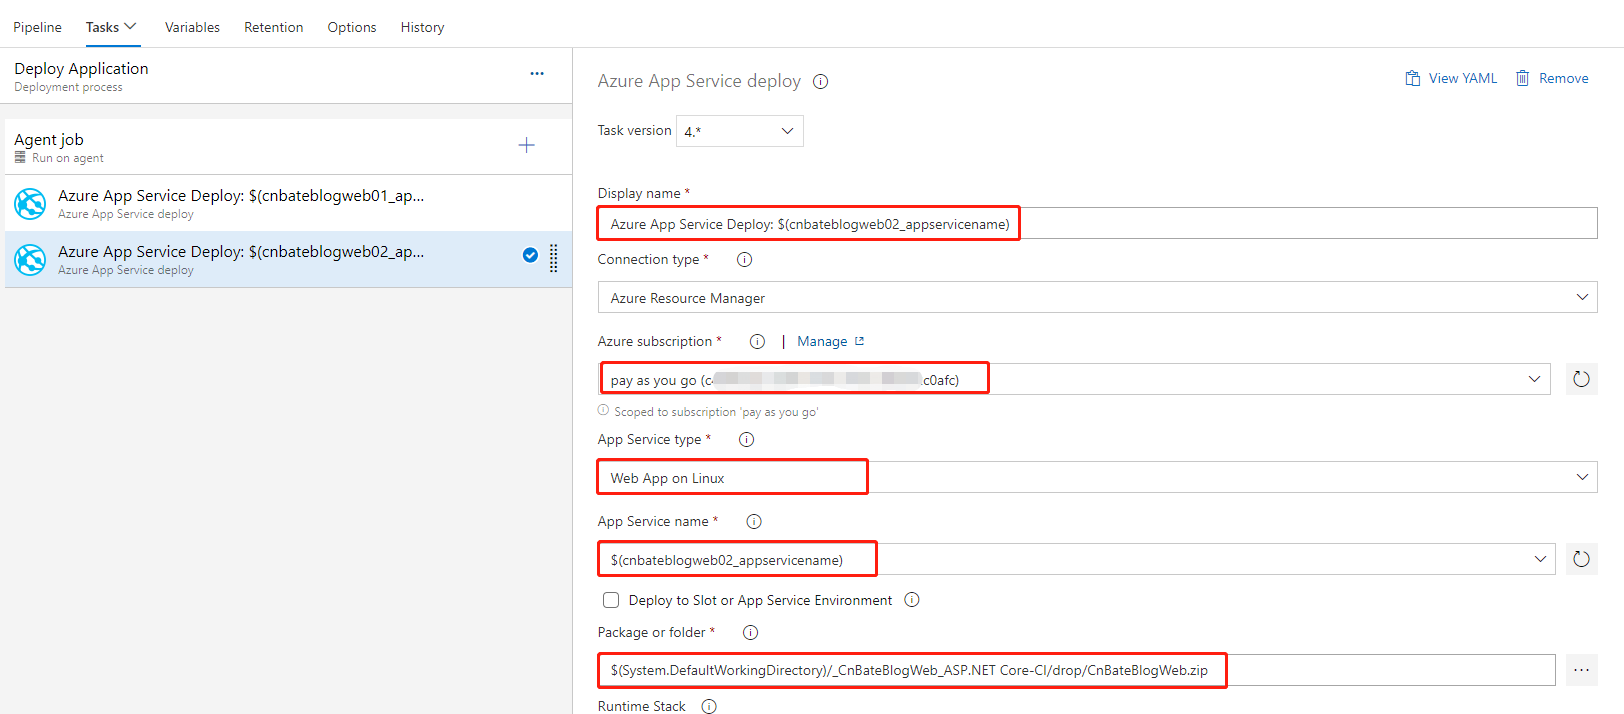
接下来我们添加第二个 Azure App Service Deploy
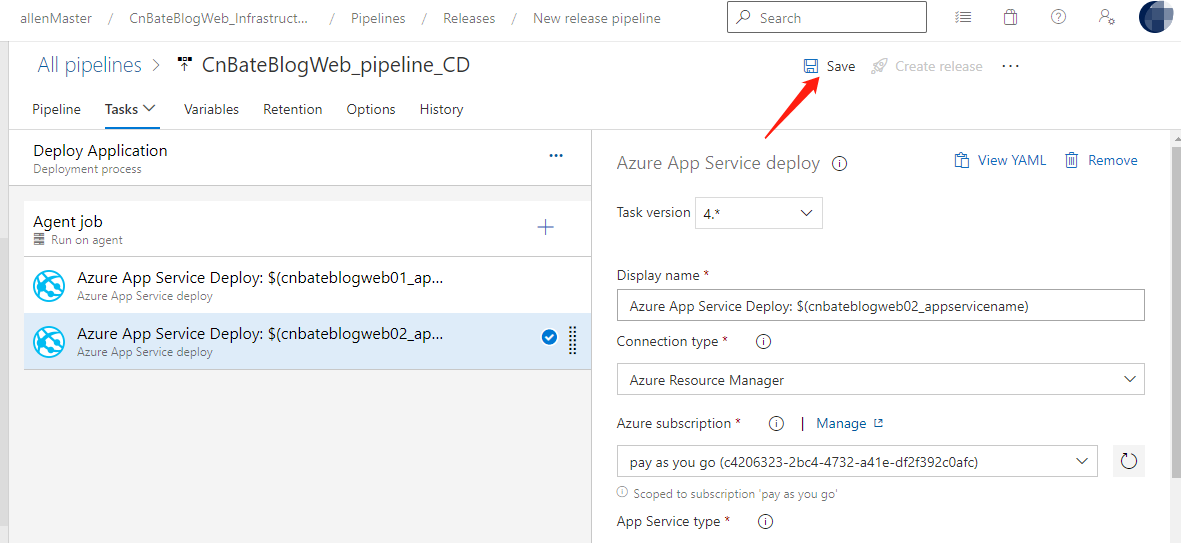
最后,点击 “Save” 进行保存操作
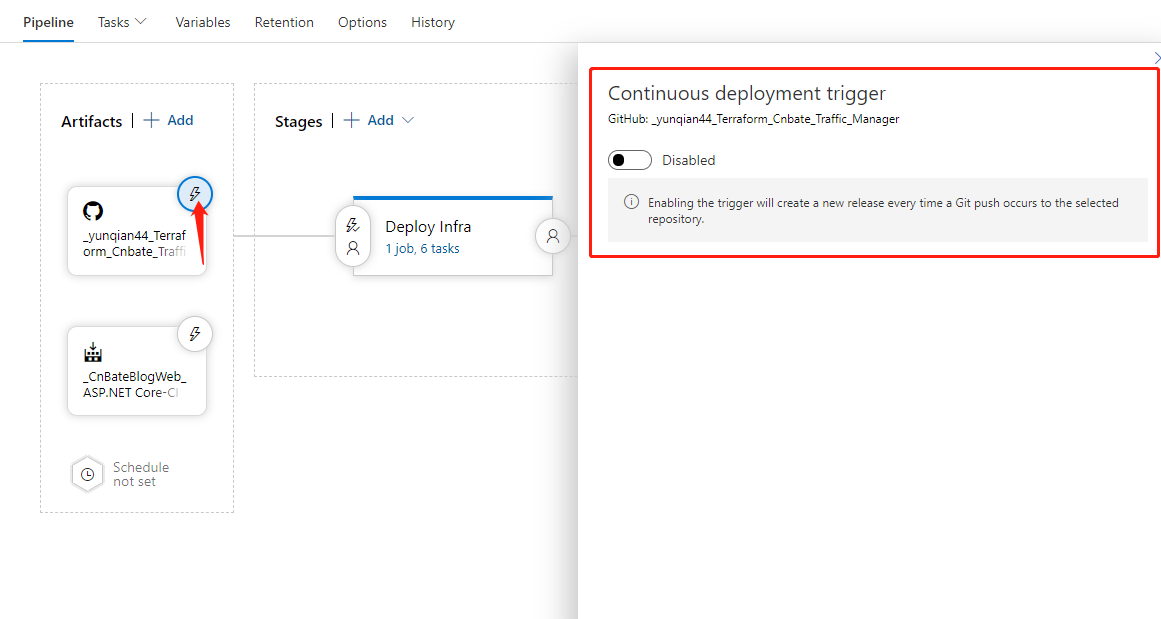
至于项目的 “Artifacts” 的触发方式,大家可以结合自己实际项目,合理选择。当前我不设置任何自动触发机制
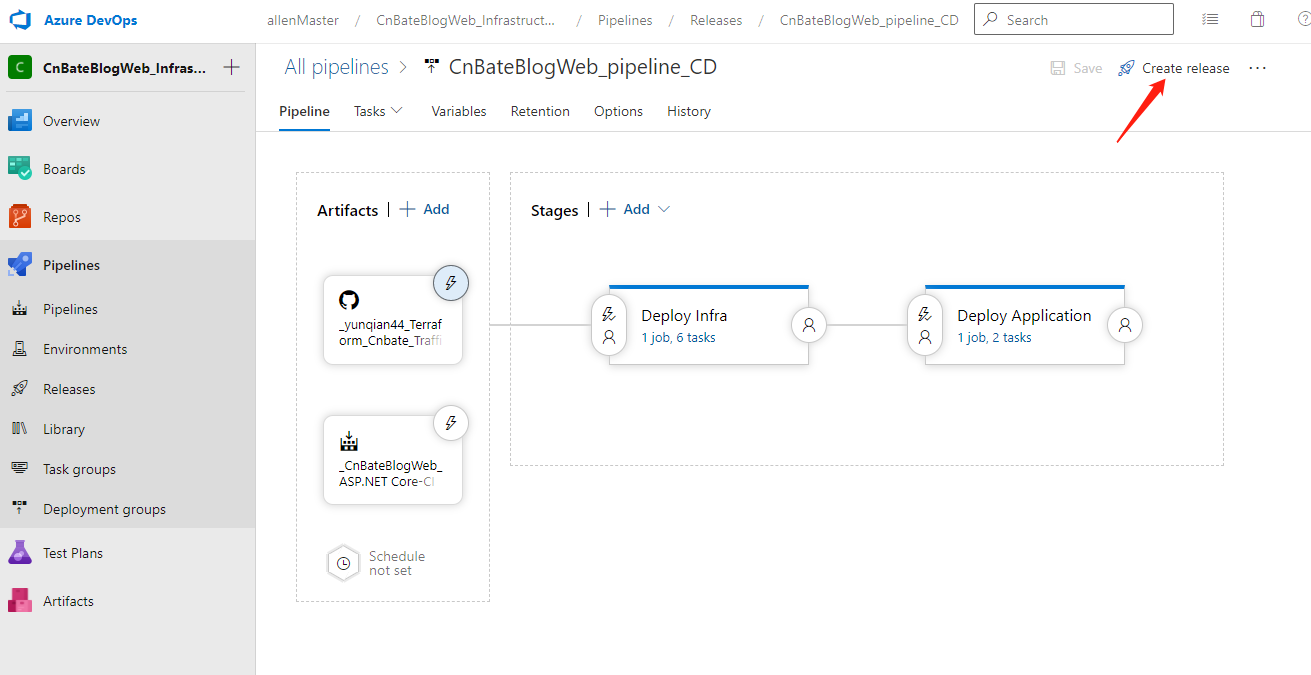
点击 “Create release”,运行 releases pipeline
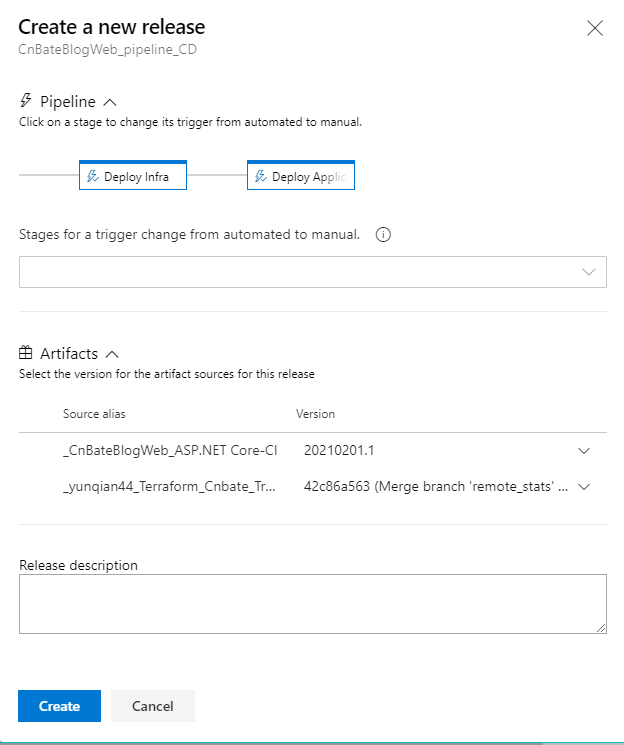
点击 “Create” 确认创建
部署成功

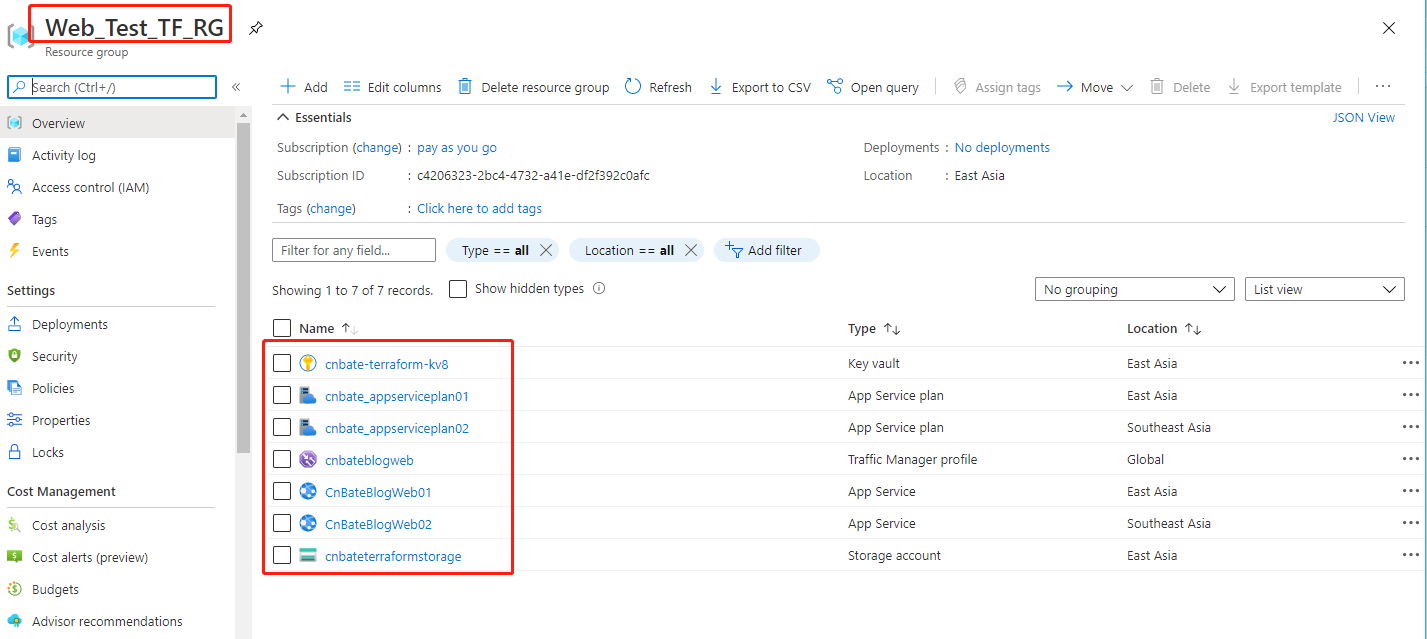
我们转到 Azure Portal 查看资源部署情况
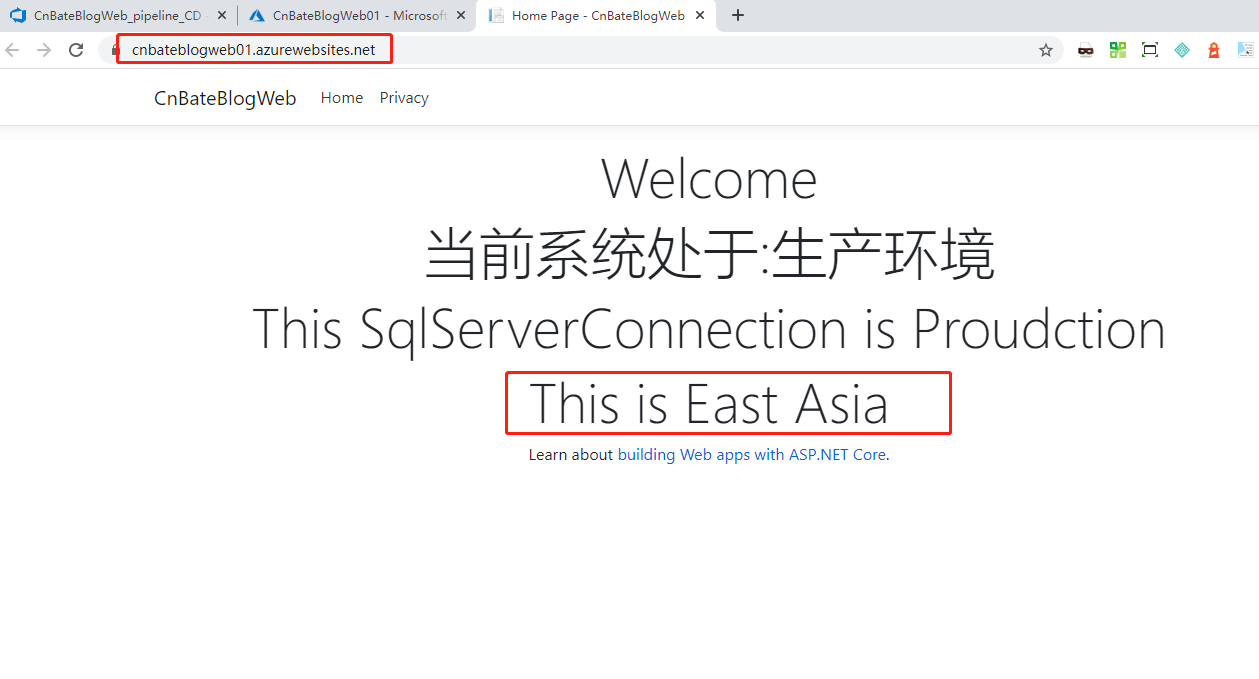
访问 "CnBateBlogWeb01"
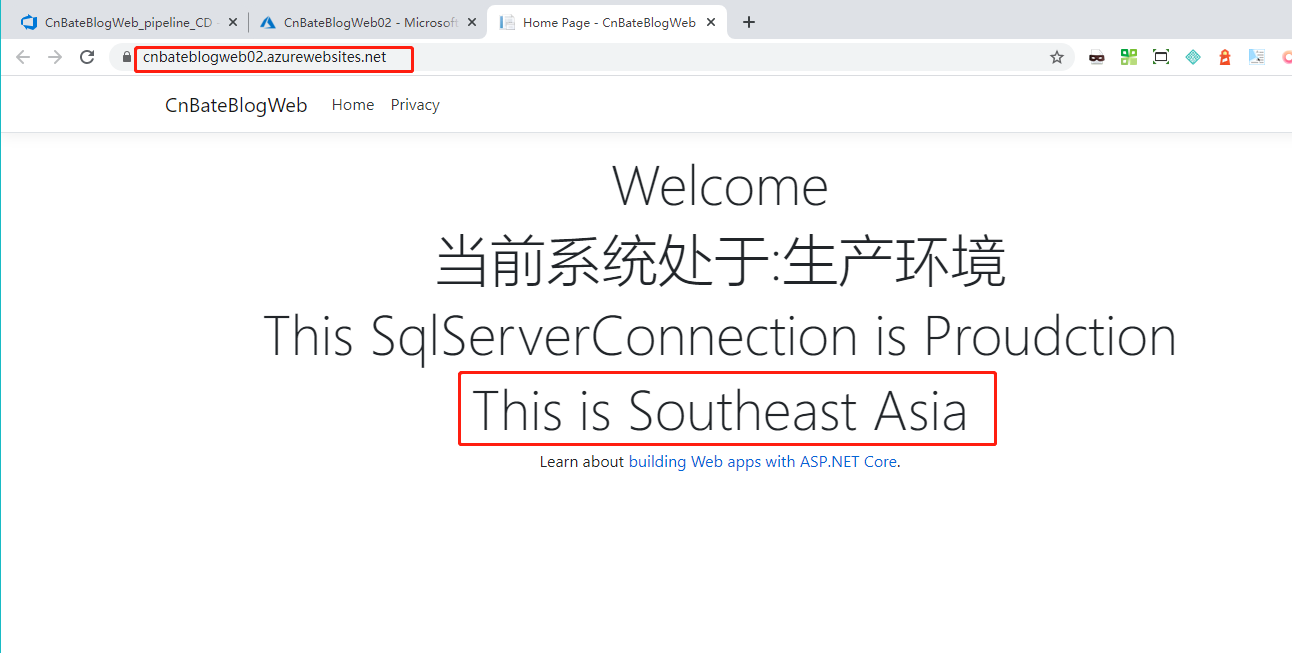
访问 "CnBateBlogWeb02"
访问 Traffic Manager profile 的 DNS:”http://cnbateblogweb.trafficmanager.net/“
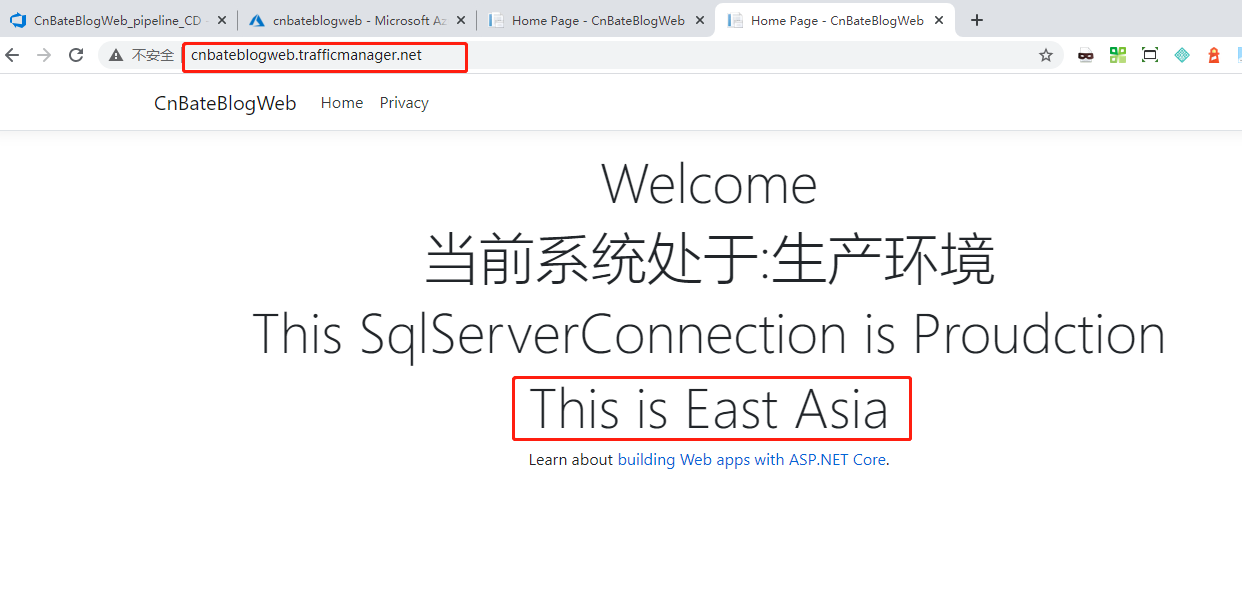
Bingo,成功!!!!!φ(゜▽゜*)♪φ(゜▽゜*)♪*★,°*:.☆( ̄▽ ̄)/$:*.°★* 。
今天我们通过 Azure DevOps 将基础设施资源和应用项目部署到 Azure 上,文中的实践操作比较多,大家要多多练习。本文所分享的内容也存在着很多我自己的一些理解,有理解不到位的,还希望多多包涵,并且指出不足之处。
参考资料:Terraform 官方,azurerm 文档
Terraform_Cnbate_Traffic_Manager github:https://github.com/yunqian44/Terraform_Cnbate_Traffic_Manager
CnBateBlogWeb github:https://github.com/yunqian44/CnBateBlogWeb
作者:Allen
版权:转载请在文章明显位置注明作者及出处。如发现错误,欢迎批评指正。

