1.打开idea编译器,新建一个项目
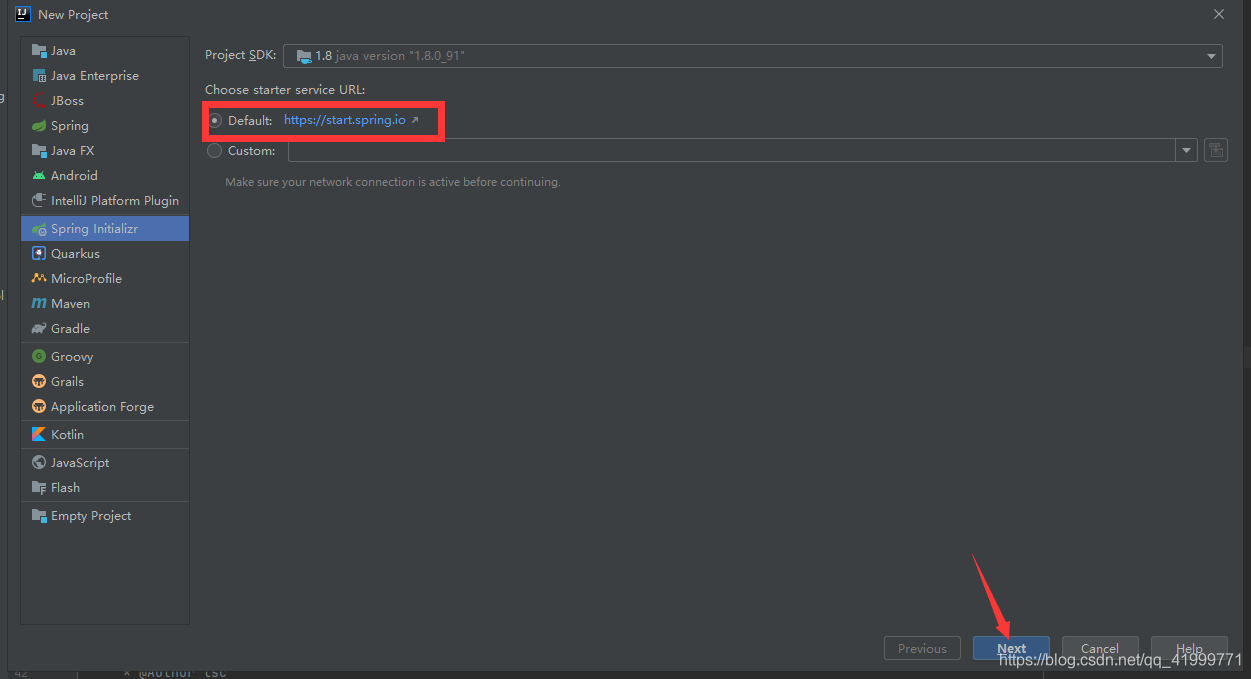
2.选择Spring Initializr 勾选Default,完成之后点击【Next】
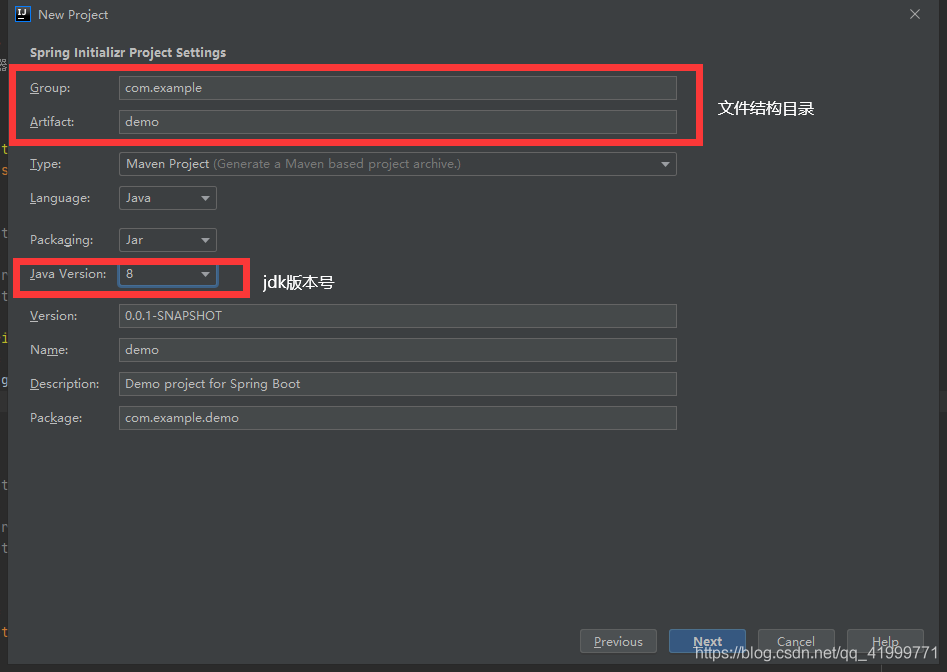
3.创建项目的文件目录结构以及选择jdk版本信息,设置完成后点击【Next】
4.选择项目所需要的依赖,在Web里面勾选Spring Web

在SQL里勾选需要的依赖,点击【Next】

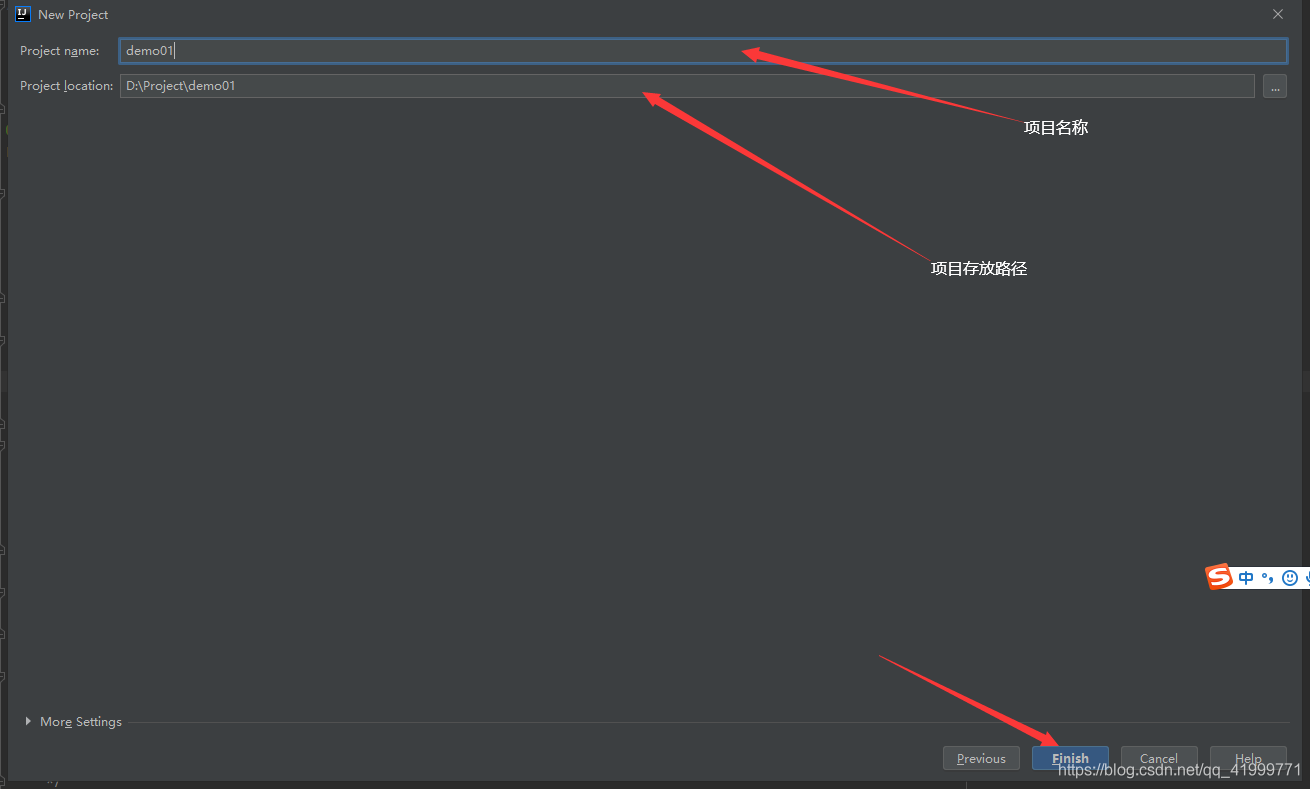
5.修改项目名称,项目存放路径,点击【finish】
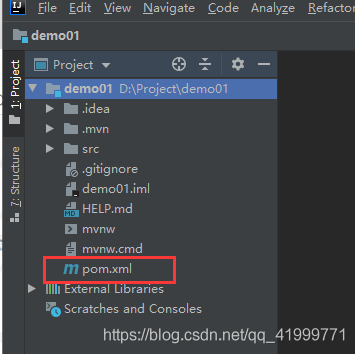
6.创建完成之后需要保持网络良好,因为需要加载刚才所选择的依赖(下载依赖可能需要很长时间,一定要在网络良好的情况下载,并且耐心等待) pom.xml文件是用来添加依赖的地方
7.完善springboot+mybatis文件结构 在所示目录下创建文件夹

8.创建配置文件并进行配置

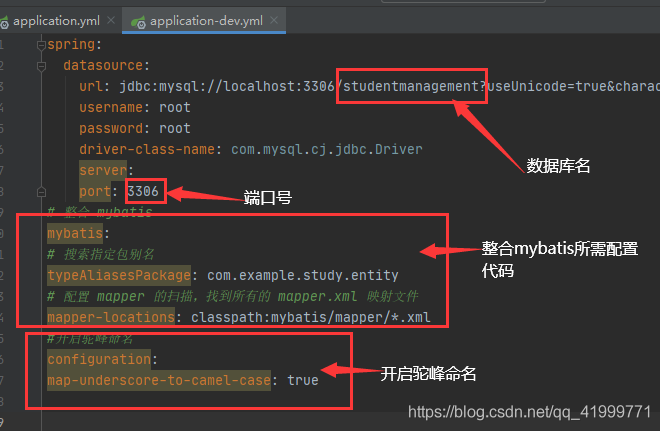
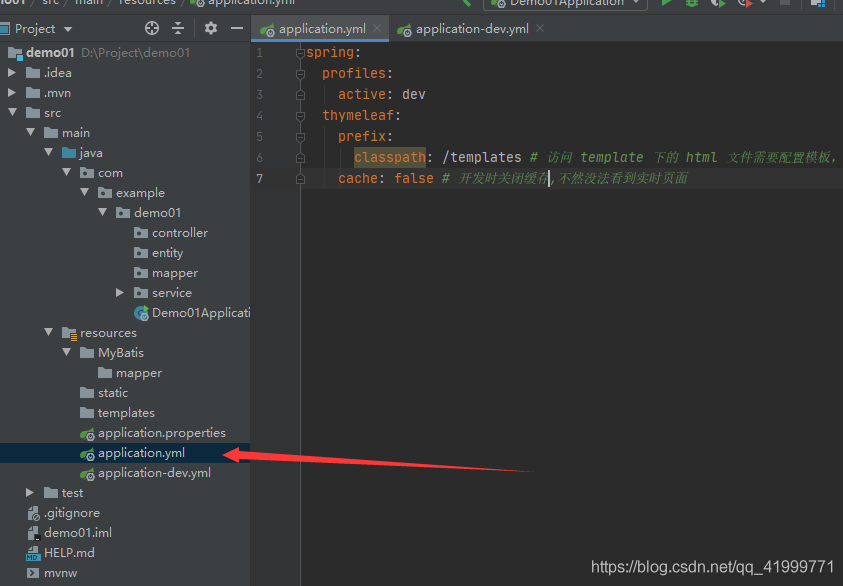
创建这两个yml文件 Application-dev.yml文件中所需配置代码:
spring:
 datasource:
 url: jdbc:mysql://localhost:3306/studentmanagement?useUnicode=true&characterEncoding=utf8&zeroDateTimeBehavior=convertToNull&useSSL=true&serverTimezone=GMT%2B8
 username: root
 password: root
 driver-class-name: com.mysql.cj.jdbc.Driver
 server:
 port: 3306
# 整合 mybatis
mybatis:
# 搜索指定包别名
typeAliasesPackage: com.example.study.entity
# 配置 mapper 的扫描,找到所有的 mapper.xml 映射文件
mapper-locations: classpath:mybatis/mapper/*.xml
#开启驼峰命名
configuration:
map-underscore-to-camel-case: true
Application.yml文件中所需配置代码
spring:
 profiles:
 active: dev
 thymeleaf:
 prefix:
  classpath: /templates # 访问 template 下的 html 文件需要配置模板,映射
 cache: false # 开发时关闭缓存,不然没法看到实时页面
9.配置完成后启动
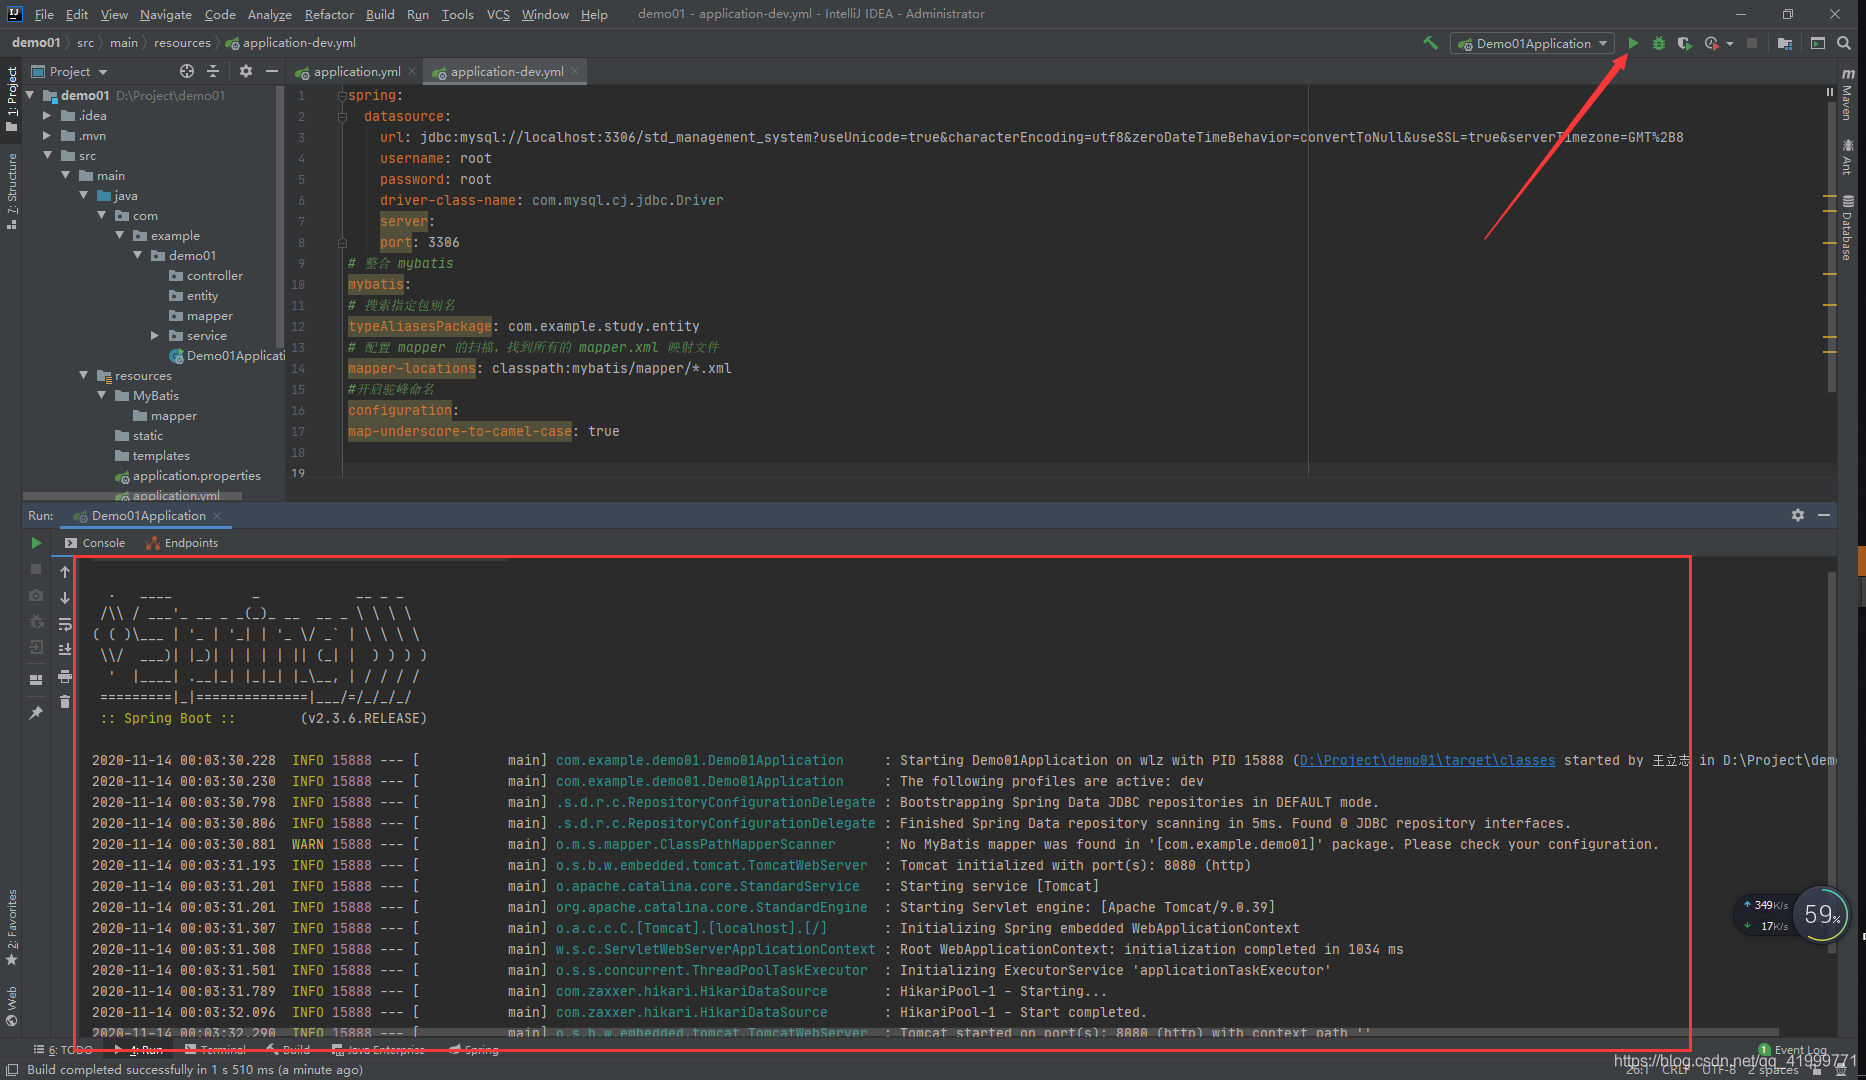
启动之后没有报错说明框架整合好了,就可以使用了

