介绍:kaptcha 是谷歌开源的非常实用的验证码生成工具
一、导入jar包
<!-- kaptcha验证码 -->
<dependency>
	<groupId>com.github.penggle</groupId>
	<artifactId>kaptcha</artifactId>
	<version>2.3.2</version>
</dependency>
二、编写kaptcha配置类
package com.zym.config;

import com.google.code.kaptcha.impl.DefaultKaptcha;
import com.google.code.kaptcha.util.Config;
import org.springframework.context.annotation.Bean;
import org.springframework.context.annotation.Configuration;

import java.util.Properties;

@Configuration
public class KaptchaConfig {

  @Bean
  public DefaultKaptcha defaultKaptcha(){
    DefaultKaptcha kaptcha = new DefaultKaptcha();

    Properties properties = new Properties();
    //边框
    properties.setProperty("kaptcha.border", "no");
    //字体颜色
    properties.setProperty("kaptcha.textproducer.font.color", "green");
    //图片宽度
    properties.setProperty("kaptcha.image.width", "120");
    //图片高度
    properties.setProperty("kaptcha.image.height", "30");
    //字体大小
    properties.setProperty("kaptcha.textproducer.font.size", "20");
    //session key
    properties.setProperty("kaptcha.session.key", "kaptcha");
    //验证码长度
    properties.setProperty("kaptcha.textproducer.char.length", "4");
    //字体
    properties.setProperty("kaptcha.textproducer.font.names", "宋体");
    //文字间隔
    properties.setProperty("kaptcha.textproducer.char.space", "10");
    //噪点实现类
    properties.setProperty("kaptcha.noise.impl", "com.google.code.kaptcha.impl.NoNoise");
    //图片样式-阴影
    properties.setProperty("kaptcha.obscurificator.impl", "com.google.code.kaptcha.impl.ShadowGimpy");

    Config config = new Config(properties);
    kaptcha.setConfig(config);
    return kaptcha;
  }
}
三、编写接口
package com.zym.controller;

import com.google.code.kaptcha.impl.DefaultKaptcha;
import org.apache.tomcat.util.http.fileupload.IOUtils;
import org.springframework.beans.factory.annotation.Autowired;
import org.springframework.web.bind.annotation.GetMapping;
import org.springframework.web.bind.annotation.RestController;

import javax.imageio.ImageIO;
import javax.servlet.ServletOutputStream;
import javax.servlet.http.HttpServletRequest;
import javax.servlet.http.HttpServletResponse;
import javax.servlet.http.HttpSession;
import java.awt.image.BufferedImage;
import java.io.IOException;

@RestController
public class KaptchaController {

  @Autowired
  private DefaultKaptcha defaultKaptcha;

  @GetMapping("/kaptcha")
  public void getKaptcha(HttpServletRequest request, HttpServletResponse response) throws IOException {
    //设置响应头
    response.setHeader("Cache-Control", "no-cache");
    response.setHeader("Pragma", "no-cache");
    response.setContentType("image/jpeg");

    String text = defaultKaptcha.createText();
    HttpSession session = request.getSession();
    //将验证码存入session
    session.setAttribute("code", text);
    //创建验证码图片
    BufferedImage image = defaultKaptcha.createImage(text);
    ServletOutputStream os = response.getOutputStream();
    ImageIO.write(image, "jpg", os);
    IOUtils.closeQuietly(os);
  }
}
四、测试接口
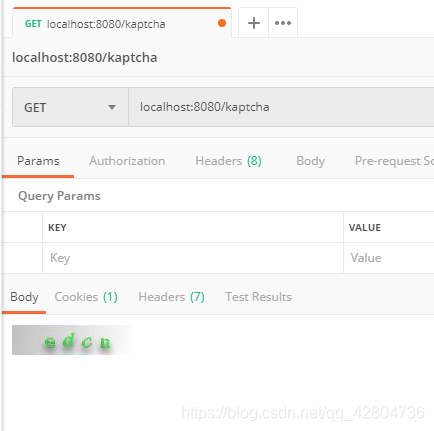
使用PostMan:
输入url:localhost:8080/kaptcha
成功得到验证码图片,大功告成!