1.新建springBoot项目
在前面有两种方式
2.加入thymeleaf模板引擎
SpringBoot推荐使用thymeleaf模板引擎
语法简单,功能更强大
要想引入thymeleaf,只需要在pom,xml文件中加入如下依赖就可以了

<dependency>
   <groupId>org.springframework.boot</groupId>
   <artifactId>spring-boot-starter-thymeleaf</artifactId>
</dependency>
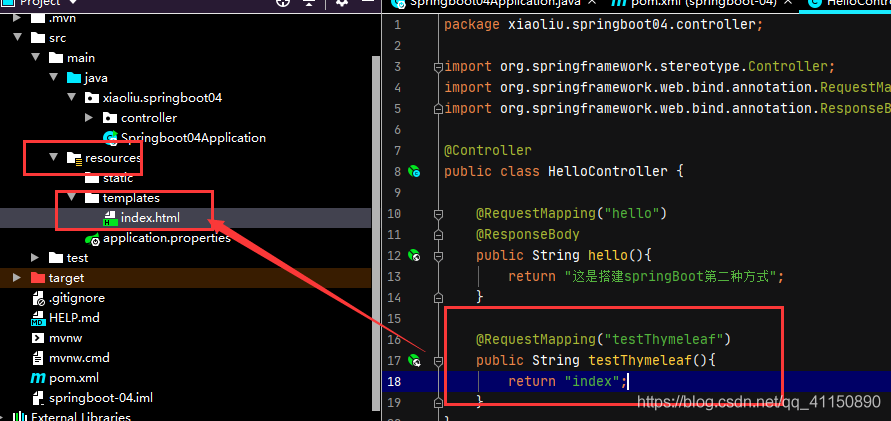
3.在controller中定义跳转的页面
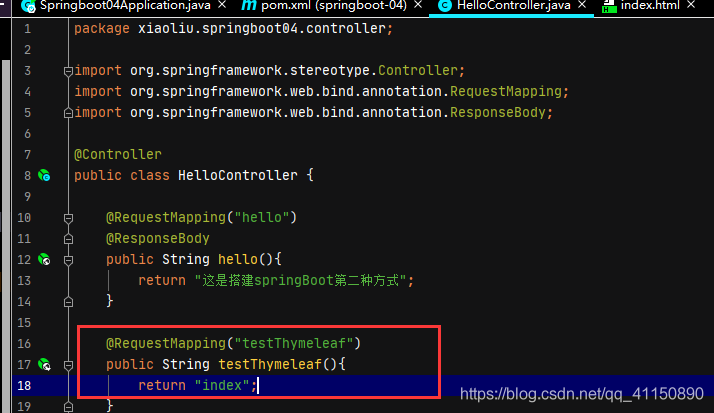
会自动去templates文件夹下去找index.html
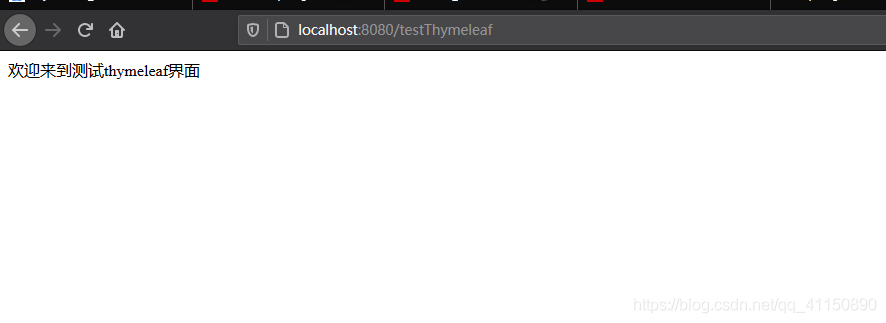
4.运行,然后访问项目
输入http://localhost:8080/testThymeleaf即可访问index.html
5.在html页面中加入thymeleaf模板标签所需的命名空间
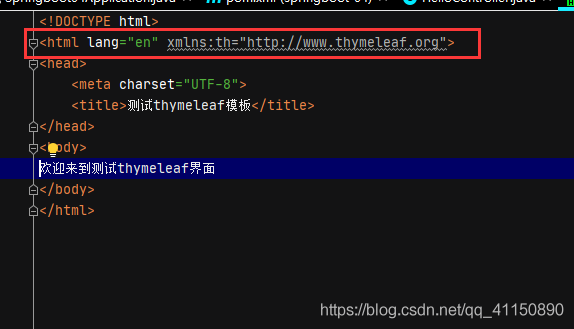
<!DOCTYPE html>
<html lang="en" xmlns:th="http://www.thymeleaf.org">
<head>
  <meta charset="UTF-8">
  <title>测试thymeleaf模板</title>
</head>
<body>
欢迎来到测试thymeleaf界面
</body>
</html>
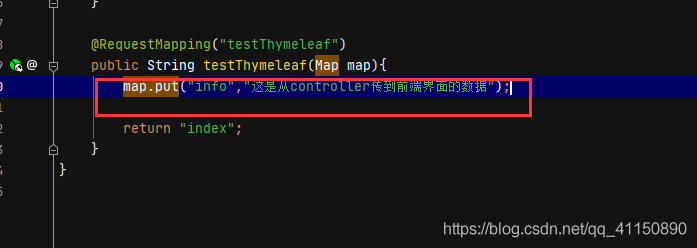
6.将controller数据通过thymeleaf标签传到前端界面
把数据放在controller的map中
前端通过标签取出数据
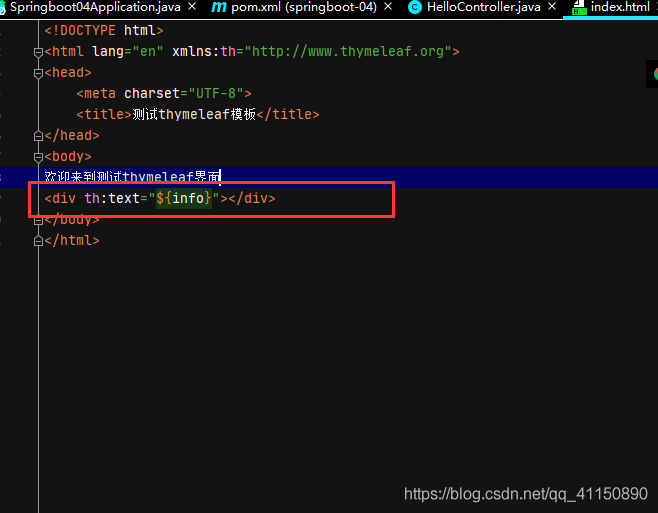
显示效果

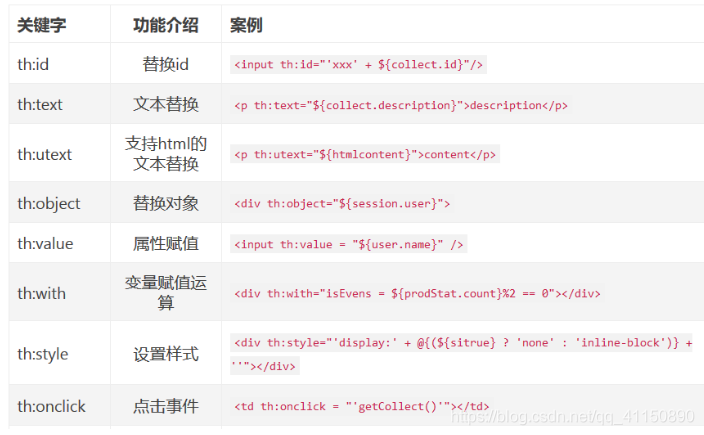
6.thymeleaf标签语法
官方文档
https://www.thymeleaf.org/doc/tutorials/3.0/usingthymeleaf.pdf
thymeleaf中文
https://raledong.gitbooks.io/using-thymeleaf/content/Chapter1/section1.1.html
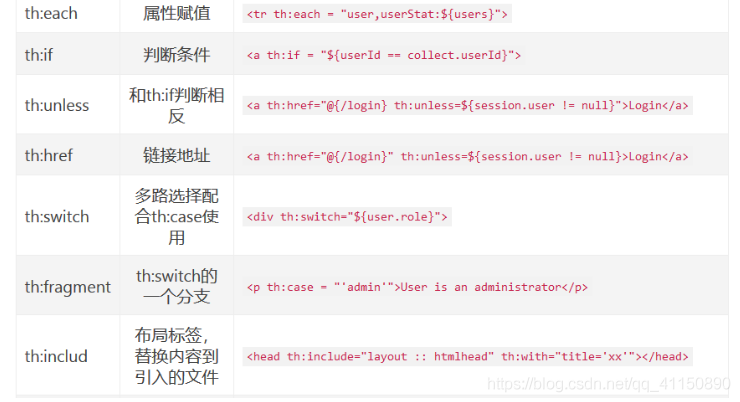
常用标签介绍