SpringBoot的web项目,在每一次修改了java文件或者是resource的时候,都必须去重启一下项目,这样的话浪费了很多的时间,实现了热部署,在每一次作了修改之后,都会自动的重启
第一步:引入热加载的插件,springboot 1.3开始就有的
    <dependency>
      <groupId>org.springframework.boot</groupId>
      <artifactId>spring-boot-devtools</artifactId>
      <optional>true</optional>
    </dependency>
project 中添加spring-boot-maven-plugin,主要在eclipse中起作用,idea不需要加此配置,springboot 项目的话,应该是有此配置,加里面的内容即可。
<build>
    <plugins>
      <plugin>
        <groupId>org.springframework.boot</groupId>
        <artifactId>spring-boot-maven-plugin</artifactId>
        <configuration>
          <fork>true</fork>
        </configuration>
      </plugin>
    </plugins>
</build>
第二步 : idea设置(14版本)
1、点击: file ,Settings ,Build ,Execution,Deplment
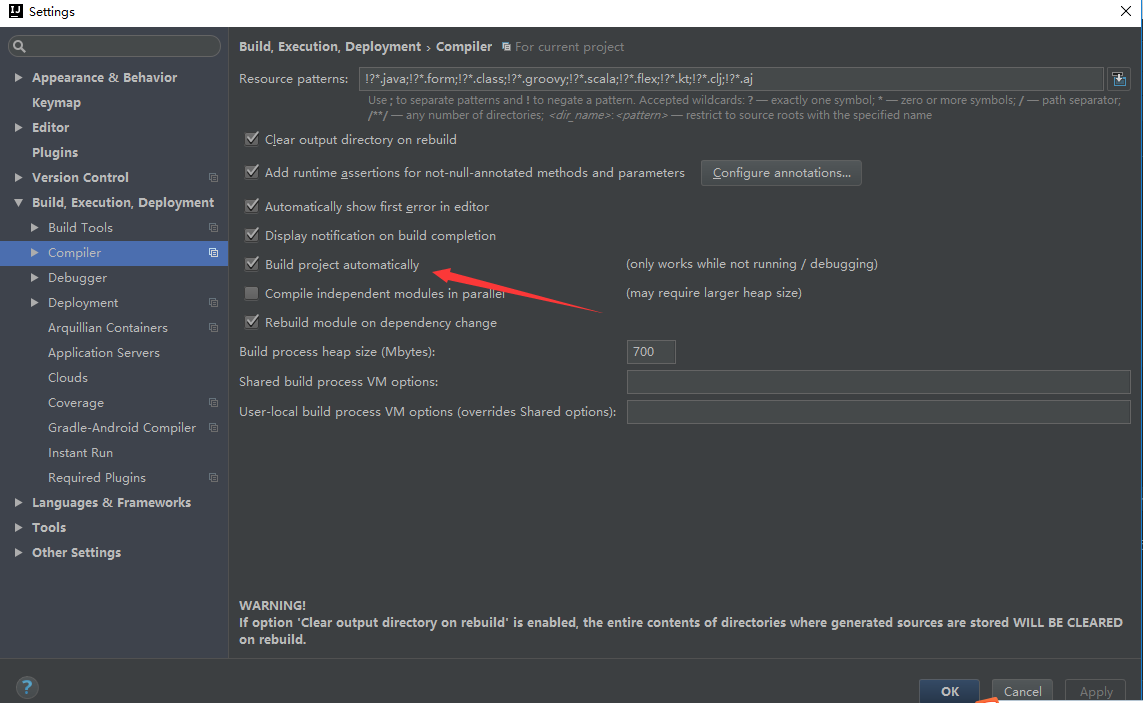
然后记得apply,ok。
2、组合键:Shift+ALT+Ctrl+/ ,选择“Registry”,回车,找到“complier.automake.allow.when.app.running”
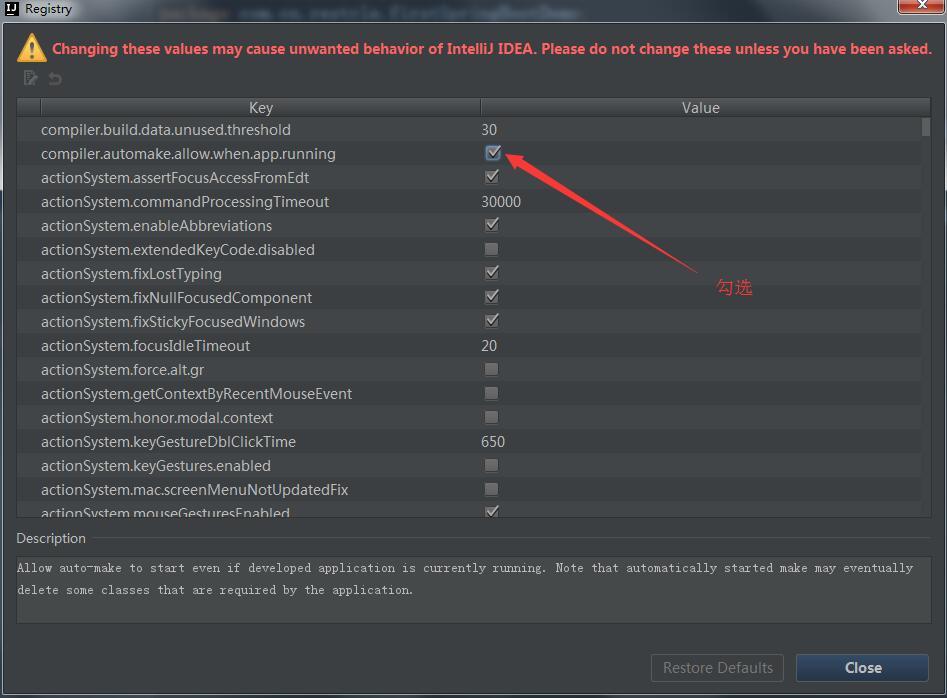
注意:
因为我的idea是14版本,有的15版本或者是更高的在compiler 里面是这样的:

然后快捷键是Ctrl + Shift +A ,一样找到complier.automake.allow.when.app.running,点击勾选即可。
第三步: 如果你用的浏览器和我的一样,那么就禁用缓存
按F12(更多工具—->开发者工具),找到network,勾选Disable Cache。
亲测有效。
另外,如果是eclipse的话,直接在pom.xml文件当中添加:
 <dependency>
      <groupId>org.springframework.boot</groupId>
      <artifactId>spring-boot-devtools</artifactId>
      <optional>true</optional>
    </dependency>
即可,亲测有效

