窗口背景主要包括,背景色与背景图片,设置窗口背景有三种方法
在QSS中,我们可以使用Background或者background-color的方式来设置背景色,设置窗口背景色之后,子控件默认会继承父窗口的背景色,如果想要为控件设置背景图片或图标,则可以使用setPixmap或则setIcon来完成。关于这两个函数的用法,可以参考本博客下的PyQt5的基础控件分栏
实例:QSS设置窗口背景
import sys
from PyQt5.QtWidgets import QMainWindow, QApplication
app = QApplication(sys.argv)
win = QMainWindow()
#设置窗口标题与初始大小
win.setWindowTitle("界面背景图片设置")
win.resize(350, 250)
#设置对象名称
win.setObjectName("MainWindow")
# #todo 1 设置窗口背景图片
win.setStyleSheet("#MainWindow{border-image:url(./images/python.jpg);}")
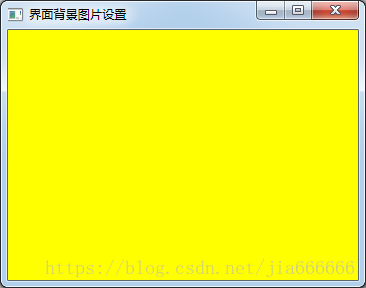
#todo 2 设置窗口背景色
#win.setStyleSheet("#MainWindow{background-color: yellow}")
win.show()
sys.exit(app.exec_())
运行效果图如下

核心代码如下
#设置对象名称
win.setObjectName("MainWindow")

# #todo 1 设置窗口背景图片
win.setStyleSheet("#MainWindow{border-image:url(./images/python.jpg);}")
优化 使用setStyleSheet()设置窗口背景色,核心代码和效果图如下
#todo 2 设置窗口背景色
win.setStyleSheet("#MainWindow{background-color: yellow}")
当使用QPalette(调试板)来设置背景图片时,需要考虑背景图片的尺寸
图片尺寸可以文件管理器打开,右键属性查看
当背景图片的宽度高度大于窗口的宽度高度时,背景图片会平铺整个背景
当背景图片宽度高度小于窗口的宽度高度时,则会加载多个背景图片
实例:QPalette设置窗口背景
import sys
from PyQt5.QtWidgets import QMainWindow, QApplication
from PyQt5.QtGui import QPalette, QBrush, QPixmap

app = QApplication(sys.argv)
win = QMainWindow()

win.setWindowTitle("界面背景图片设置")
palette = QPalette()
palette.setBrush(QPalette.Background, QBrush(QPixmap("./images/python.jpg")))
win.setPalette(palette)

# todo 1 当背景图片的宽度和高度大于窗口的宽度和高度时
win.resize(460, 255 )
#
# # todo 2 当背景图片的宽度和高度小于窗口的宽度和高度时
# win.resize(800, 600)
win.show()
sys.exit(app.exec_())
当背景图片的宽度高度大于窗口的宽度高度时,背景图片会平铺整个背景

当背景图片宽度高度小于窗口的宽度高度时,则会加载多个背景图片

核心代码如下
win.setWindowTitle("界面背景图片设置")
palette = QPalette()
palette.setBrush(QPalette.Background, QBrush(QPixmap("./images/python.jpg")))
win.setPalette(palette)

# todo 1 当背景图片的宽度和高度大于窗口的宽度和高度时
win.resize(460, 255 )
#
# # todo 2 当背景图片的宽度和高度小于窗口的宽度和高度时
# win.resize(800, 600)
import sys
from PyQt5.QtWidgets import QApplication, QWidget
from PyQt5.QtGui import QPainter,QPixmap
from PyQt5.QtCore import Qt


class Winform(QWidget):
  def __init__(self, parent=None):
    super(Winform, self).__init__(parent)
    self.setWindowTitle("paintEvent设置背景颜色")

  def paintEvent(self, event):
    painter = QPainter(self)
    #todo 1 设置背景颜色
    painter.setBrush(Qt.green)
    painter.drawRect(self.rect())

    # #todo 2 设置背景图片,平铺到整个窗口,随着窗口改变而改变
    # pixmap = QPixmap("./images/screen1.jpg")
    # painter.drawPixmap(self.rect(), pixmap)


if __name__ == "__main__":
  app = QApplication(sys.argv)
  form = Winform()
  form.show()
  sys.exit(app.exec_())
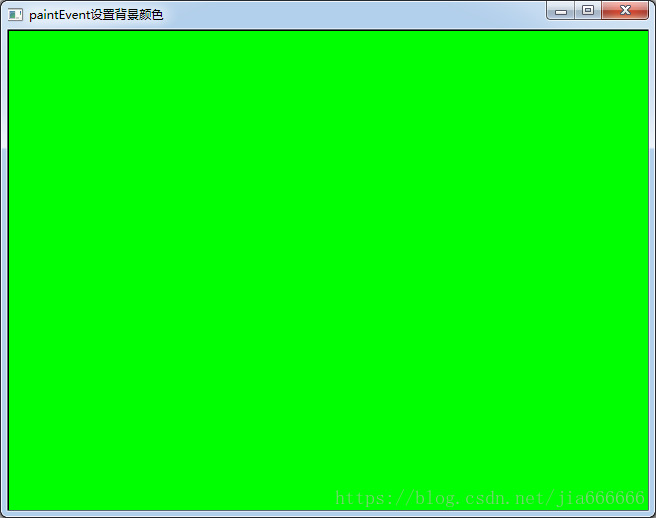
核心代码:使用paintEvent设置窗口的背景色
class Winform(QWidget):
  def __init__(self, parent=None):
    super(Winform, self).__init__(parent)
    self.setWindowTitle("paintEvent设置背景颜色")

  def paintEvent(self, event):
    painter = QPainter(self)
    #todo 1 设置背景颜色
    painter.setBrush(Qt.green)
    painter.drawRect(self.rect())
效果如图
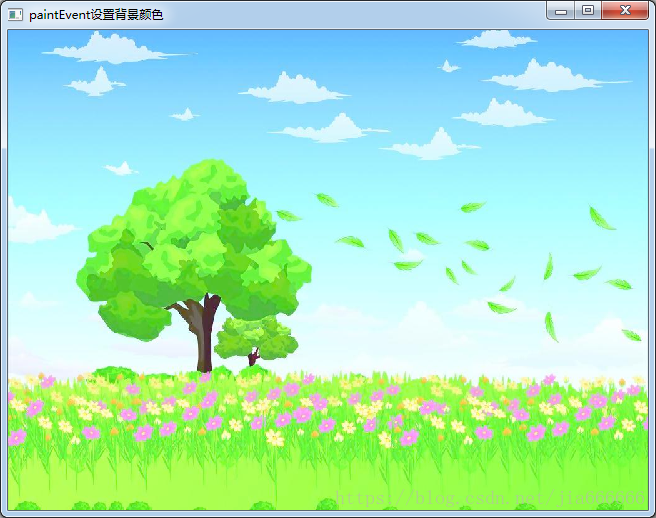
核心代码:设置窗口背景图片
# #todo 2 设置背景图片,平铺到整个窗口,随着窗口改变而改变
pixmap = QPixmap("./images/screen1.jpg")
painter.drawPixmap(self.rect(), pixmap)
| 函数 | 描述 |
|---|---|
| setMask(self,QBitmap)setMask(self,QRegion) | setMask()的作用是为调用它的控件增加一个遮罩,遮住所选区域以外的部分,使之看起来是透明的,它的参数可以为QBitmap或QRegion对象,此处调用QPixmap的mask()函数获得图片自身的遮罩,是一个QBitmap对象,在实例中使用的是PNG格式的图片,它的透明部分就是一个遮罩 |
| paintEvent(self,QPaintEvent) | 通过重载paintEvent()函数绘制窗口背景 |
实现不规则窗口的最简单方式就是图片素材不仅当遮罩层,还当背景图片,通过重载paintEvent()函数绘制窗口背景
import sys
from PyQt5.QtWidgets import QApplication,QWidget
from PyQt5.QtGui import QPixmap,QPainter,QBitmap

class MyForm(QWidget):
  def __init__(self,parent=None):
    super(MyForm, self).__init__(parent)
    #设置标题与初始窗口大小
    self.setWindowTitle('不规则窗口的实现例子')
    self.resize(560,390)

  def paintEvent(self, QPaintEvent):
    painter=QPainter(self)
    #在指定位置绘制图片
    painter.drawPixmap(0,0,280,390,QPixmap(r'./images/dog.jpg'))
    painter.drawPixmap(280,0,280,390,QBitmap(r'./images/dog.jpg'))
if __name__ == '__main__':
  app=QApplication(sys.argv)
  form=MyForm()
  form.show()
  sys.exit(app.exec_())
运行效果如下

使用两张图片,一张用来做遮罩来控制窗口的大小,然后在利用paintEvent()函数重绘另一张为窗口的背景图。
import sys
from PyQt5.QtWidgets import QApplication,QWidget
from PyQt5.QtGui import QPixmap,QPainter,QBitmap

class MyForm(QWidget):
  def __init__(self,parent=None):
    super(MyForm, self).__init__(parent)
    #设置标题与初始窗口大小
    self.setWindowTitle('不规则窗口的实现例子')

    self.pix=QBitmap('./images/mask.png')
    self.resize(self.pix.size())
    self.setMask(self.pix)

  def paintEvent(self, QPaintEvent):
    painter=QPainter(self)
    #在指定位置绘制图片
    painter.drawPixmap(0,0,self.pix.width(),self.pix.height(),QPixmap(r'./images/screen1.jpg'))

if __name__ == '__main__':
  app=QApplication(sys.argv)
  form=MyForm()
  form.show()
  sys.exit(app.exec_())
运行效果如下
第二个窗口的实例是不可以拖动的,这里实现可以拖动的功能
import sys
from PyQt5.QtWidgets import QApplication, QWidget
from PyQt5.QtGui import QPixmap, QPainter, QCursor, QBitmap
from PyQt5.QtCore import Qt
class ShapeWidget(QWidget):
def __init__(self, parent=None):
super(ShapeWidget, self).__init__(parent)
self.setWindowTitle("不规则的,可以拖动的窗体实现例子")
self.mypix()
# 显示不规则 pix
def mypix(self):
#获得图片自身的遮罩
self.pix = QBitmap("./images/mask.png")
#将获得的图片的大小作为窗口的大小
self.resize(self.pix.size())
#增加一个遮罩
self.setMask(self.pix)
#print(self.pix.size())
self.dragPosition = None
# 重定义鼠标按下响应函数mousePressEvent(QMouseEvent)
# 鼠标移动响应函数mouseMoveEvent(QMouseEvent),使不规则窗体能响应鼠标事件,随意拖动。
def mousePressEvent(self, event):
#鼠标左键按下
if event.button() == Qt.LeftButton:
self.m_drag = True
self.m_DragPosition = event.globalPos() - self.pos()
event.accept()
self.setCursor(QCursor(Qt.OpenHandCursor))
if event.button() == Qt.RightButton:
self.close()
def mouseMoveEvent(self, QMouseEvent):
if Qt.LeftButton and self.m_drag:
# 当左键移动窗体修改偏移值
self.move(QMouseEvent.globalPos() - self.m_DragPosition)
QMouseEvent.accept()
def mouseReleaseEvent(self, QMouseEvent):
self.m_drag = False
self.setCursor(QCursor(Qt.ArrowCursor))
# 一般 paintEvent 在窗体首次绘制加载, 要重新加载paintEvent
# 需要重新加载窗口使用 self.update() or self.repaint()
def paintEvent(self, event):
painter = QPainter(self)
#在指定位置绘制图片
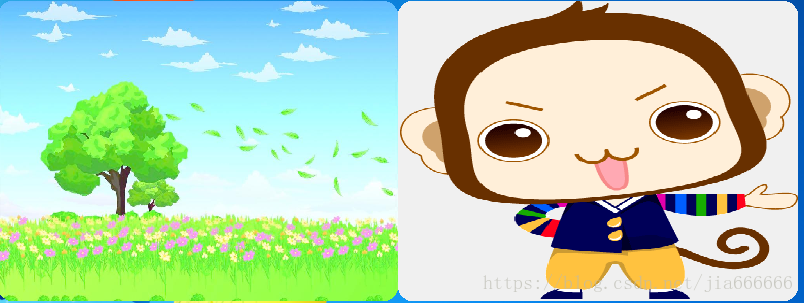
painter.drawPixmap(0, 0, self.width(), self.height(), QPixmap("./images/boy.png"))
if __name__ == '__main__':
app = QApplication(sys.argv)
form = ShapeWidget()
form.show()
app.exec_()
运行效果如下
本文主要介绍了python GUI库PyQt5窗口背景与不规则窗口实例,大家可以参考下,更多关于这方面的文章大家可以点击下面的相关链接

