为什么使用jetty
使用 tomcat 开发效率并不是太高,并且在eclipse有时两秒做更新,有时候又得手动去部署显得非常麻烦。折算我们可以使用 jetty server 由于 eclipse开发
当然eclipse 也开发相关的工具,你可以选择下载
这里我封装了 一个web开发中常用的例子,供大家使用
项目结构

关键代码:
package jettyutils;

import java.io.IOException;
import java.util.Properties;

import org.eclipse.jetty.server.Server;
import org.eclipse.jetty.webapp.WebAppContext;

public class JettyUtils {
  private static String PATH=null;
  private static String PORT="80";
  private static String VISITPATH=null;

  static{
    Properties pro = new Properties();
    try {
      pro.load(JettyUtils.class.getResourceAsStream("jetty.properties"));
      PATH = pro.getProperty("path");
      PORT = pro.getProperty("port");
      VISITPATH=pro.getProperty("viewpath");
    } catch (IOException e) {
      e.printStackTrace();
    }

  }
  private JettyUtils() {
  }
  public static void main(String[] args) throws Exception {
    Server server=new Server(Integer.parseInt(PORT));
    WebAppContext app=new WebAppContext();
    app.setDescriptor(PATH + "/WEB-INF/web.xml");
    app.setResourceBase(PATH);
    app.setContextPath(VISITPATH);
    server.setHandler(app);
    server.start();
    server.join();
  }

}
jetty.properties 文件
path=C:\\Users\\Administrator\\git\\jettydemo\\WebContent
port=80
viewpath=/hello
其中 的viewpath 是你项目访问的基础路径
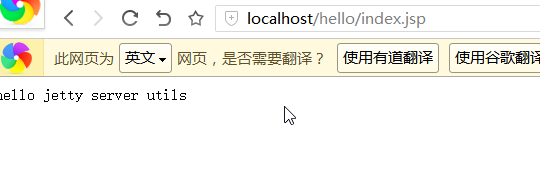
结果
这里我已经上传的码云,你可以选择性下载
地址:
http://git.oschina.net/dgwcode/jettydemo

