Jupyter notebook 安装后,启动后,默认的工作空间是当前用户目录。为了方便对文档进行管理,往往需要自行设置工作空间。下面介绍一种便捷的工作空间设置方法。
对 Jupyter notebook 快捷方式进行修改。右击 jupyter notebook 快捷方式 -> 属性 -> 把“目标”中的 %USERPROFILE% 替换成你想要的目录,eg:D:\python-workspace。
接下来双击 Jupyter notebook 运行,就可以见证效果。
补充知识:Running as root is not recommended. Use --allow-root to bypass
首先输入,查看配置文件位置
[as-pc as]# jupyter notebook --generate-config --allow-root

Overwrite /root/.jupyter/jupyter_notebook_config.py with default config? [y/N]y
Writing default config to: /root/.jupyter/jupyter_notebook_config.py
接下来打开配置文件
gedit /root/.jupyter/jupyter_notebook_config.py
找到这一行
#c.NotebookApp.allow_root = False
去掉#,并修改成True即可解决root权限运行的问题
c.NotebookApp.allow_root =True
保存,重新运行程序
jupyter notebook
设置访问密码
打开 ipython 输入
from notebook.auth import passwd
passwd()
然后根据提示输入2次密码
Enter password: ········
Verify password: ········
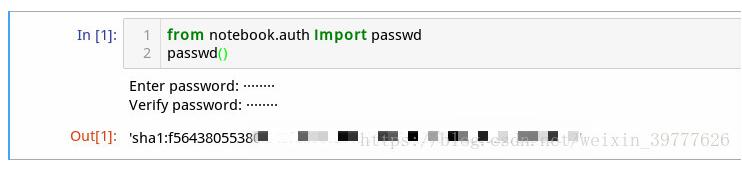
然后复制 ‘sha1:f5643****************************' 粘贴至配置文件(记得去掉 #)
c.NotebookApp.password = u'sha1:f5*****************************'
更多设置如下
c.NotebookApp.ip = 'localhost'
c.NotebookApp.open_browser = True(True:启动时自动打开浏览器,False:需手动打开浏览器访问http://localhost:8888/tree)
c.NotebookApp.port = 8888(端口设置)
以上这篇jupyter notebook 的工作空间设置操作就是小编分享给大家的全部内容了,希望能给大家一个参考,也希望大家多多支持。

