python模块库需要 pillow 和 pytesseract 这两个库,直接pip install 安装就好了。
pip install pillow
pip install pytesseract
下载地址:ocr下载地址
建议下载最新稳定版本:
tesseract-ocr-w64-setup-v5.0.0.20190623.exe。
安装过程很简单,直接点击下一步就完事了,其间可以默认安装路径,也可以自定义安装路径,装好之后,把它的安装路径添加到环境变量中即可,如我的这样:
我的安装位置:

环境变量就这样加:

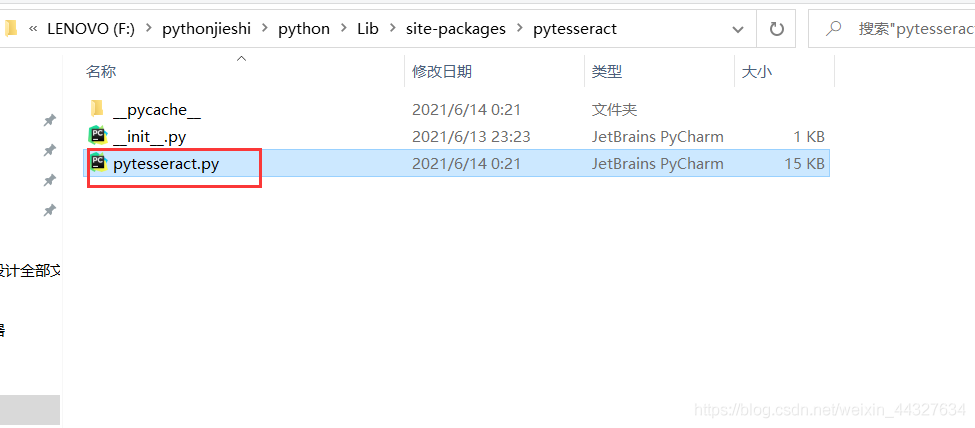
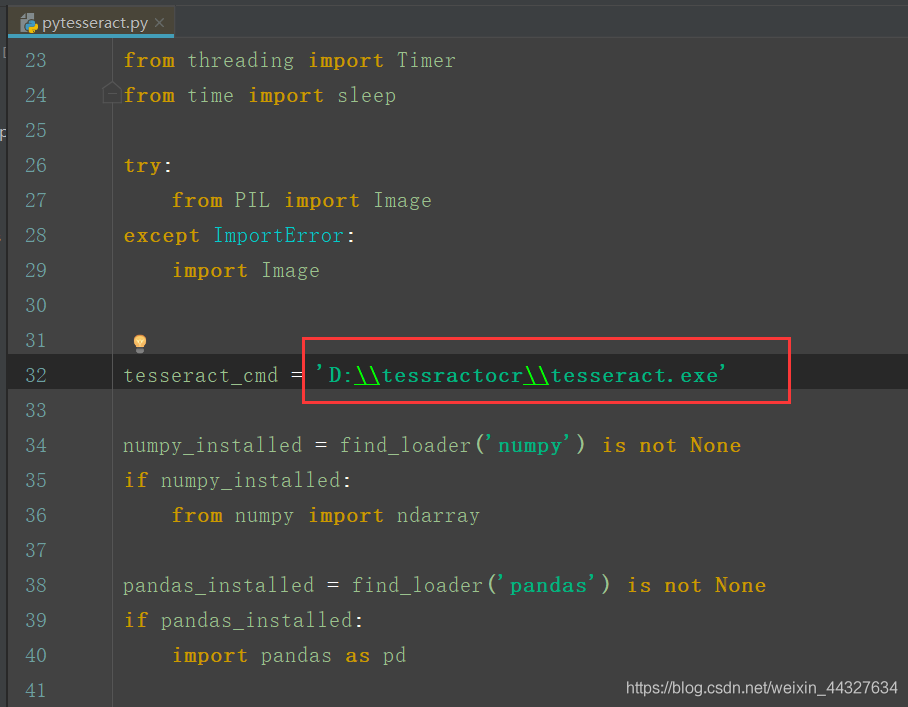
我们pip install pytesseract 之后,在python解释器安装位置包里可以找到pytesseract.py文件如下:
打开之后,更改:
至此,环境准备工作算是大功告成了。
ocr一直默认安装,起始就可以支持数字和英文字母识别的,接下来
我们准备一张验证码图片:

将图片,命名为captcha.png,放到程序同一目录下
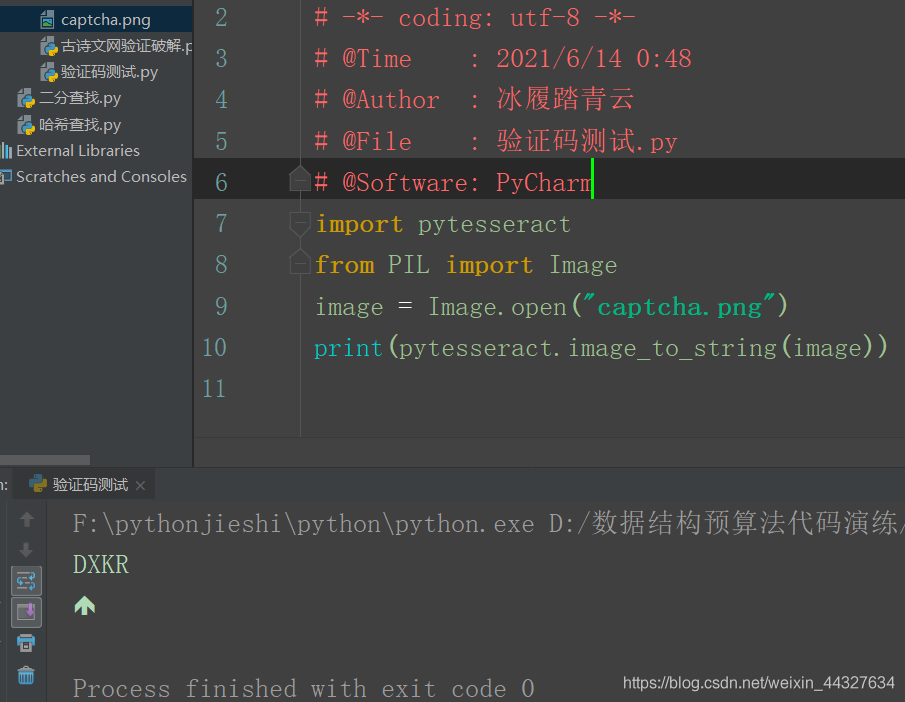
import pytesseract
from PIL import Image
image = Image.open("captcha.png")
print(pytesseract.image_to_string(image))
效果:
我们再尝试一下中文识别。
在进行识别之前我们要先下载好中文拓展语言包,
语言包地址
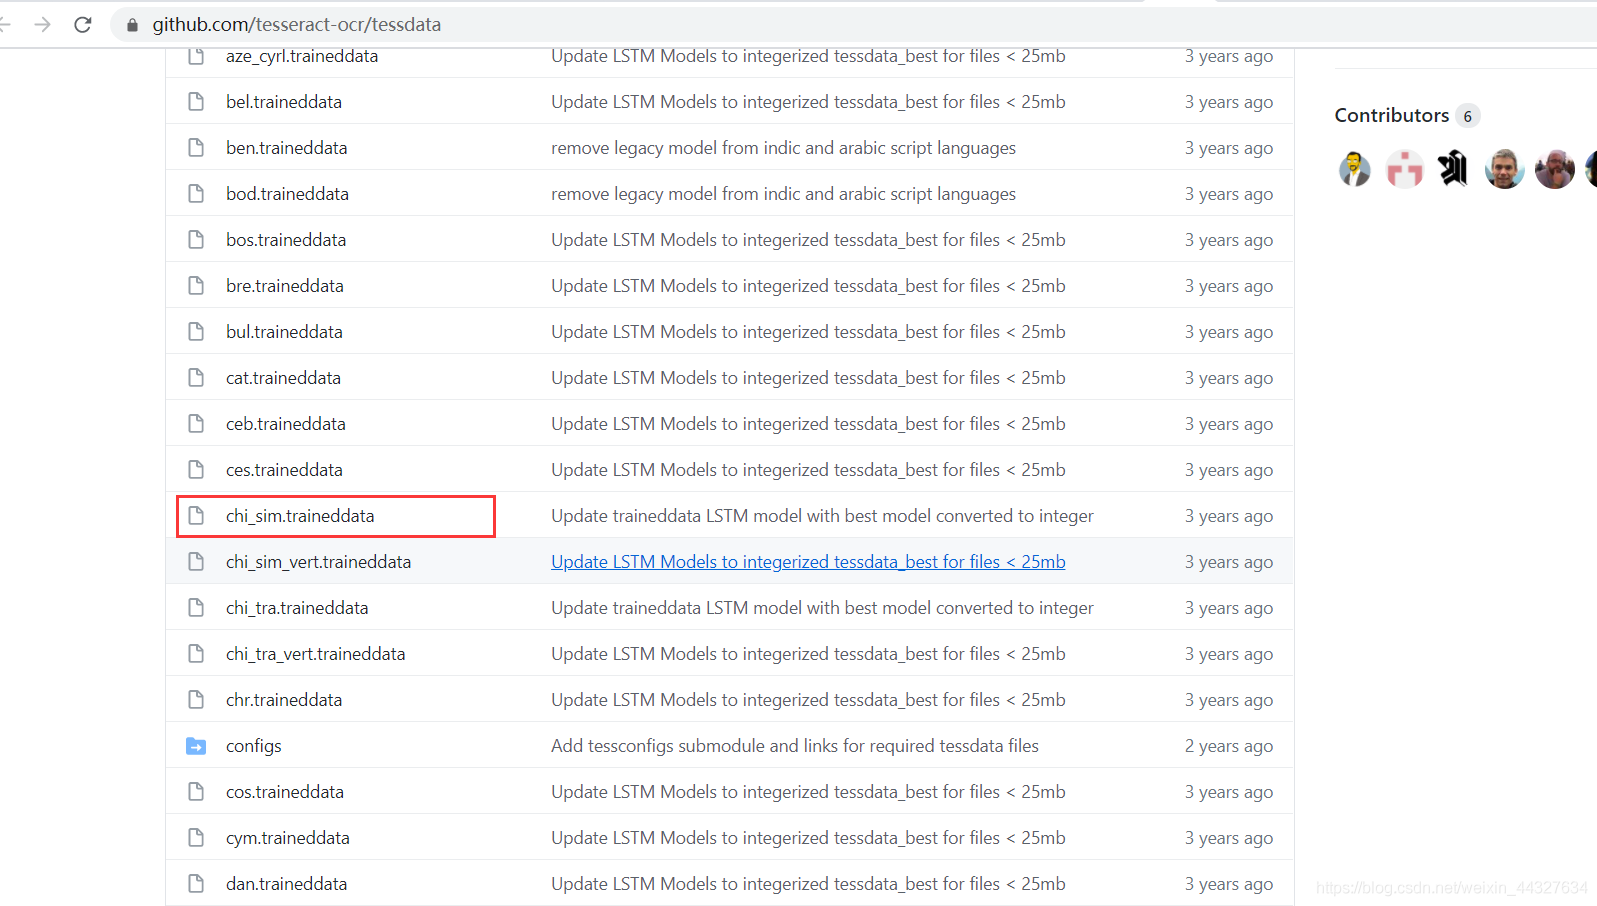
下载需要的的语言包,如下图,红框内为中文简体语言包:
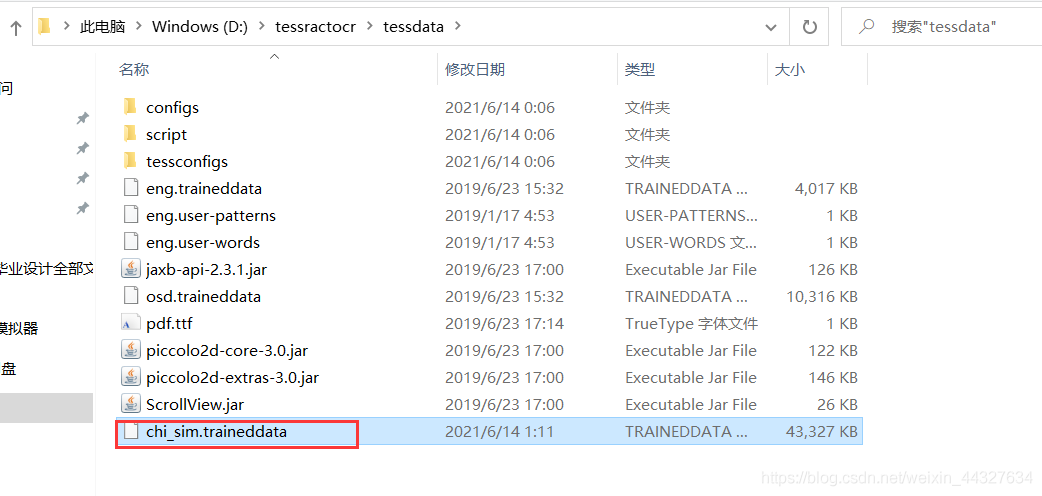
下载后将该包直接放在ocr程序安装目录的tessdata文件夹里面即可。
找一张图片测试一下:
import pytesseract
from PIL import Image
image = Image.open("00.jpg")
print(pytesseract.image_to_string(image,lang='chi_sim'))
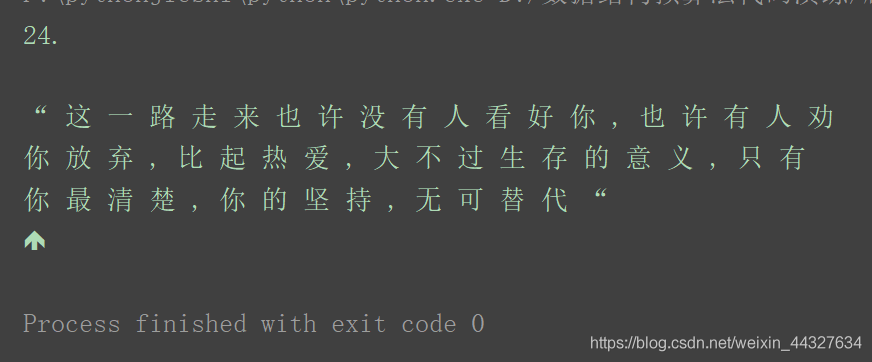
效果:
有时候文本识别率并不高,建议图像识别前,先对图像进行灰度化和 二值化
代码示例:
import pytesseract
from PIL import Image
file = r"00.jpg"

# 先对图像进行灰度化和 二值化
image = Image.open(file)
Img = image.convert('L')   # 灰度化
#自定义灰度界限,这里可以大于这个值为黑色,小于这个值为白色。threshold可根据实际情况进行调整(最大可为255)。
threshold = 180
table = []
for i in range(256):
    if i < threshold:
        table.append(0)
    else:
        table.append(1)
photo = Img.point(table, '1')  #图片二值化
#保存处理好的图片
photo.save('01.jpg')

image = Image.open('01.jpg')
# 解析图片,lang='chi_sim'表示识别简体中文,默认为English
# 如果是只识别数字,可再加上参数config='--psm 6 --oem 3 -c tessedit_char_whitelist=0123456789'
content = pytesseract.image_to_string(image, lang='chi_sim')
print(content)
import pytesseract
from PIL import Image
from selenium import webdriver
def save_captcha(path):
driver = webdriver.Chrome() # 创建浏览器对象
driver.maximize_window()
driver.implicitly_wait(10)
driver.get(url=url)
image = driver.find_element_by_id('imgCode')
image.screenshot(path)
return driver
def recognize_captcha(captcha_path):
captcha = Image.open(captcha_path) # 打开图片
grap = captcha.convert('L') # 对图片进行灰度化处理
data = grap.load() # 将图片对象加载成数据
w, h = captcha.size # 获取图片的大小(宽度,高度)
# 图片二值化处理
for x in range(w):
for y in range(h):
if data[x, y] < 140:
data[x, y] = 0
else:
data[x, y] = 255
code = pytesseract.image_to_string(grap) # 对图片进行识别
return code
def login(driver, code):
flag = True
email = '1242931802@qq.com' # 注册的古诗文网账号和密码
password = 'xxxx'
try:
driver.find_element_by_id('email').send_keys(email)
driver.find_element_by_id('pwd').send_keys(password)
driver.find_element_by_id('code').send_keys(code)
driver.implicitly_wait(10)
driver.find_element_by_id('denglu').click()
except Exception as ex:
flag = False
return flag
if __name__ == '__main__':
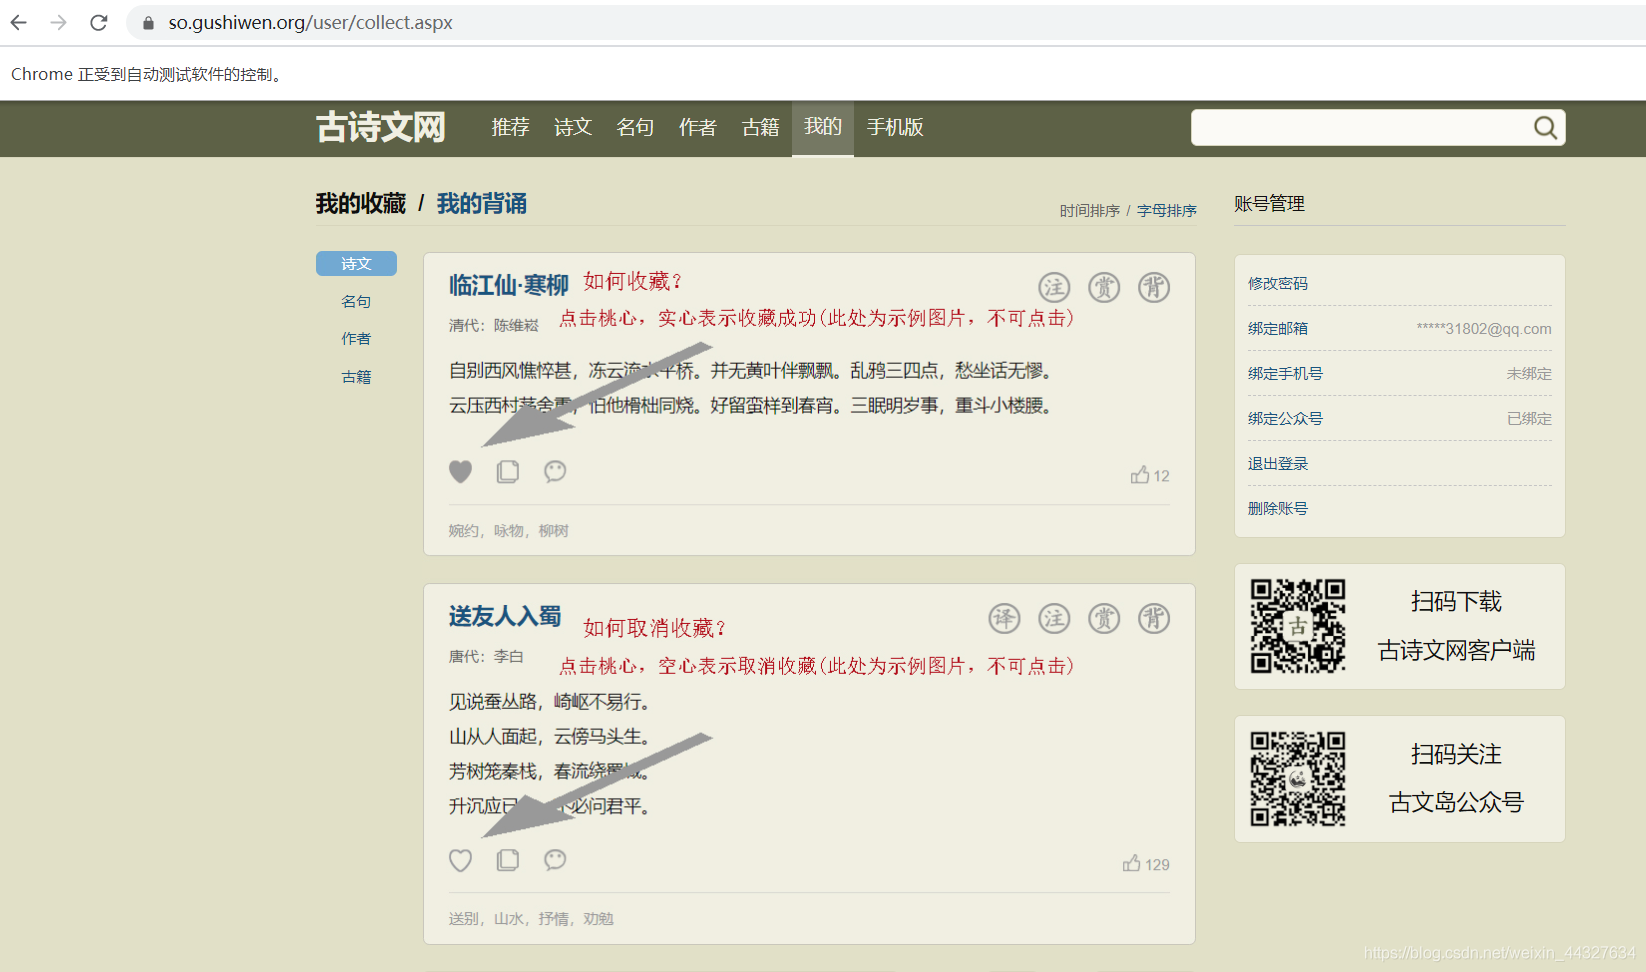
url = 'https://so.gushiwen.org/user/login.aspx?from=http://so.gushiwen.org/user/collect.aspx'
captcha_path = './captcha.png'
count = 1
driver = save_captcha(captcha_path) # 获取驱动
code = recognize_captcha(captcha_path) # 获取验证码
print('识别验证码为:', code)
if login(driver, code):
driver.quit()
效果如下(有时候第一次可能识别失败,可以写个循环逻辑让它多识别几次,一般程序运行1-3次基本会识别成功):