1.导入pom依赖
<!--        mybatis-->
        <dependency>
            <groupId>org.mybatis.spring.boot</groupId>
            <artifactId>mybatis-spring-boot-starter</artifactId>
            <version>1.3.1</version>
        </dependency>

        <!--mysql依赖-->
        <dependency>
            <groupId>mysql</groupId>
            <artifactId>mysql-connector-java</artifactId>
        </dependency>

        <dependency>
            <groupId>org.apache.commons</groupId>
            <artifactId>commons-dbcp2</artifactId>
            <version>2.5.0</version>
        </dependency>
<!-- 引入fluent-mybatis 运行依赖包, scope为compile -->
        <dependency>
            <groupId>com.github.atool</groupId>
            <artifactId>fluent-mybatis</artifactId>
            <version>1.6.8</version>
        </dependency>
        <!-- 引入fluent-mybatis-processor, scope设置为provider 编译需要,运行时不需要 -->
        <dependency>
            <groupId>com.github.atool</groupId>
            <artifactId>fluent-mybatis-processor</artifactId>
            <version>1.6.8</version>
        </dependency>
2.配置数据库连接
spring.datasource.url= jdbc:mysql://localhost:3306/test?useUnicode=true&characterEncoding=UTF-8&serverTimezone=UTC
spring.datasource.username=root
spring.datasource.password=root
3.创建数据库表
CREATE TABLE `student` (
  `id` bigint(20) unsigned NOT NULL AUTO_INCREMENT,
  `name` varchar(20) DEFAULT NULL,
  `age` int(11) DEFAULT NULL,
  PRIMARY KEY (`id`)
) ENGINE=InnoDB DEFAULT CHARSET=utf8 COMMENT='学生表';
4.创建Student实体类,
①实体类添加 @FluentMybatis
②实现 IEntity 接口
@FluentMybatis
@Data
@NoArgsConstructor
public class Student implements IEntity {
    private Long id;
    private String name;
    private Integer age;
}
5.重新构建项目

构建完成后,target目录下就会新建几个文件夹

6. 测试
@Autowired
    private StudentMapper studentMapper; // target目录下
    @RequestMapping("insert")
    public void insert(){
        Student student = new Student();
        student.setName("dl");
        student.setAge(25);
        studentMapper.insert(student);
    }
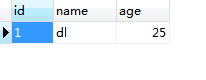
数据库已插入
************************************
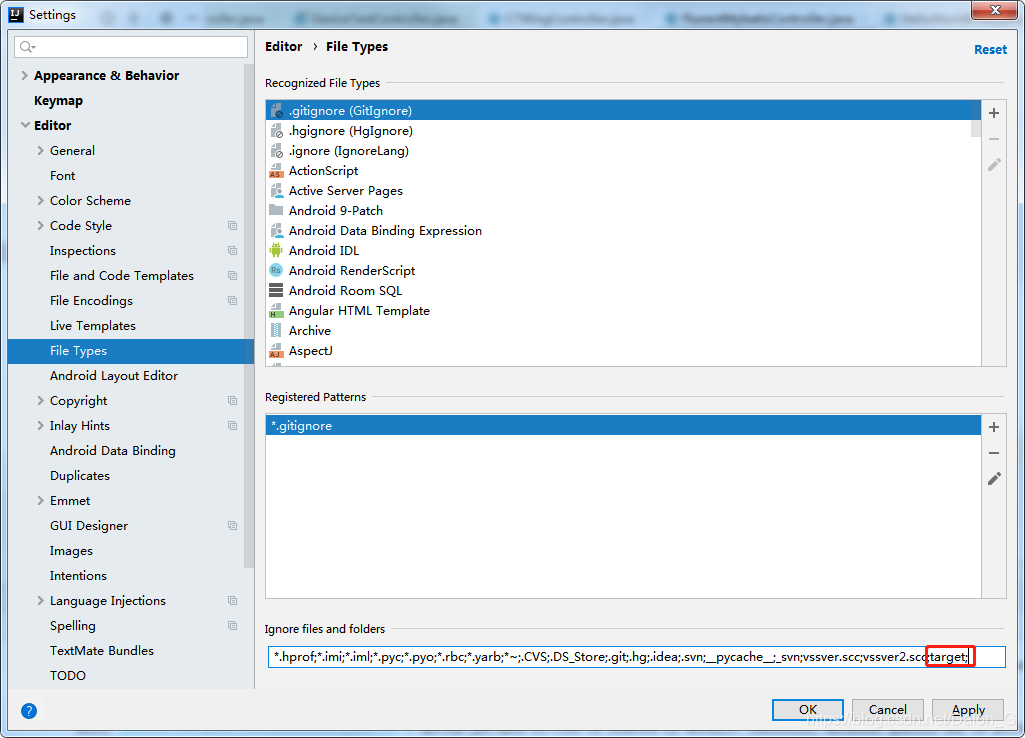
如果出现Mapper文件找不到路径的异常,很可能是在之前idea中将target文件隐藏了,只需
File --> setting --> File Types 将忽视的target文件删掉就可以了