express的使用过程有两种方式:
npm install -g express-generator
express express-app
├── app.js
├── bin
│ └── www
├── package-lock.json
├── package.json
├── public
│ ├── images
│ ├── javascripts
│ └── stylesheets
│ └── style.css
├── routes
│ ├── index.js
│ └── users.js
└── views
├── error.jade
├── index.jade
└── layout.jade
之后 cd 进入到对应的目录下,然后将项目跑起来:
npm install
node bin/www
node app.js
上面通过express提供的脚手架,直接创建一个应用的骨架;现在我们自己从零搭建项目:
初始化一个新的项目:
npm init -y
安装express:
npm install express
新建app.js

现在搭建自己的第一个express程序:在app.js中加入如下代码
const express = require('express');
// 创建服务器
const app = express();
app.get('/',(req,res) => {
  res.end("Hello World");
});
app.listen(8000,() => {
  console.log("服务器启动成功~");
})
进入项目根目录下,在终端中将服务器跑起来:
node app.js
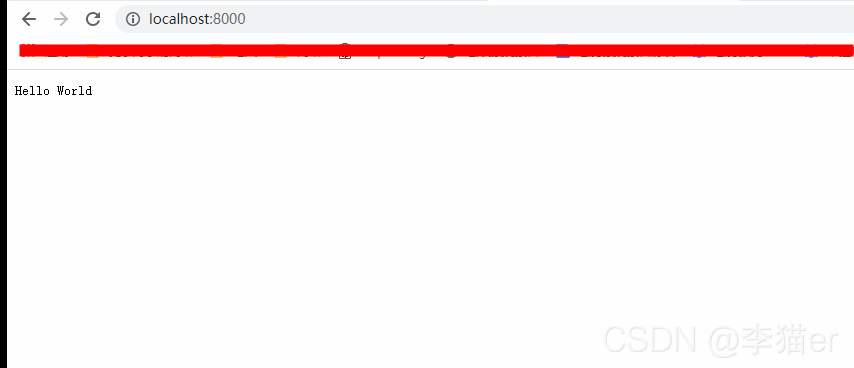
到浏览器:访问localhost:8000即可
请求的路径中如果有一些参数,可以这样表达:
/users/:userId;
在request对象中要获取可以通过req.params.userId;
返回数据,我们可以方便的使用json:
res.json(数据)方式;
const express = require('express');
const app = express();
app.get('/users/:userId', (req, res, next) => {
  console.log(req.params.userId);
  res.json({username: "liyingxia", password: "8i8i8i8i" });
});
app.listen(8000, () => {
  console.log("静态服务器启动成功~");
})
Express是一个路由和中间件的Web框架,它本身的功能非常少:
Express应用程序本质上是一系列中间件函数的调用;
中间件的本质就是一个回调函数;
这个回调函数接受三个参数:
请求对象(request对象);
响应对象(response对象);
next函数(在express中定义的用于执行下一个中间件的函数);
执行任何代码;
更改请求(request)和响应(response)对象;
结束请求-响应周期(返回数据);
调用栈中的下一个中间件;
如果当前中间件功能没有结束请求-响应周期,则必须调用 next()将控制权传递给下一个中间件功能,否则,请求将被挂起。
express主要提供了两种方式:app/router.use和app/router.methods这两种方式把中间件应用到我们的应用程序中;
methods指的是常用的请求方式,比如:app.get或app.post等
// express 中间件的使用
const express = require('express');
const res = require('express/lib/response');
const app = express();
app.use((req,res,next) => {
  console.log("middleware");
  next();
});
app.use((req,res,next) => {
  console.log("middleware");
  res.end("Hello Common Middleware");
})
app.listen(9000,()=>{
  console.log("中间件服务器启动成功~")
})
path匹配中间件:
//path 路径匹配中间件
app.use('/home',(req,res,next) => {
  console.log("home middleware 中间件");
  next();
});
app.use('/home',(req,res,next) => {
  console.log("home middleware02");
  next();
  res.end("middleware");
});
app.use((req,res,next) =>{
   console.log("middleware");
})
path 和 method 匹配中间件
// path 和 method 匹配中间件
app.get('/home',(req,res,next) => {
  console.log("home get middleware");
  next();
})
app.post('/login',(req,res,next) => {
  console.log("login post middleware");
  next();
});
app.use((req,res,next) => {
  console.log("common middleware");
})
app.use(express.json());
app.use(express.urlencoded({extended:true}));
app.post('/login',(req,res,next) => {
  console.log(req.body);
  res.end("登陆成功~");
});
如果我们希望将请求日志记录下来,那么可以使用express官网开发的第三方库:morgan
morgan安装:
npm install morgan
如何用?直接作为中间件使用即可:
const loggerWriter = fs.createWriteStream('./log/access.log', {
  flags: 'a+'
})
app.use(morgan('combined', {stream: loggerWriter}));
图片上传我们可以使用express官方开发的第三方库:multer
multer安装:
npm install multer
上传文件:
const upload = multer({
  dest: "uploads/"
})

app.post('/upload', upload.single('file'), (req, res, next) => {
  console.log(req.file.buffer);
  res.end("文件上传成功~");
})
添加上传文件后缀名:
const storage = multer.diskStorage({
  destination: (req, file, cb) => {
    cb(null, "uploads/")
  },
  filename: (req, file, cb) => {
    cb(null, Date.now() + path.extname(file.originalname));
  }
})
const upload = multer({
  storage
})
app.post('/upload', upload.single('file'), (req, res, next) => {
  console.log(req.file.buffer);
  res.end("文件上传成功~");
})
上传多张图片:
app.use('/upload', upload.array('files'), (req, res, next) => {
  console.log(req.files);
});
客户端传递到服务器参数的方法常见的是5种:
方式一:通过get请求中的URL的params;
方式二:通过get请求中的URL的query;
方式三:通过post请求中的body的json格式;
方式四:通过post请求中的body的x-www-form-urlencoded格式;
方式五:通过post请求中的form-data格式;
请求地址: http://locahost:8000/login/asd/ass
获取参数:
app.use('/login/:id/:name', (req, res, next) => {
  console.log(req.params);
  res.json("请求成功~");
})
请求地址:http://localhost:8000/login?username=liyingxia&password=123456
获取参数:
app.use('/login', (req, res, next) => {
  console.log(req.query);
  res.json("请求成功~");
})
在客户端发送post请求时,会将数据放到body中:客户端可以通过json的方式传递,也可以通过form表单的方式传递;
自己编写中间件来解析JSON:
app.use((req, res, next) => {
  if (req.headers['content-type'] === 'application/json') {
    req.on('data', (data) => {
      const userInfo = JSON.parse(data.toString());
      req.body = userInfo;
    })
    req.on('end', () => {
      next();
    })
  } else {
    next();
  }
})
app.post('/login', (req, res, next) => {
  console.log(req.body);
  res.end("登录成功~");
});
适用express内置的中间件或者使用body-parser来完成:
app.use(express.json());
app.post('/login', (req, res, next) => {
  console.log(req.body);
  res.end("登录成功~");
});
body的x-www-form-urlencoded格式;
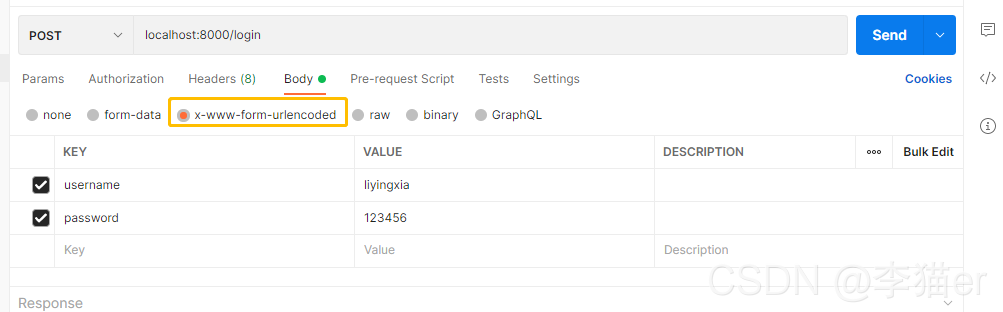
解析application/x-www-form-urlencoded:
可以使用express自带的 urlencoded函数来作为中间件:
传入的extended用于表示使用哪一种解析方式:
qs第三方模块;querystring内置模块;
app.use(express.json());
app.use(express.urlencoded({extended: true}));

app.post('/login', (req, res, next) => {
  console.log(req.body);
  res.end("登录成功~");
});
通过any借助multer去解析一些form-data中的普通数据:
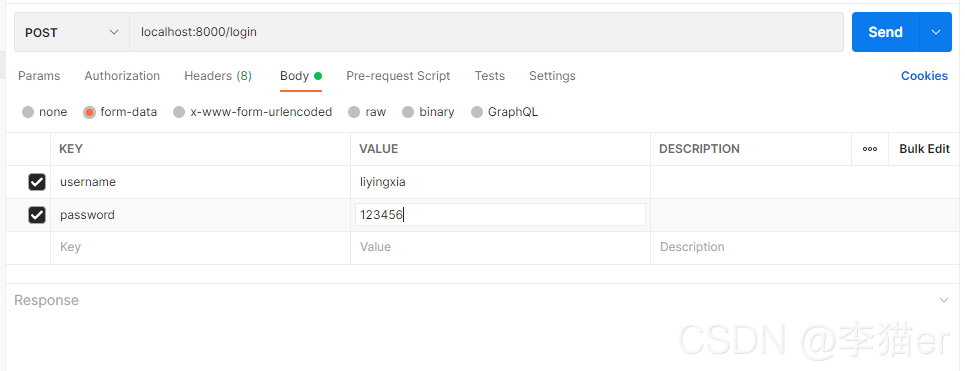
app.use(upload.any());
app.use('/login', (req, res, next) => {
  console.log(req.body);
});
end()类似于http中的response.end方法;
res.end("获取成功~")
json()json方法中可以传入很多的类型:
object、array、string、boolean、number、null等,都会被转换成json格式返回
res.json({name:"liyignxia",password:"123456"});
status()设置状态码
res.status(200);
使用express.Router来创建一个路由处理程序:一个Router实例拥有完整的中间件和路由系统;
// 用户相关的处理
const userRouter = express.Router();

userRouter.get('/', (req, res, next) => {
  res.end("用户列表");
});

userRouter.post('/', (req, res, next) => {
  res.end("创建用户");
});

userRouter.delete('/', (req, res, next) => {
  res.end("删除用户");
});

app.use('/users', userRouter);
Node也可以作为静态资源服务器,并且express给我们提供了方便部署静态资源的方法;
const express = require('express');
const app = express();
app.use(express.static('./build'));
app.listen(8000, () => {
  console.log("静态服务器启动成功~");
})
app.use((req, res, next) => {
  next(new Error("USER DOES NOT EXISTS"));
});
app.use((err, req, res, next) => {
  const message = err.message;
  switch (message) {
    case "USER DOES NOT EXISTS":
      res.status(400).json({message})
  }
  res.status(500)
})

