Android—沉浸式状态栏

我们的征程是星辰大海,而非人间烟尘
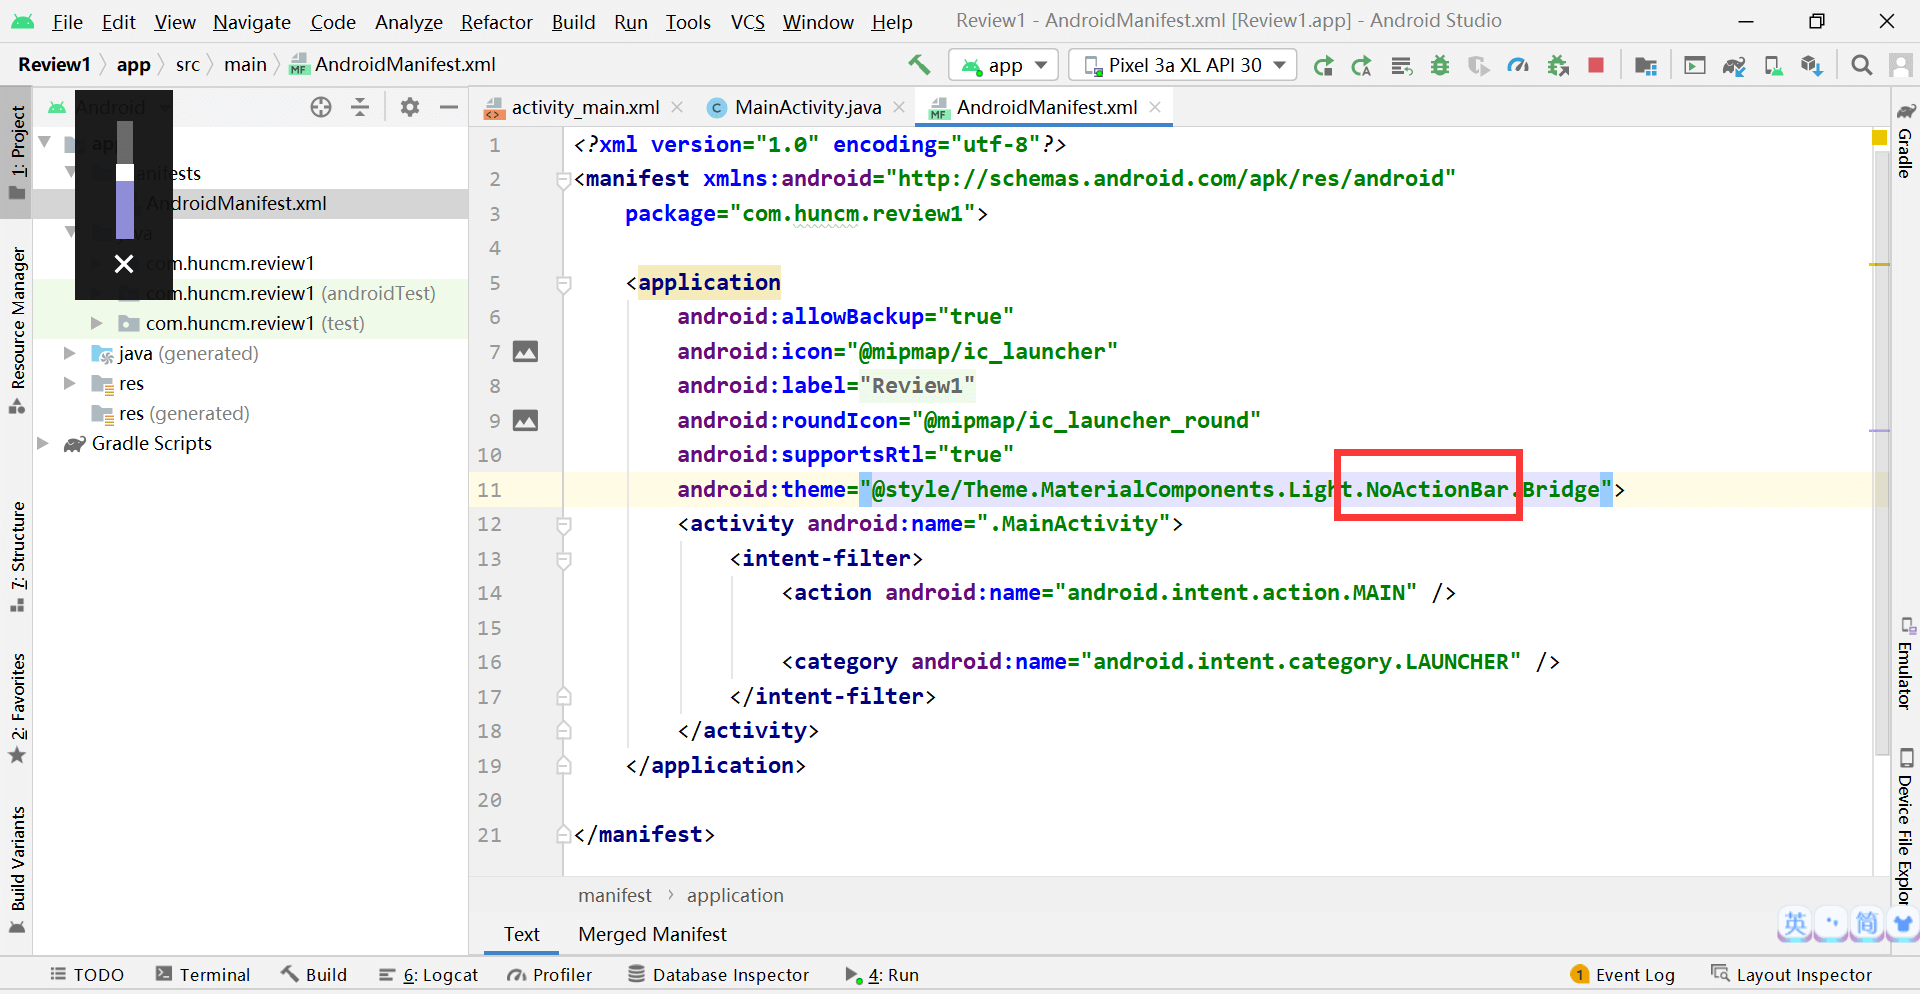
首先去掉对应主题下面的Android自带的ActionBar,只需要在对应主题下面加NoActionBar

implementation 'com.jaeger.statusbarutil:library:1.5.1'
沉浸式状态栏,既可以把颜色实现沉浸,又可以把图片实现沉浸。
未设置颜色沉浸的状态:
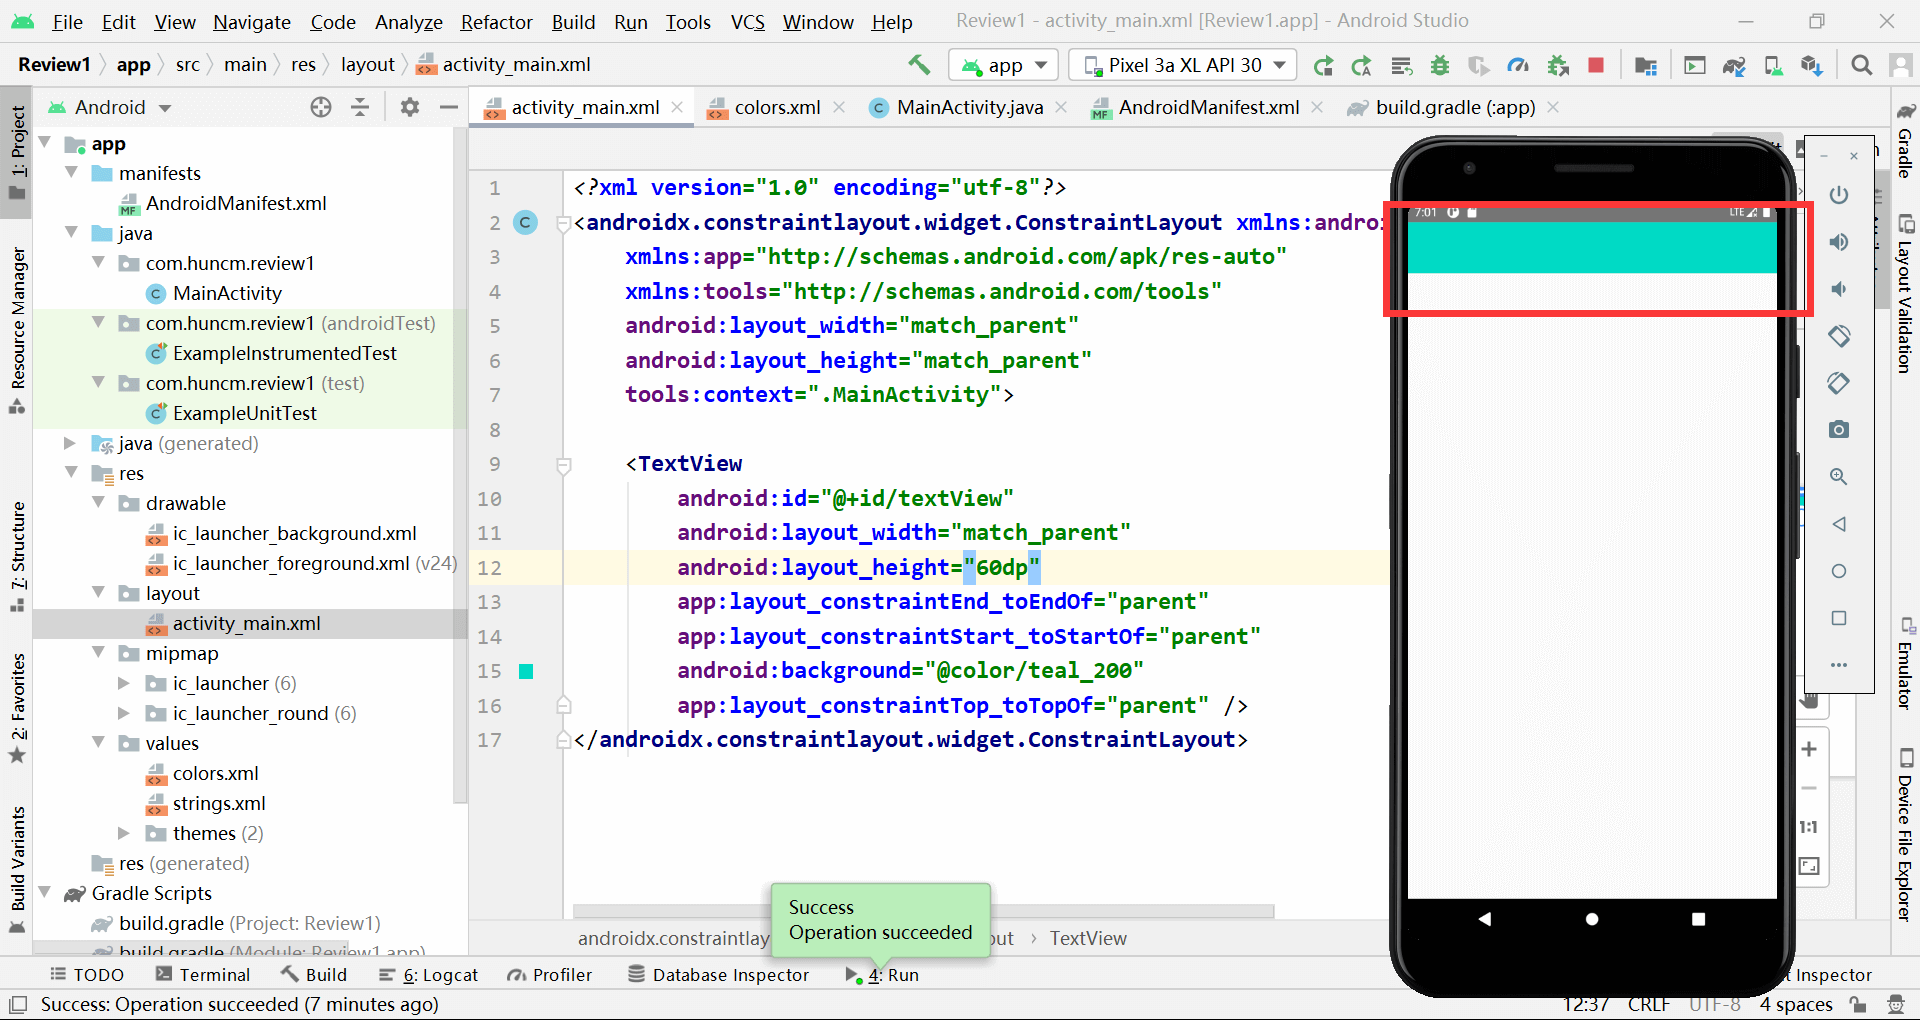
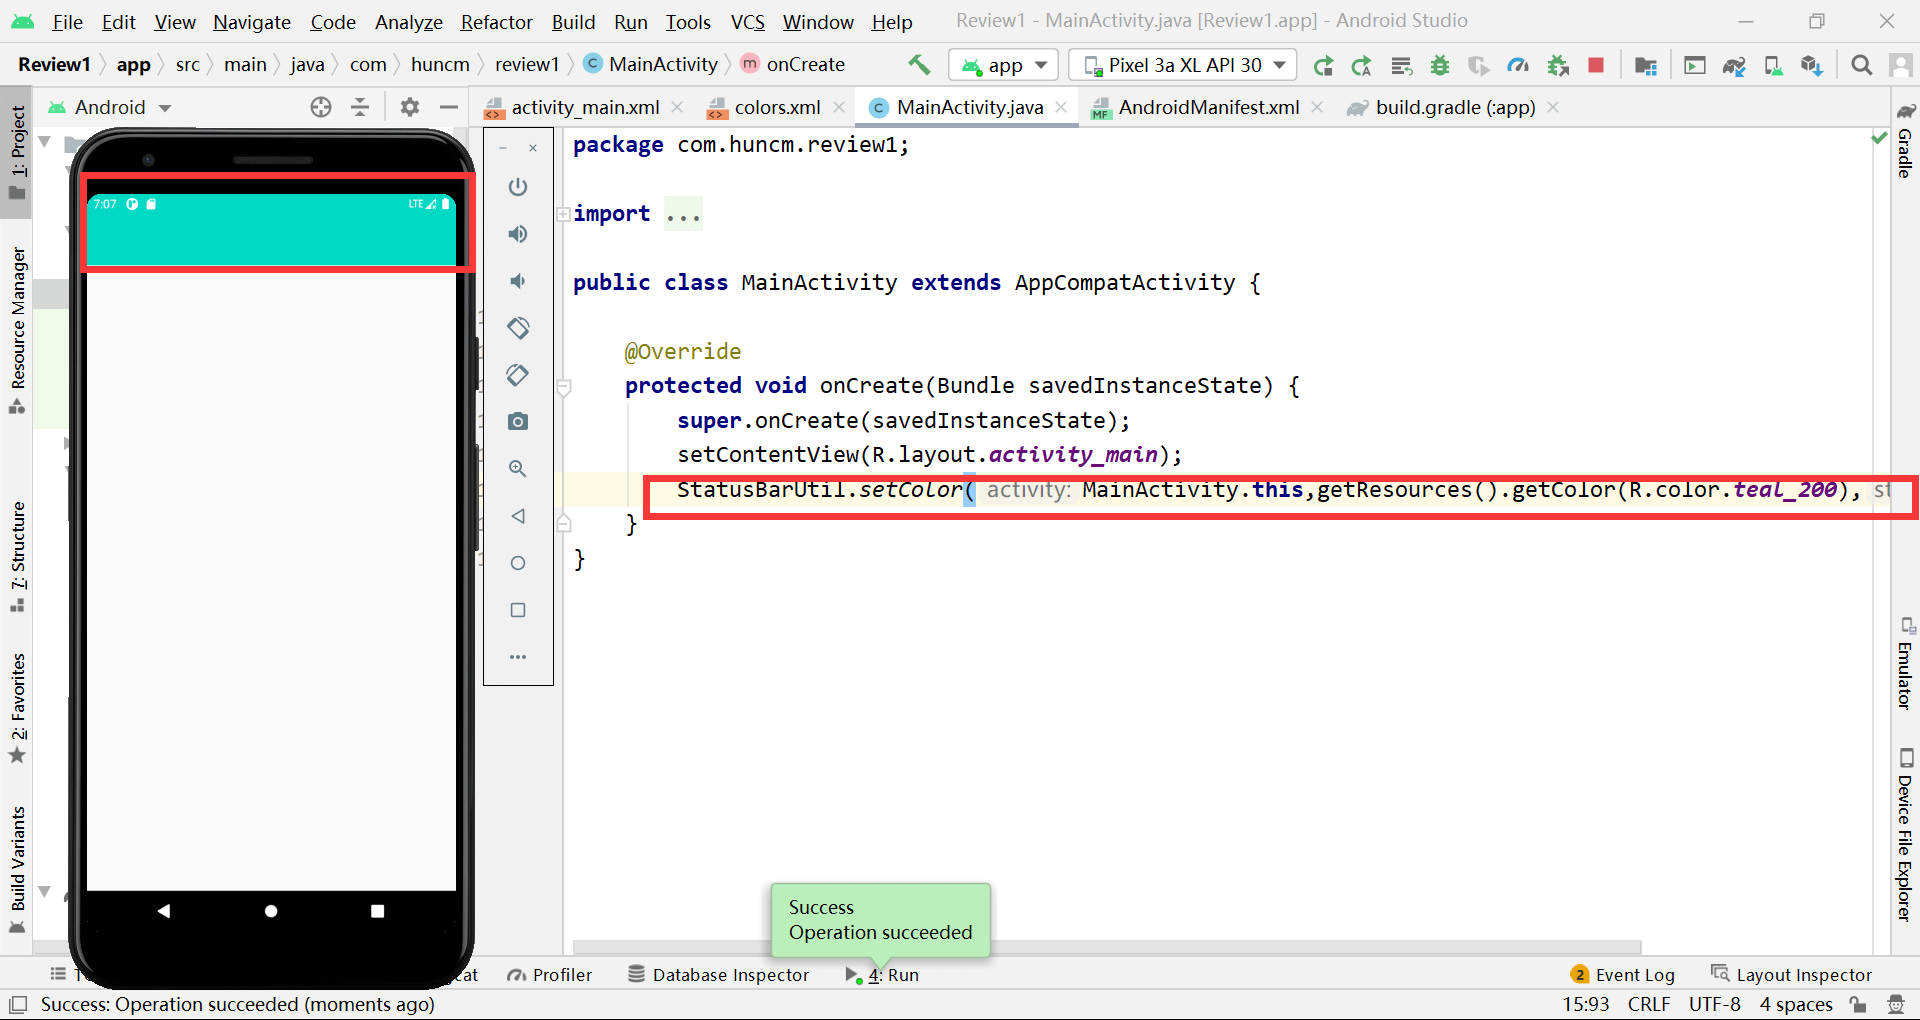
逻辑代码:
StatusBarUtil.setColor(MainActivity.this,getResources().getColor(R.color.teal_200),0)
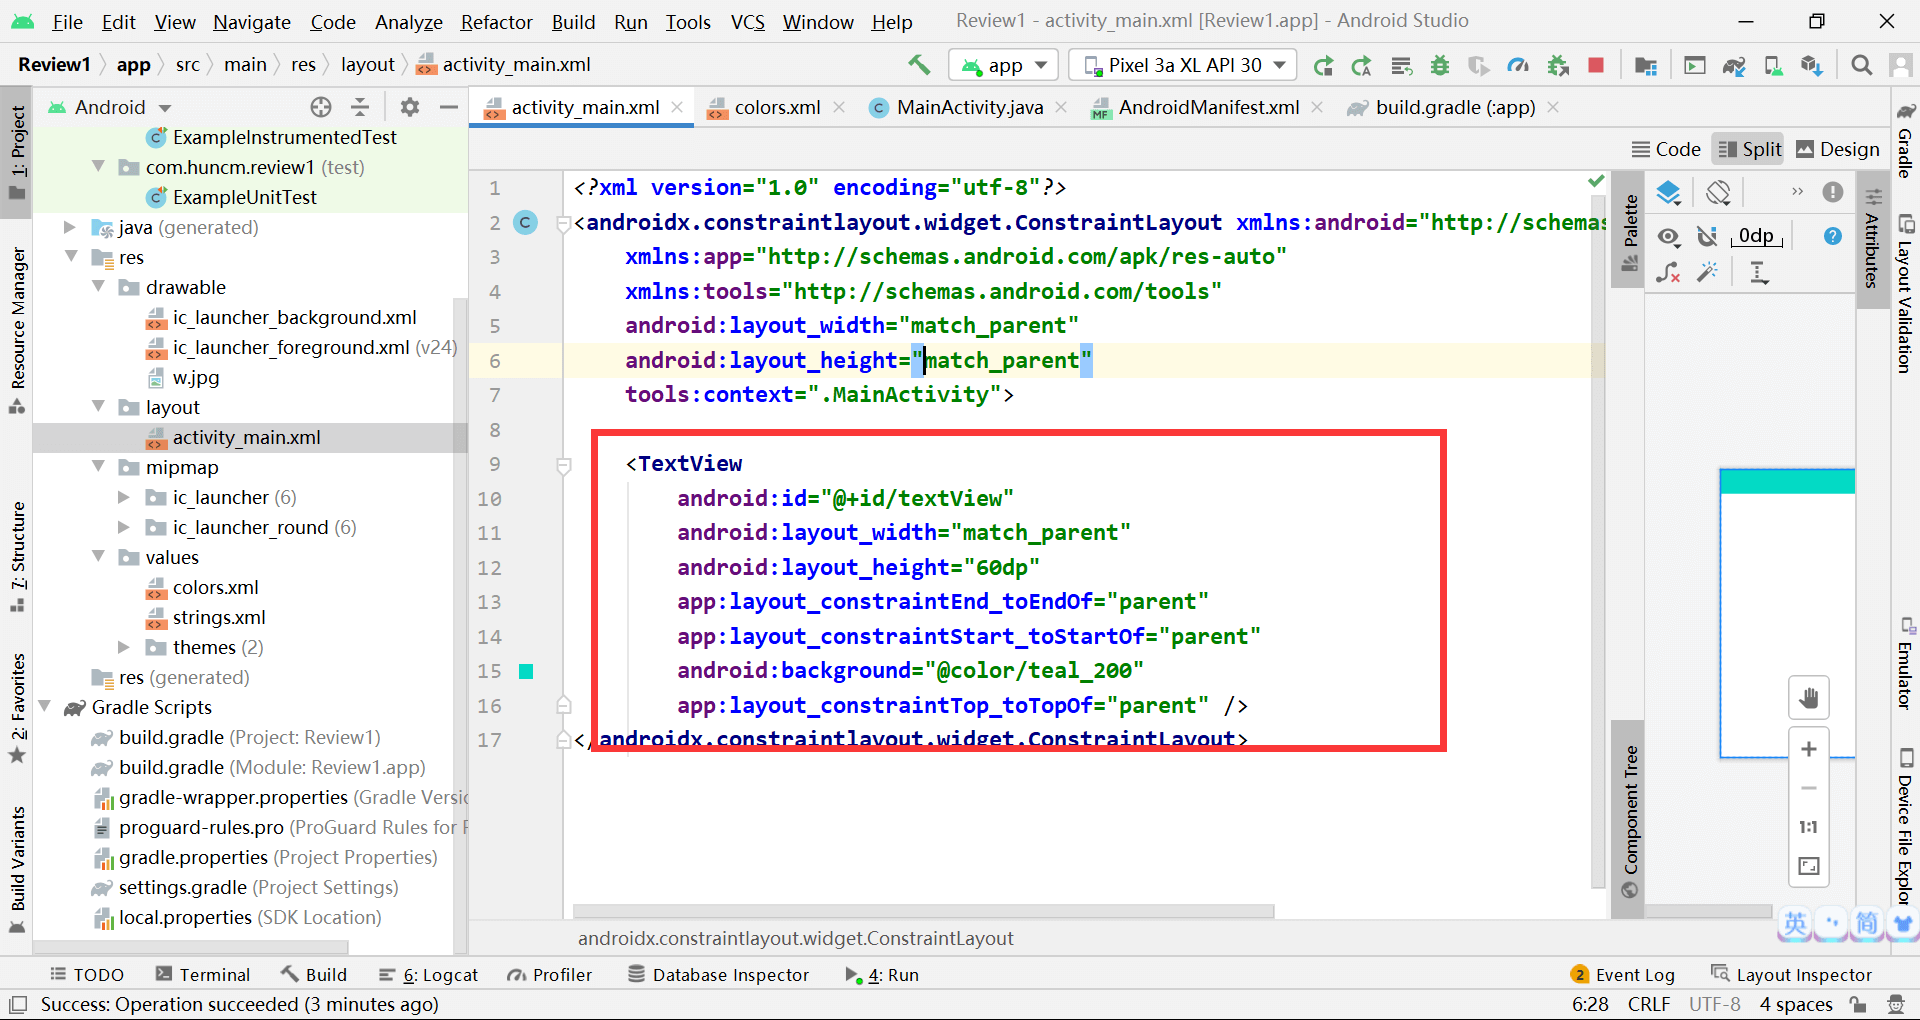
布局文件
未沉浸之前的效果
沉浸之后的效果

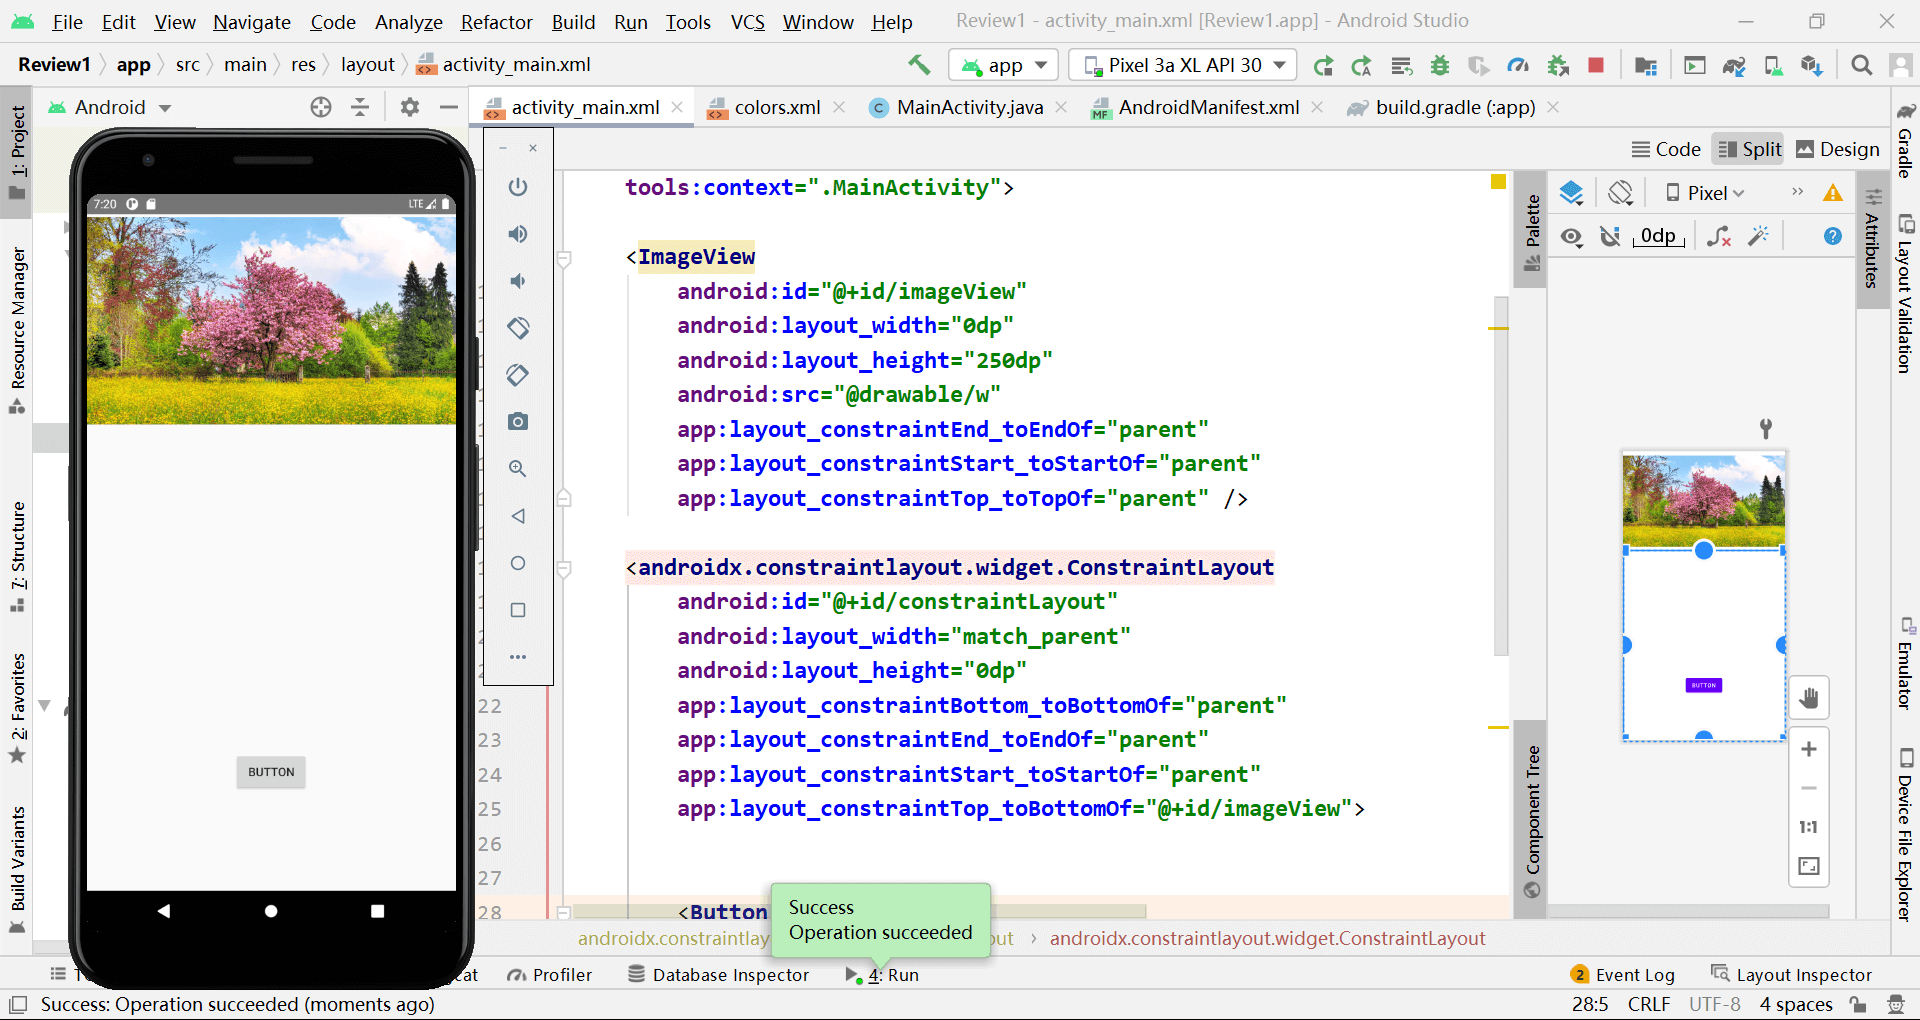
布局代码
setTransparentForImageView方法替换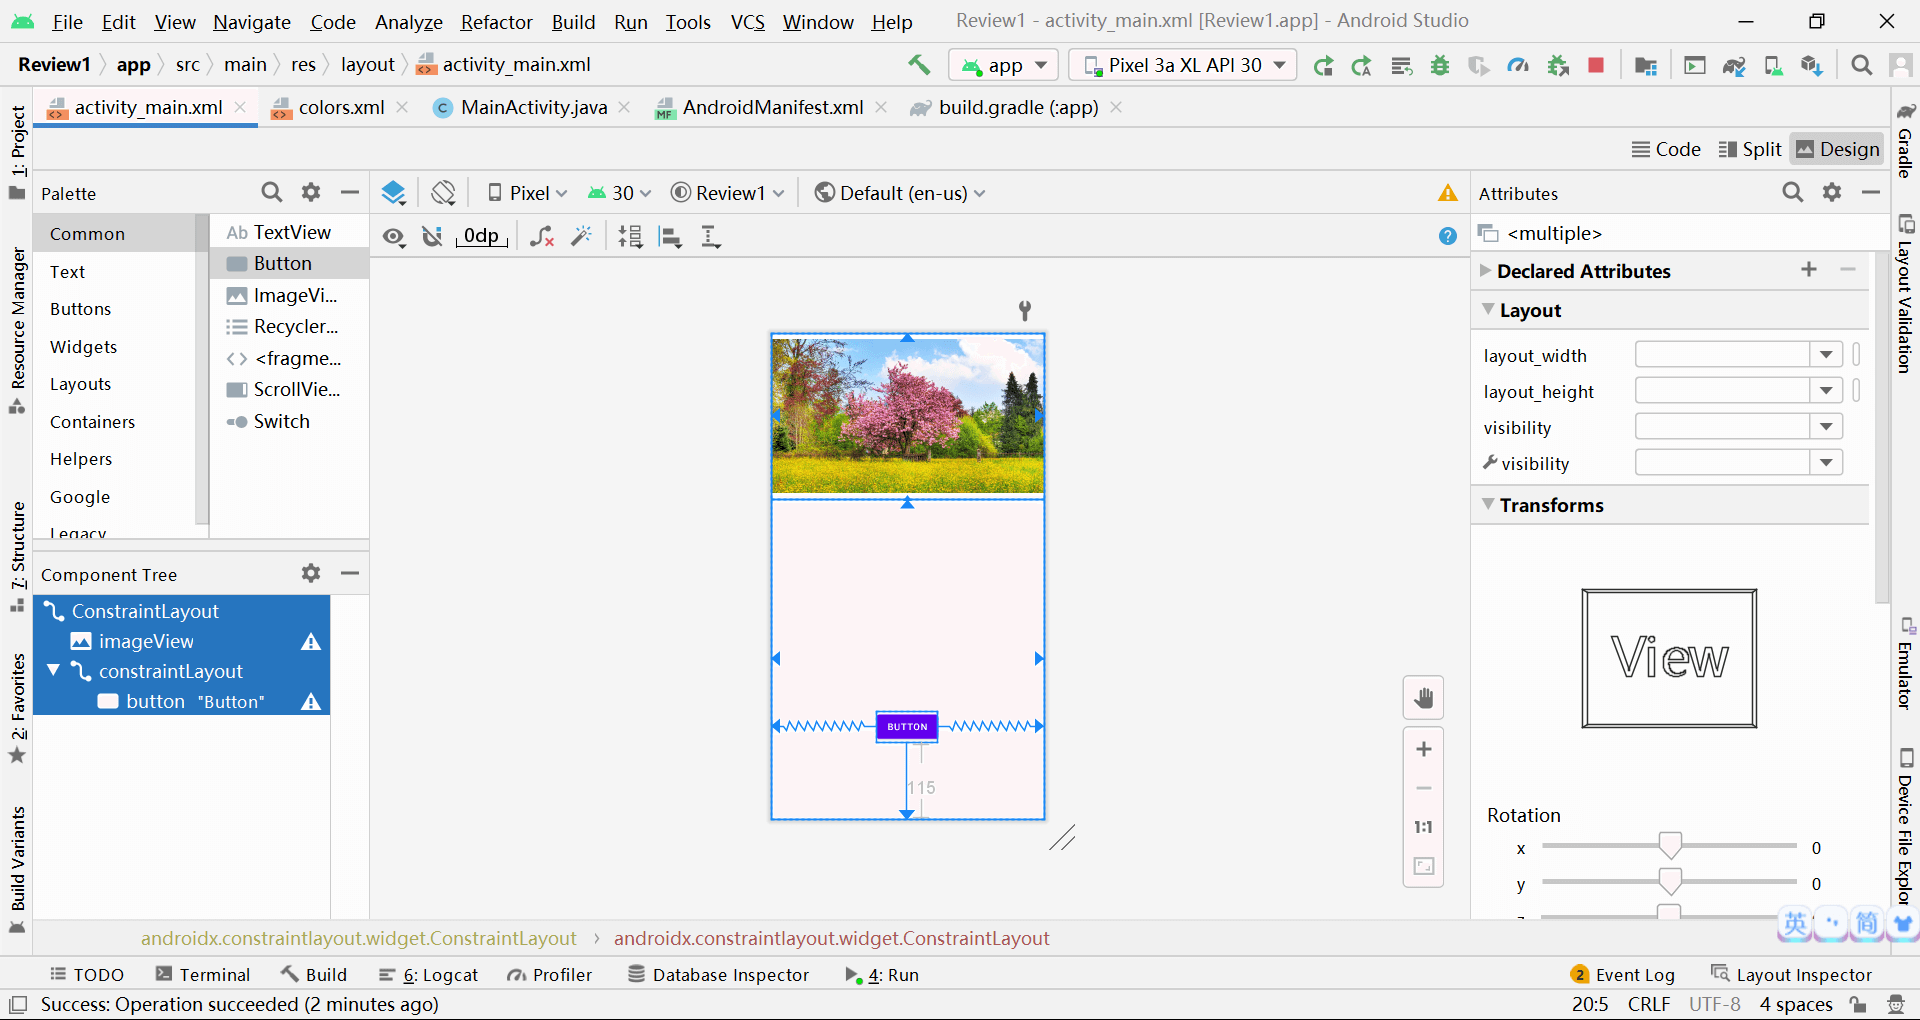
<?xml version="1.0" encoding="utf-8"?>
<androidx.constraintlayout.widget.ConstraintLayout xmlns:android="http://schemas.android.com/apk/res/android"
    xmlns:app="http://schemas.android.com/apk/res-auto"
    xmlns:tools="http://schemas.android.com/tools"
    android:layout_width="match_parent"
    android:layout_height="match_parent"
    tools:context=".MainActivity">

    <ImageView
        android:id="@+id/imageView"
        android:layout_width="0dp"
        android:layout_height="250dp"
        android:src="@drawable/w"
        android:layout_margin="0dp"
        android:padding="0dp"
        app:layout_constraintEnd_toEndOf="parent"
        app:layout_constraintStart_toStartOf="parent"
        app:layout_constraintTop_toTopOf="parent" />

    <androidx.constraintlayout.widget.ConstraintLayout
        android:id="@+id/constraintLayout"
        android:layout_width="match_parent"
        android:layout_height="0dp"
        app:layout_constraintBottom_toBottomOf="parent"
        app:layout_constraintEnd_toEndOf="parent"
        app:layout_constraintStart_toStartOf="parent"
        app:layout_constraintTop_toBottomOf="@+id/imageView">


        <Button
            android:id="@+id/button"
            android:layout_width="wrap_content"
            android:layout_height="wrap_content"
            android:layout_marginBottom="115dp"
            android:text="Button"
            app:layout_constraintBottom_toBottomOf="parent"
            app:layout_constraintEnd_toEndOf="parent"
            app:layout_constraintStart_toStartOf="parent" />
    </androidx.constraintlayout.widget.ConstraintLayout>
</androidx.constraintlayout.widget.ConstraintLayout>
逻辑代码
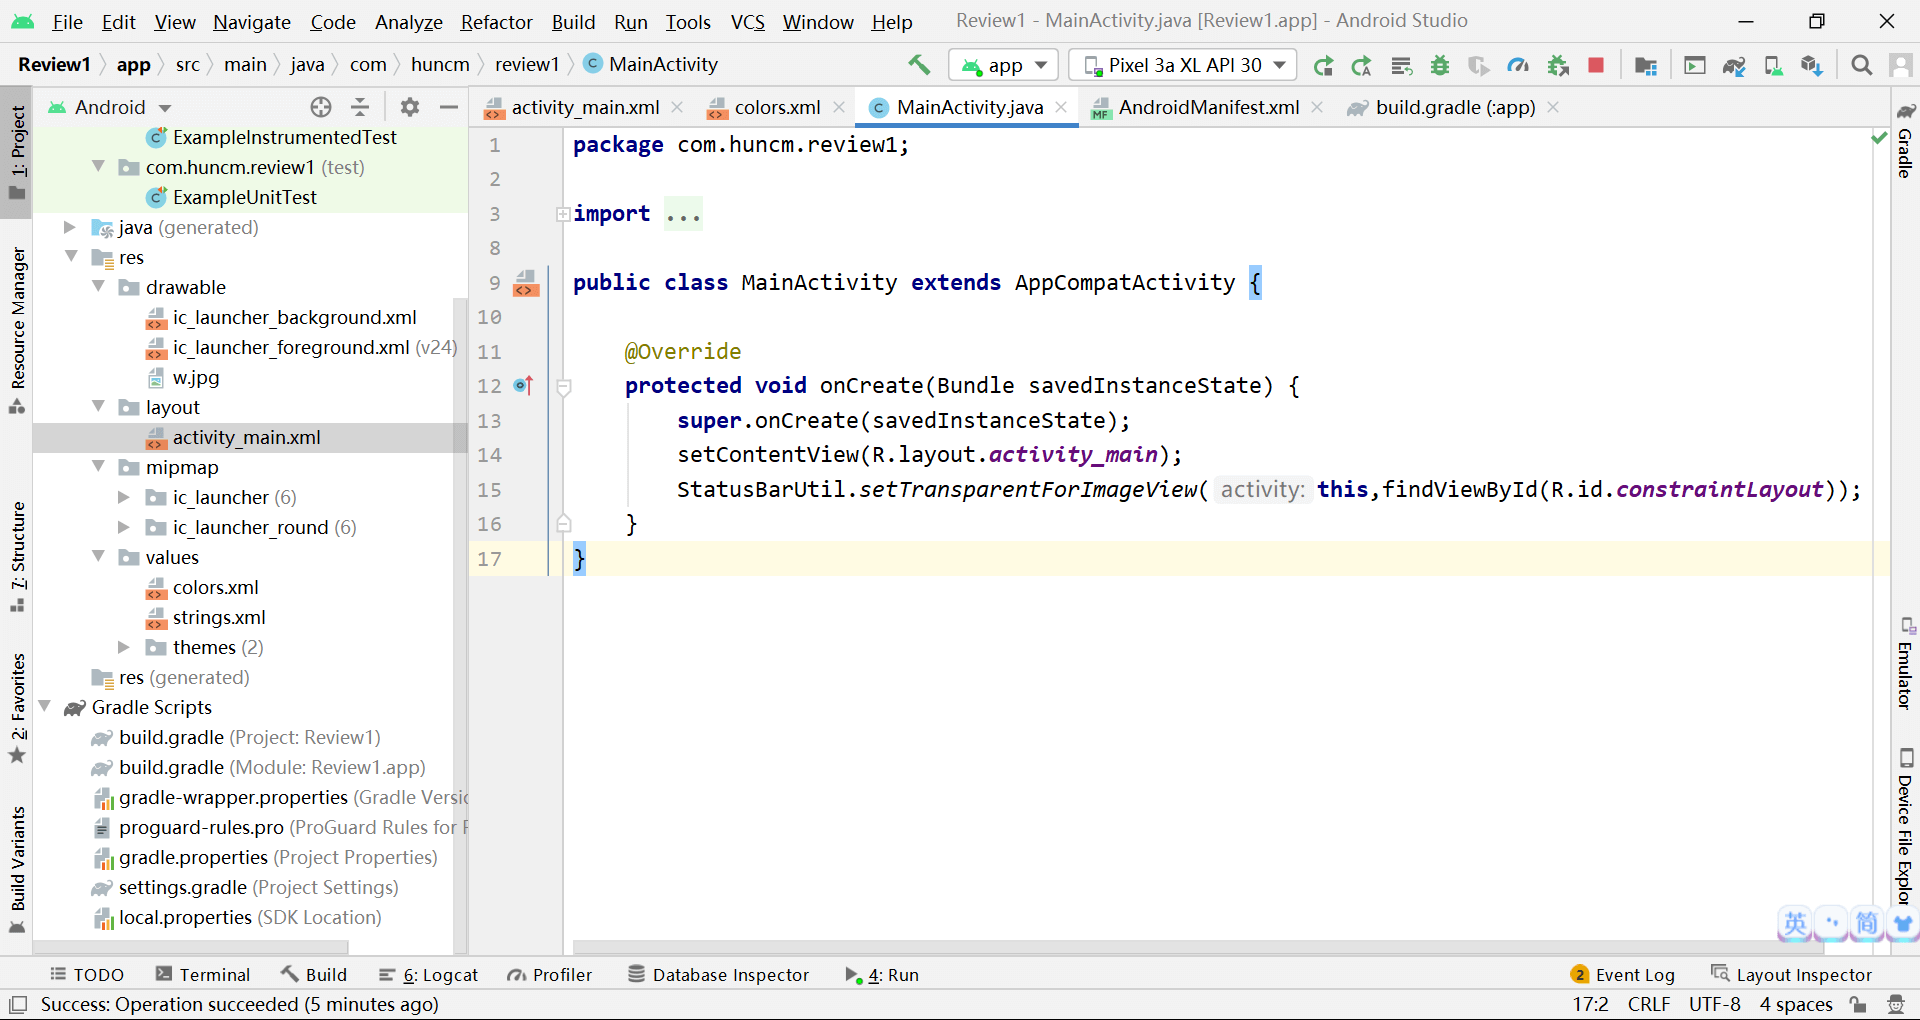
StatusBarUtil.setTransparentForImageView(this,findViewById(R.id.constraintLayout));

