Android的大部分自定义软键盘主要是通过android自带控件KeyboardView实现的。
那么,有没有其他简单易上手的方法来制作一个软键盘呢?
当当当当!!!
这里就要说到对话框形式的软键盘啦,简单方便易理解!
下面,通过自定义的数字软键盘来介绍如何利用对话框实现自定义软键盘!
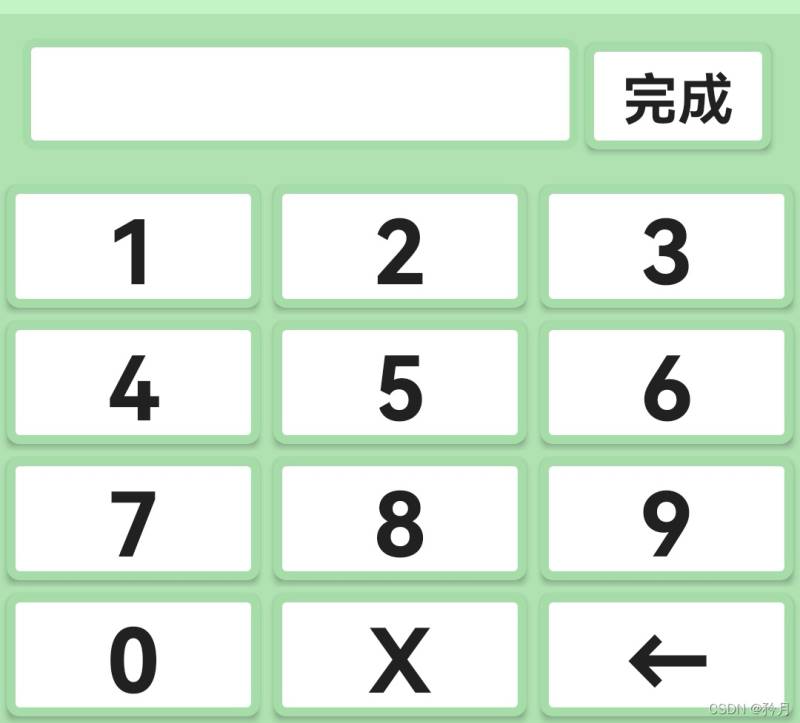
先看看效果!

我们先来看看布局!
首先是activity_main的实现:
在这里,主界面布局非常简单,仅需要两个TextView文本框就可以啦!
注意!!!
为什么不是EditView控件来实现输入框呢?
我们知道,TextView属于文本控件,而EditView属于输入框控件,按理说咱们需要输入内容,应该选择EditView输入框控件。
但是!!!
点击EditView输入框是会自动跳出系统自带的输入法的。这样的效果,会影响我们自定义软键盘的弹出。所以我们还需要考虑如何禁用系统自动弹出的键盘。当然,这也不难实现,只需要在onCreate中加上:
tv_shownumber.setFocusable(false);
就可以禁用系统键盘啦!
在这里,使用TextView文本框来实现数据输入!
不啰嗦了!上主布局!
activity_main.xml
<?xml version="1.0" encoding="utf-8"?>
<LinearLayout xmlns:android="http://schemas.android.com/apk/res/android"
    xmlns:app="http://schemas.android.com/apk/res-auto"
    android:layout_width="match_parent"
    android:layout_height="match_parent"
    android:orientation="horizontal"
    android:background="#C3F4C5">
    <LinearLayout
        android:layout_width="match_parent"
        android:layout_height="80dp"
        android:layout_gravity="center"
        android:orientation="vertical">
        <TextView
            android:layout_width="wrap_content"
            android:layout_height="40dp"
            android:text="SFZ:"
            android:gravity="left|center"
            android:textColor="#000000"
            android:textSize="25sp"/>
        <TextView
            android:id="@+id/tv_shownumber"
            android:onClick="show"
            android:layout_width="match_parent"
            android:layout_height="40dp"
            android:hint="  请输入SFZ号"
            android:background="#FFFFFF"
            android:gravity="left|center"
            android:textColor="#000000"
            android:maxLength="18"
            android:textSize="25sp"
            android:textColorHint="#B6B1B1"/>
    </LinearLayout>
</LinearLayout>
android:onClick="show" 的意思是点击文本框之后会调用show这个方法!
接下来是自定义软键盘布局!
key.xml
<?xml version="1.0" encoding="utf-8"?>
<LinearLayout xmlns:android="http://schemas.android.com/apk/res/android"
    android:layout_width="match_parent"
    android:layout_height="wrap_content"
    android:orientation="vertical"
    android:layout_gravity="bottom">
    <LinearLayout
        android:layout_width="match_parent"
        android:layout_height="wrap_content"
        android:orientation="horizontal"
        android:layout_margin="10dp">
        <TextView
            android:id="@+id/tv_show"
            android:layout_width="0dp"
            android:layout_weight="3"
            android:layout_height="50dp"
            android:textColor="#000000"
            android:textSize="20sp"
            android:maxLength="18"
            android:gravity="center"
            android:maxLines="18"
            android:background="@drawable/keyboard_btn"
            />
        <Button
            android:id="@+id/btn_yes"
            android:layout_width="0dp"
            android:layout_weight="1"
            android:layout_height="wrap_content"
            android:text="完成"
            android:background="@drawable/keyboard_btn"
            android:textStyle="bold"
            android:textSize="25dp"
            android:layout_margin="3dp"/>
    </LinearLayout>
    <LinearLayout
        android:layout_width="match_parent"
        android:layout_height="wrap_content"
        android:orientation="horizontal">
        <Button
            android:id="@+id/btn_1"
            android:layout_width="0dp"
            android:layout_height="match_parent"
            android:layout_weight="1"
            android:text="1"
            android:background="@drawable/keyboard_btn"
            android:textStyle="bold"
            android:textSize="40dp"
            android:layout_margin="3dp"/>
        <Button
            android:id="@+id/btn_2"
            android:layout_width="0dp"
            android:layout_height="match_parent"
            android:layout_weight="1"
            android:text="2"
            android:background="@drawable/keyboard_btn"
            android:textStyle="bold"
            android:textSize="40dp"
            android:layout_margin="3dp"/>
        <Button
            android:id="@+id/btn_3"
            android:layout_width="0dp"
            android:layout_height="match_parent"
            android:layout_weight="1"
            android:text="3"
            android:background="@drawable/keyboard_btn"
            android:textStyle="bold"
            android:textSize="40dp"
            android:layout_margin="3dp"/>
    </LinearLayout>
    <LinearLayout
        android:layout_width="match_parent"
        android:layout_height="wrap_content"
        android:orientation="horizontal">
        <Button
            android:id="@+id/btn_4"
            android:layout_width="0dp"
            android:layout_height="match_parent"
            android:layout_weight="1"
            android:text="4"
            android:background="@drawable/keyboard_btn"
            android:textStyle="bold"
            android:textSize="40dp"
            android:layout_margin="3dp"/>
        <Button
            android:id="@+id/btn_5"
            android:layout_width="0dp"
            android:layout_height="match_parent"
            android:layout_weight="1"
            android:text="5"
            android:background="@drawable/keyboard_btn"
            android:textStyle="bold"
            android:textSize="40dp"
            android:layout_margin="3dp"/>
        <Button
            android:id="@+id/btn_6"
            android:layout_width="0dp"
            android:layout_height="match_parent"
            android:layout_weight="1"
            android:text="6"
            android:background="@drawable/keyboard_btn"
            android:textStyle="bold"
            android:textSize="40dp"
            android:layout_margin="3dp"/>
    </LinearLayout>
    <LinearLayout
        android:layout_width="match_parent"
        android:layout_height="wrap_content"
        android:orientation="horizontal">
        <Button
            android:id="@+id/btn_7"
            android:layout_width="0dp"
            android:layout_height="match_parent"
            android:layout_weight="1"
            android:text="7"
            android:background="@drawable/keyboard_btn"
            android:textStyle="bold"
            android:textSize="40dp"
            android:layout_margin="3dp"/>
        <Button
            android:id="@+id/btn_8"
            android:layout_width="0dp"
            android:layout_height="match_parent"
            android:layout_weight="1"
            android:text="8"
            android:background="@drawable/keyboard_btn"
            android:textStyle="bold"
            android:textSize="40dp"
            android:layout_margin="3dp"/>
        <Button
            android:id="@+id/btn_9"
            android:layout_width="0dp"
            android:layout_height="match_parent"
            android:layout_weight="1"
            android:text="9"
            android:background="@drawable/keyboard_btn"
            android:textStyle="bold"
            android:textSize="40dp"
            android:layout_margin="3dp"/>
    </LinearLayout>
    <LinearLayout
        android:layout_width="match_parent"
        android:layout_height="wrap_content"
        android:orientation="horizontal">
        <Button
            android:id="@+id/btn_0"
            android:layout_width="0dp"
            android:layout_height="match_parent"
            android:layout_weight="1"
            android:text="0"
            android:background="@drawable/keyboard_btn"
            android:textStyle="bold"
            android:textSize="40dp"
            android:layout_margin="3dp"/>
        <Button
            android:id="@+id/btn_X"
            android:layout_width="0dp"
            android:layout_height="match_parent"
            android:layout_weight="1"
            android:text="X"
            android:background="@drawable/keyboard_btn"
            android:textStyle="bold"
            android:textSize="40dp"
            android:layout_margin="3dp"/>
        <Button
            android:id="@+id/btn_del"
            android:layout_width="0dp"
            android:layout_height="match_parent"
            android:layout_weight="1"
            android:text="←"
            android:background="@drawable/keyboard_btn"
            android:textStyle="bold"
            android:textSize="40dp"
            android:layout_margin="3dp"/>
    </LinearLayout>
</LinearLayout>
代码很长,但总结起来就是13个按键加上一个TextView文本框。这样一想是不是瞬间觉得毫无难度啦!
布局代码到这里就完成了!
如果你想让你的键盘看起来好看一些,点击有颜色变化效果,也可以给它设置样式!
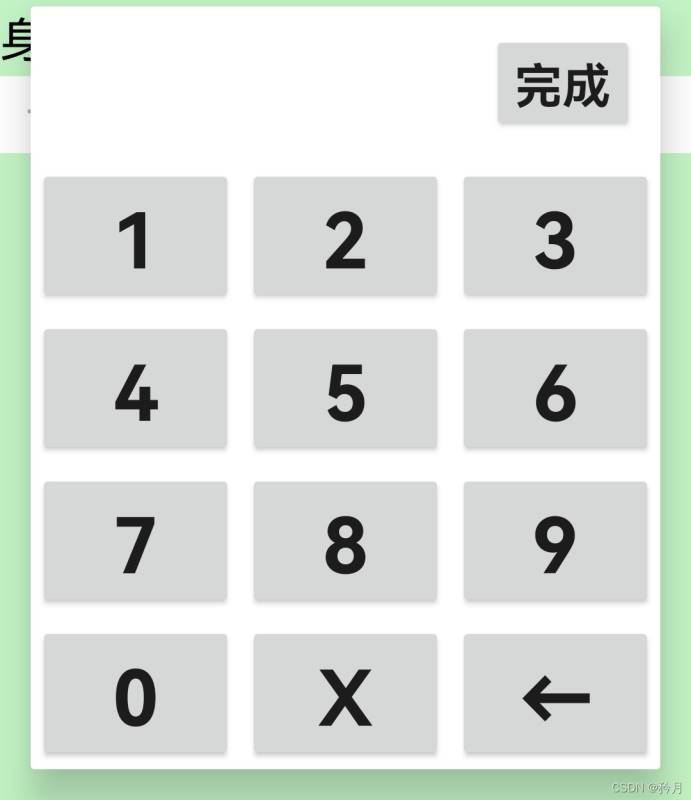
这是按钮没有皮肤的样子:
这是按钮有皮肤的样子:
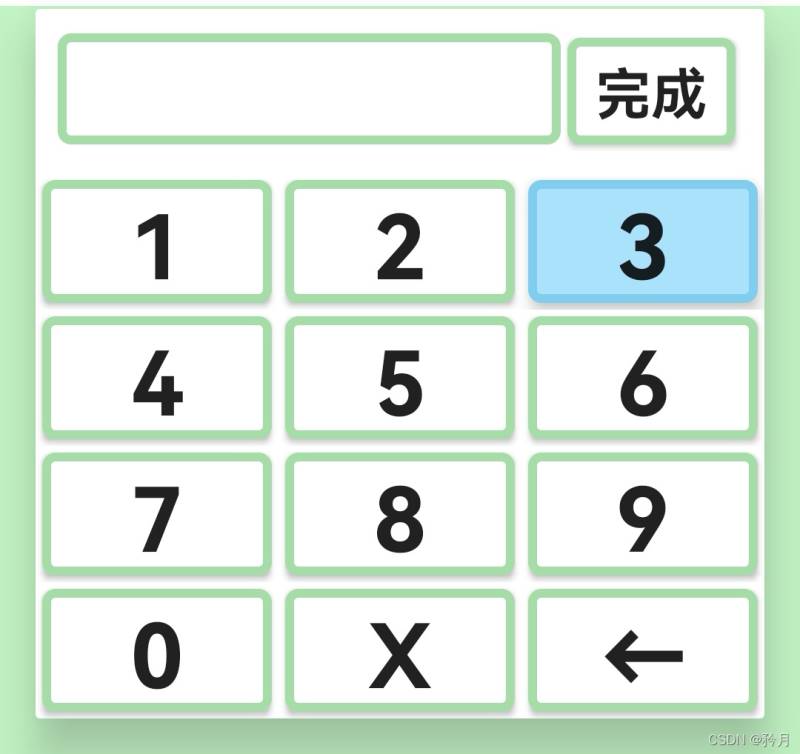
差别还是挺大的!
下面附上按钮样式的代码:
keyboard_btn.xml
<?xml version="1.0" encoding="utf-8"?>
<selector xmlns:android="http://schemas.android.com/apk/res/android">
    <item android:state_pressed="true">
        <shape>
            <!--圆角大小-->
            <corners
                android:radius="4dp"/>
            <!--距离-->
            <padding
                android:bottom="1dp"
                android:left="1dp"
                android:right="1dp"
                android:top="1dp"/>
            <!--点击边框颜色-->
            <stroke
                android:color="#81CDEF"
                android:width="4dp"/>
            <!--点击填充颜色-->
            <solid android:color="#AAE2FB"/>
        </shape>
    </item>
    <item android:state_enabled="false">
        <shape>
            <corners
                android:radius="4dp"/>
            <padding
                android:bottom="1dp"
                android:left="1dp"
                android:right="1dp"
                android:top="1dp"/>
        </shape>
    </item>
    <item>
        <shape>
            <corners
                android:radius="4dp"/>
            <padding
                android:bottom="1dp"
                android:left="1dp"
                android:right="1dp"
                android:top="1dp"/>
            <solid android:color="#ffffff"/>
            <stroke
                android:width="4dp"
                android:color="#A5DCA7"/>
        </shape>
    </item>
</selector>
当然,不仅键盘按钮需要皮肤,键盘本身也需要!
这是键盘没有皮肤的样子:
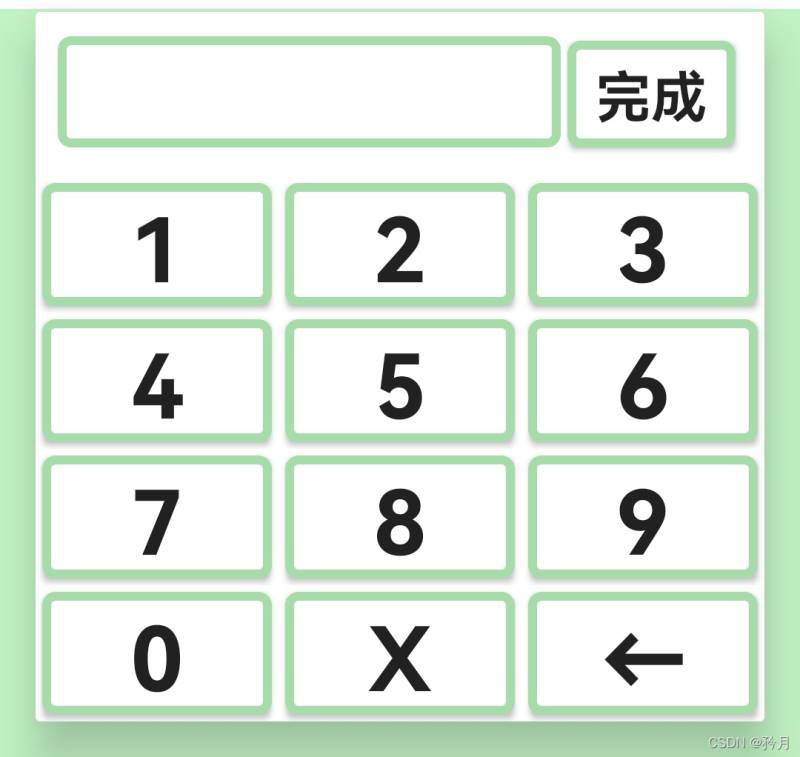
这是键盘有皮肤的样子:
下面是键盘样式的代码:
DialogStyle.xml
<resources xmlns:tools="http://schemas.android.com/tools">
<style name="DialogStyle"
android:parent="@android:style/Theme.Dialog"
xmlns:android="http://schemas.android.com/apk/res/android">
<!--<!– 背景颜色 –>-->
<item name="android:windowBackground">#AFE1B1</item>
<item name="android:windowContentOverlay">@null</item>
<!-- 浮于Activity之上 -->
<item name="android:windowIsFloating">true</item>
<!--<!– 边框 –>-->
<item name="android:windowFrame">@null</item>
</style>
</resources>
在这里,浮于Activity之上的设置是非常重要的!
它使得我们整个键盘的宽度也发生了改变!
关于xml文件的存放位置,我们一般将activity_main.xml和key.xml放在layout文件夹下,将keyboard_btn.xml放在drawable文件夹下,DialogStyle.xml放在values文件夹下。
有了好看的皮囊,自然也需要有趣的灵魂!
它来了它来了!
MainActivity
package com.example.mydialog;

import androidx.appcompat.app.AlertDialog;
import androidx.appcompat.app.AppCompatActivity;

import android.app.Dialog;
import android.os.Bundle;
import android.view.Display;
import android.view.Gravity;
import android.view.LayoutInflater;
import android.view.View;
import android.view.Window;
import android.view.WindowManager;
import android.widget.Button;
import android.widget.EditText;
import android.widget.TextView;

public class MainActivity extends AppCompatActivity implements View.OnClickListener{
    private TextView tv_shownumber;
//    private EditText tv_shownumber;
    private String shownumber;
    private Dialog dialog;

    @Override
    protected void onCreate(Bundle savedInstanceState) {
        super.onCreate(savedInstanceState);
        setContentView(R.layout.activity_main);
        tv_shownumber = findViewById(R.id.tv_shownumber);
    }

    private String num[] = {"0", "1", "2", "3", "4", "5", "6", "7", "8", "9","X"};
    private String data = "";
    @Override
    public void onClick(View v) {
        shownumber  = tv_shownumber.getText().toString();
        switch (v.getId()){
            case R.id.btn_0:
                data += num[0];
                tv_shownumber.setText(data);
                tv_show.setText(data);
                break;
            case R.id.btn_1:
                data += num[1];
                tv_shownumber.setText(data);
                tv_show.setText(data);
                break;
            case R.id.btn_2:
                data += num[2];
                tv_shownumber.setText(data);
                tv_show.setText(data);
                break;
            case R.id.btn_3:
                data += num[3];
                tv_shownumber.setText(data);
                tv_show.setText(data);
                break;
            case R.id.btn_4:
                data += num[4];
                tv_shownumber.setText(data);
                tv_show.setText(data);
                break;
            case R.id.btn_5:
                data += num[5];
                tv_shownumber.setText(data);
                tv_show.setText(data);
                break;
            case R.id.btn_6:
                data += num[6];
                tv_shownumber.setText(data);
                tv_show.setText(data);
                break;
            case R.id.btn_7:
                data += num[7];
                tv_shownumber.setText(data);
                tv_show.setText(data);
                break;
            case R.id.btn_8:
                data += num[8];
                tv_shownumber.setText(data);
                tv_show.setText(data);
                break;
            case R.id.btn_9:
                data += num[9];
                tv_shownumber.setText(data);
                tv_show.setText(data);
                break;
            case R.id.btn_X:
                data += num[10];
                tv_shownumber.setText(data);
                tv_show.setText(data);
                break;
            case R.id.btn_yes:
                dialog.dismiss();
                break;
            case R.id.btn_del:
                data = data.substring(0, data.length() - 1);
                tv_shownumber.setText(data);
                tv_show.setText(data);
                break;
            default:
                break;
        }
    }

    private View inflate;
    private Button btn_0;
    private Button btn_1;
    private Button btn_2;
    private Button btn_3;
    private Button btn_4;
    private Button btn_5;
    private Button btn_6;
    private Button btn_7;
    private Button btn_8;
    private Button btn_9;
    private Button btn_X;
    private Button btn_yes;
    private Button btn_del;
    private TextView tv_show;

    public void show(View view){
        dialog =new Dialog(this,R.style.DialogStyle);
        inflate = LayoutInflater.from(this).inflate(R.layout.key, null);//动态添加布局
        btn_0 = inflate.findViewById(R.id.btn_0);
        btn_1 = inflate.findViewById(R.id.btn_1);
        btn_2 = inflate.findViewById(R.id.btn_2);
        btn_3 = inflate.findViewById(R.id.btn_3);
        btn_4 = inflate.findViewById(R.id.btn_4);
        btn_5 = inflate.findViewById(R.id.btn_5);
        btn_6 = inflate.findViewById(R.id.btn_6);
        btn_7 = inflate.findViewById(R.id.btn_7);
        btn_8 = inflate.findViewById(R.id.btn_8);
        btn_9 = inflate.findViewById(R.id.btn_9);
        btn_X = inflate.findViewById(R.id.btn_X);
        btn_yes = inflate.findViewById(R.id.btn_yes);
        btn_del = inflate.findViewById(R.id.btn_del);
        tv_show = inflate.findViewById(R.id.tv_show);

        btn_1.setOnClickListener(this);
        btn_2.setOnClickListener(this);
        btn_3.setOnClickListener(this);
        btn_4.setOnClickListener(this);
        btn_5.setOnClickListener(this);
        btn_6.setOnClickListener(this);
        btn_7.setOnClickListener(this);
        btn_8.setOnClickListener(this);
        btn_9.setOnClickListener(this);
        btn_X.setOnClickListener(this);
        btn_0.setOnClickListener(this);
        btn_yes.setOnClickListener(this);
        btn_del.setOnClickListener(this);

        dialog.setContentView(inflate);
        Window dialogWindow = dialog.getWindow();

        WindowManager m = getWindowManager();
        Display d = m.getDefaultDisplay(); // 获取屏幕宽、高用
        WindowManager.LayoutParams p = dialogWindow.getAttributes(); // 获取对话框当前的参数值
        p.dimAmount = 0f;//设置背景透明度
        dialogWindow.setGravity(Gravity.BOTTOM);
        p.width =d.getWidth();//设置键盘的宽度
        dialogWindow.setAttributes(p);
        dialog.show();
    }
}
主代码中为每个按键设置了功能,并引入了动态布局key.xml,实现了show()方法,让自定义键盘以对话框的形式弹出!
在这里,背景透明度的设置可以使键盘的出现更加平滑,这一项的设置也可以在xml中进行哦!
dialogWindow.setGravity( Gravity.BOTTOM);
这句话的作用是让我们键盘的位置位于页面底部。

