win11安装mysql8最新压缩包版,供大家参考,具体内容如下
1、下载mysql

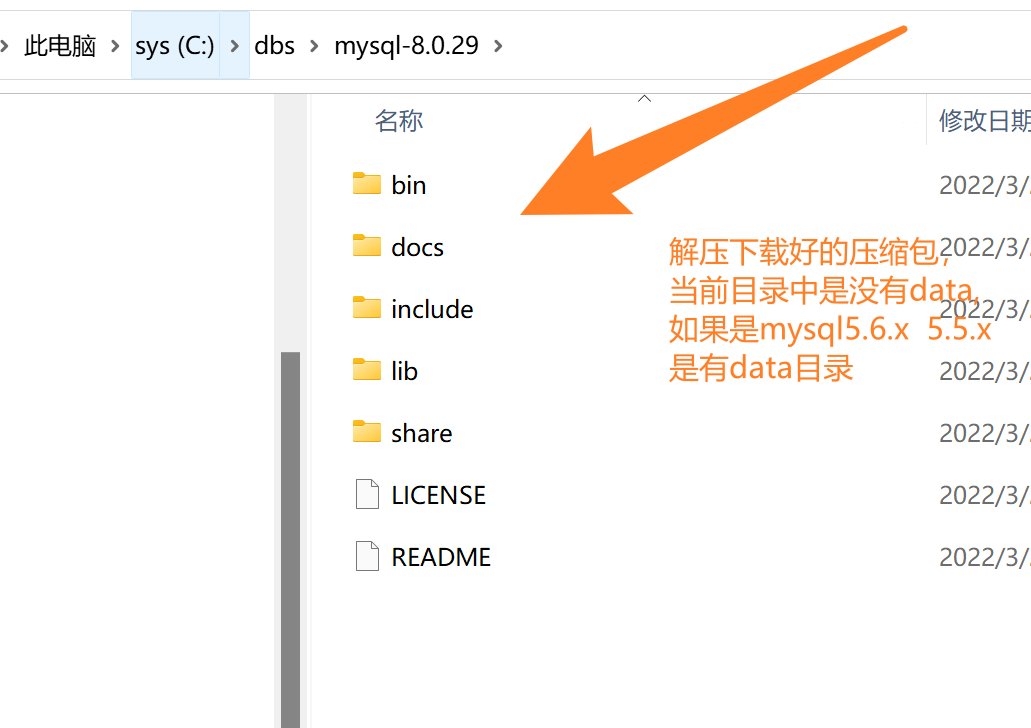
2、解压
3、初始化数据库并安装启动服务
以管理员身份打开CMD命令控制台
cd c:/dbs/mysql-8.0.29/bin 进入mysql8.0.29目录
mysqld --initialize-insecure 初始化,会自动的在c:/dbs/mysql-8.0.29/data 建立目录
mysqld install 安装服务,服务名称为mysql
net start mysql 开启数据库服务
net stop mysql 关闭数据库服务
mysqld remove 卸载服务
如果要通过窗口查看服务,在运行中可以输入services.msc 打开服务窗口

4、登录服务器测试
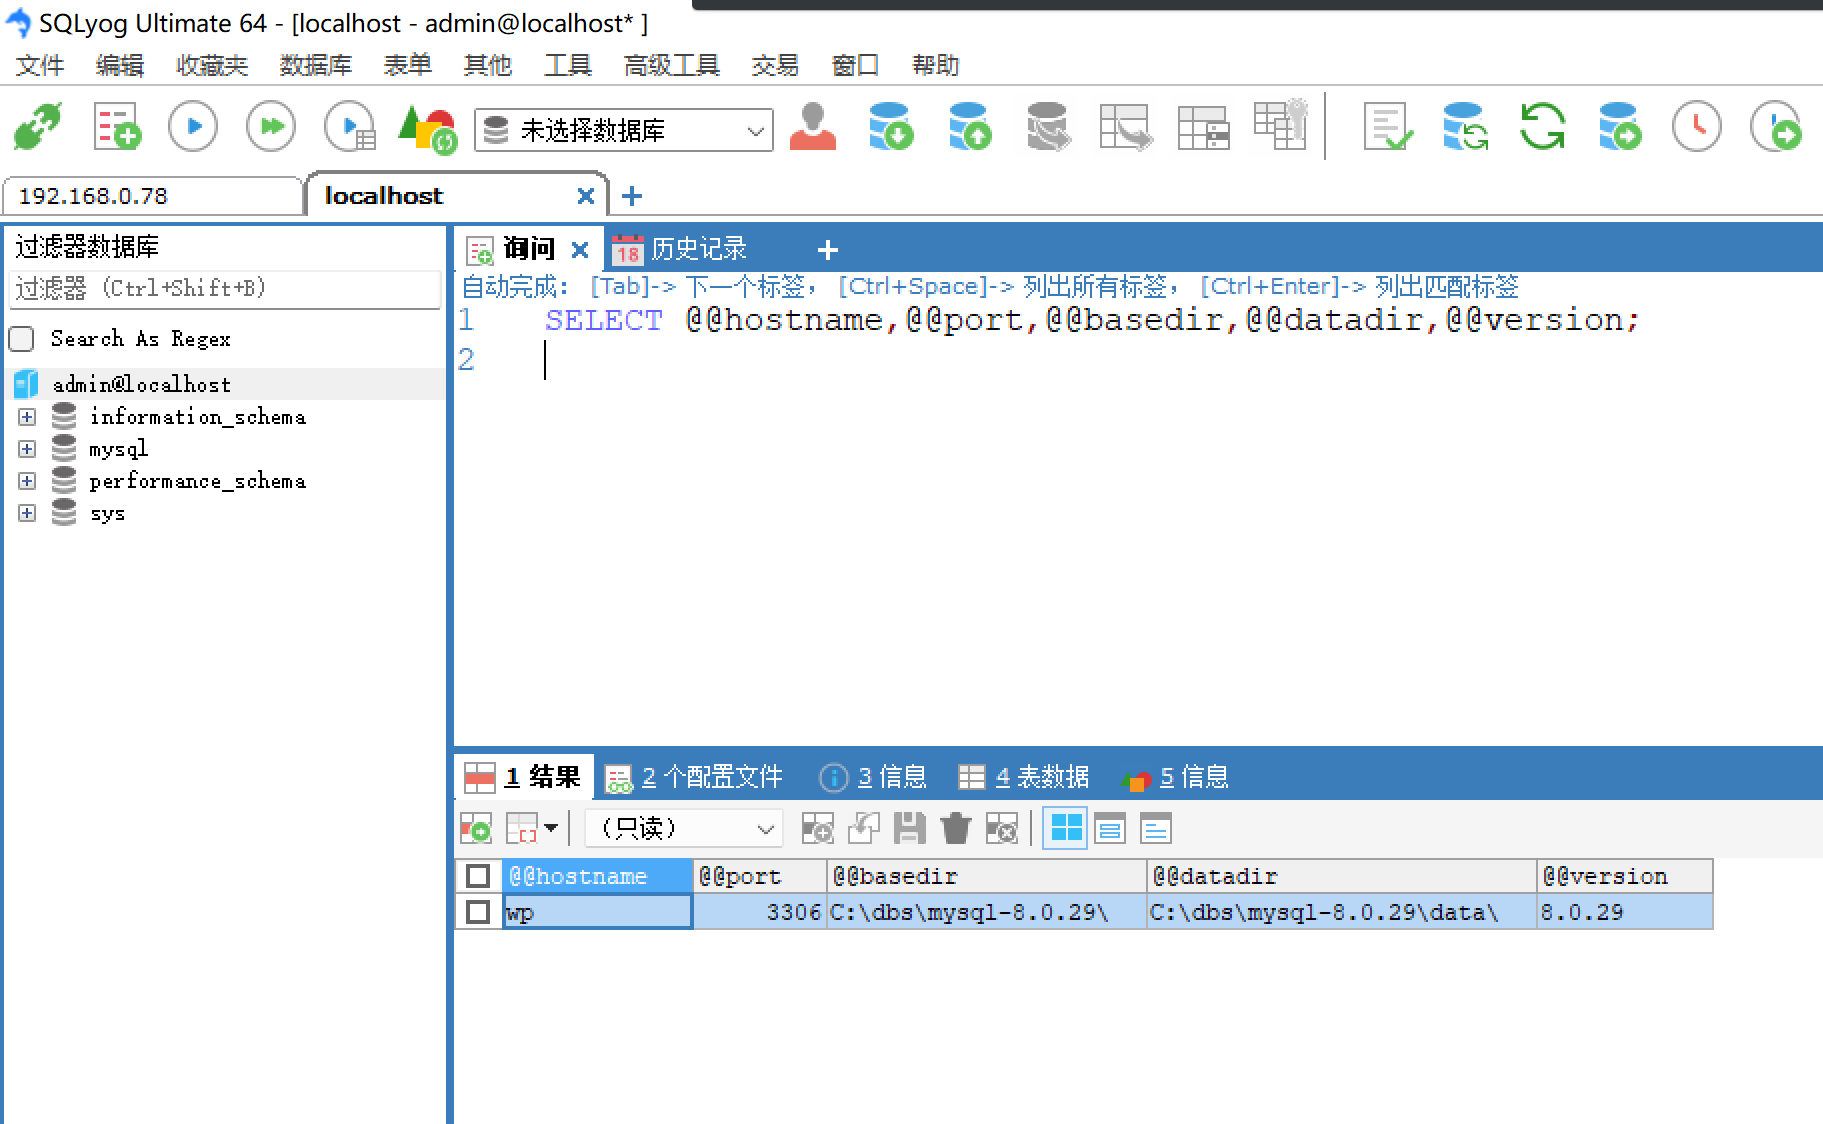
C:\Users\webrx>cd \

C:\>cd dbs\mysql-8.0.29

C:\dbs\mysql-8.0.29>cd bin

#登录本机 -hlocalhost -uroot -p空没有密码 -P3306 可以不写
C:\dbs\mysql-8.0.29\bin>mysql -uroot
Welcome to the MySQL monitor.  Commands end with ; or \g.
Your MySQL connection id is 8
Server version: 8.0.29 MySQL Community Server - GPL

Copyright (c) 2000, 2022, Oracle and/or its affiliates.

Oracle is a registered trademark of Oracle Corporation and/or its
affiliates. Other names may be trademarks of their respective
owners.

Type 'help;' or '\h' for help. Type '\c' to clear the current input statement.

mysql> select @@hostname,@@port,@@version,@@basedir,@@datadir,now();
+------------+--------+-----------+----------------------+---------------------------+---------------------+
| @@hostname | @@port | @@version | @@basedir            | @@datadir                 | now()               |
+------------+--------+-----------+----------------------+---------------------------+---------------------+
| wp         |   3306 | 8.0.29    | C:\dbs\mysql-8.0.29\ | C:\dbs\mysql-8.0.29\data\ | 2022-05-11 14:25:17 |
+------------+--------+-----------+----------------------+---------------------------+---------------------+
1 row in set (0.00 sec)

mysql> show databases;
+--------------------+
| Database           |
+--------------------+
| information_schema |
| mysql              |
| performance_schema |
| sys                |
+--------------------+
4 rows in set (0.02 sec)

mysql> select host,user,plugin from mysql.user;
+-----------+------------------+-----------------------+
| host      | user             | plugin                |
+-----------+------------------+-----------------------+
| localhost | mysql.infoschema | caching_sha2_password |
| localhost | mysql.session    | caching_sha2_password |
| localhost | mysql.sys        | caching_sha2_password |
| localhost | root             | caching_sha2_password |
+-----------+------------------+-----------------------+
4 rows in set (0.00 sec)

mysql> create user admin identified with mysql_native_password by 'admin';
Query OK, 0 rows affected (0.01 sec)

mysql> grant all on *.* to admin;
Query OK, 0 rows affected (0.00 sec)

mysql> flush privileges;
Query OK, 0 rows affected (0.00 sec)

mysql> select host,user,plugin from mysql.user;
+-----------+------------------+-----------------------+
| host      | user             | plugin                |
+-----------+------------------+-----------------------+
| %         | admin            | mysql_native_password |
| localhost | mysql.infoschema | caching_sha2_password |
| localhost | mysql.session    | caching_sha2_password |
| localhost | mysql.sys        | caching_sha2_password |
| localhost | root             | caching_sha2_password |
+-----------+------------------+-----------------------+
5 rows in set (0.00 sec)
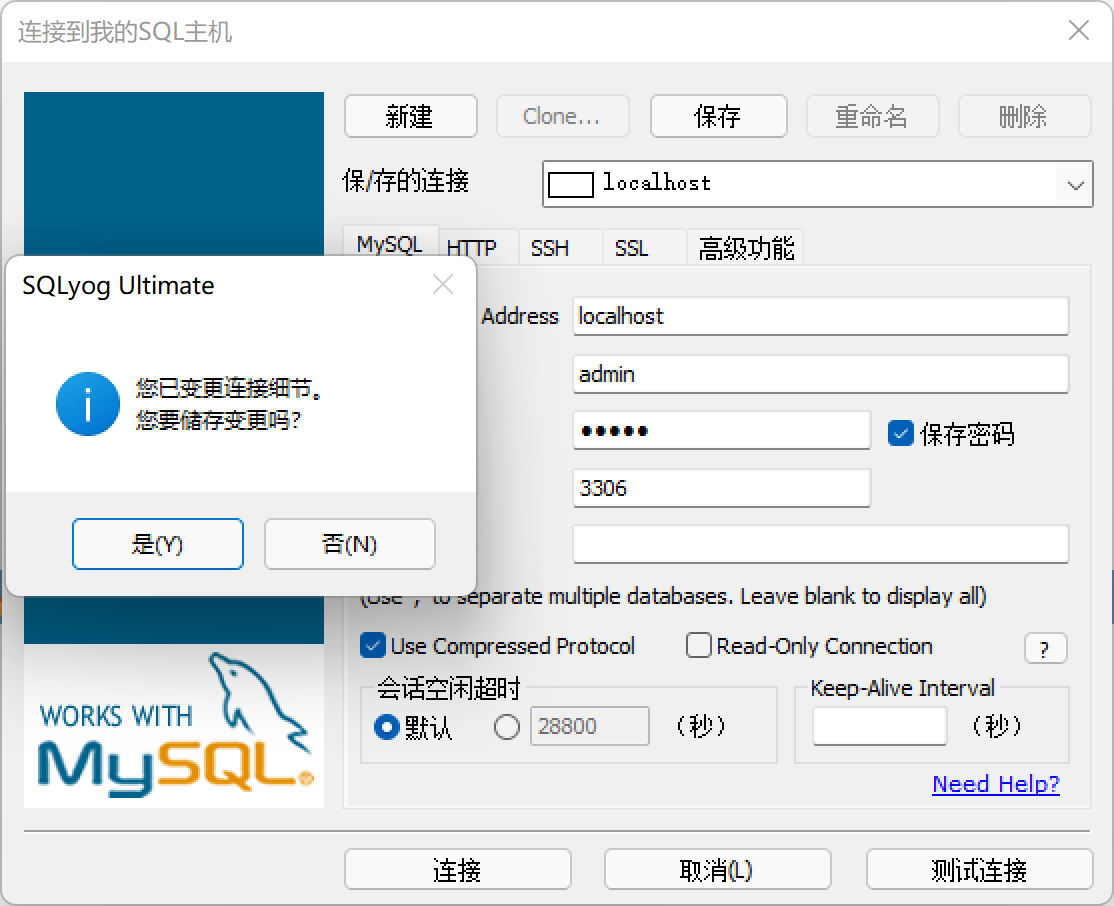
5、使用sqlyog 连接mysql8.0.29
注意:低版本的sqlyog(13.1.1及以下)无法识别mysql新版本(5.7-8)的加密机制(caching_sha2_password)
必须使用admin用户(在步骤4中建立的使用旧加密机制(mysql_native_password)的用户)登录