一般使用springboot自带缓存时,直接就在启动类里添加注解@EnableCaching 。
@EnableCaching她有两个经常使用的方法
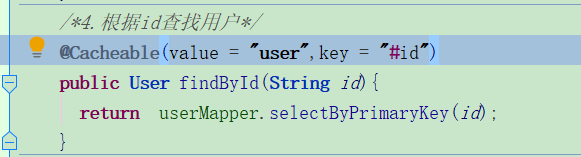
这里的value 是该缓存的名称,可以随意写,而key要严格按照查询条件来写,比如这里是查询条件id.
   @Cacheable(value = "gathering",key = "#id")
    public Gathering findById(String id) {
        return gatheringDao.findById(id).get();
    }
查询数据库已有的数据,第一次缓存没有该数据,直接走数据库,然后存入缓存

第二次查询该数据,发现缓存中存在key已有的数据,直接走缓存不走数据库

/**
* CacheEvict 清理缓存
* 删除
* @param id
*/
@CacheEvict(value = "gathering",key = "#id")
public void deleteById(String id) {
gatheringDao.deleteById(id);
}
/**
* CacheEvict 清理缓存
* 修改
* @param gathering
*/
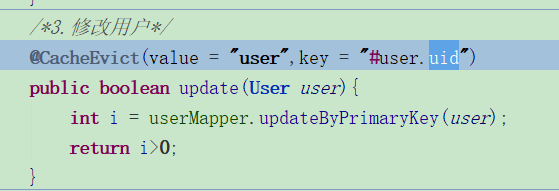
@CacheEvict(value = "gathering",key = "#gathering.id")
public void update(Gathering gathering) {
gatheringDao.save(gathering);
}Redis可以设置过期时间,springboot自带的缓存不可以。
添加注解@EnableCaching注解,表示要使用springboot的缓存

添加@Cacheable注解value-全局的key,key-表示某一条记录的key,程序运行时会优先在缓存中根据value和key查找记录,找不到才会执行下面查询语句,执行查询语句后返回的数据会存到缓存中。

以上为个人经验,希望能给大家一个参考,也希望大家多多支持。

