vue 项目打包上线之后,每一次都会有浏览器缓存问题,需要手动的清除缓存。这样用户体验非常不好,所以我们在打包部署的时候需要尽量避免浏览器的缓存。
下面是我的解决方案:
在 head 里面添加下面代码
<meta http-equiv="pragram" content="no-cache">
<meta http-equiv="cache-control" content="no-cache, no-store, must-revalidate">
这种会让所有的css/js资源重新加载
vue默认配置,打包后css和js的名字后面都加了哈希值,不会有缓存问题。但是index.html在服务器端可能是有缓存的,需要在服务器配置不让缓存index.html
server {
listen 80;
server_name yourdomain.com;
location / {
    try_files $uri $uri/ /index.html;
    root /yourdir/;
    index index.html index.htm;

    if ($request_filename ~* .*\.(?:htm|html)$)
    {
        add_header Cache-Control "no-cache, no-store";  //对html文件设置永远不缓存
    }
  }
}
no-cache浏览器会缓存,但刷新页面或者重新打开时 会请求服务器,服务器可以响应304,如果文件有改动就会响应200no-store浏览器不缓存,刷新页面需要重新下载页面1、在 vue-cli2.x 创建的项目里,找到 build/webpack.prod.conf.js 文件
//定义一个变量获取当前时间戳
const version = new Date().getTime();
//output模块将时间戳加入到输出的文件名里
output: {
  publicPath: '/',
  path: config.build.assetsRoot,
  filename: utils.assetsPath(`js/[name].[chunkhash].${version}.js`),
  chunkFilename: utils.assetsPath(`js/[id].[chunkhash].${version}.js`)
},

//css文件名加时间戳
new ExtractTextPlugin({
    filename: utils.assetsPath(`css/[name].[contenthash].${version}.css`),
    allChunks: true,
}),
2、在 vue-cli3.x 创建的项目里,打开 vue.config.js 文件 ( 没有该文件自己在 src 同级目录下创建一个 )
const version = new Date().getTime();
module.exports = {
  	outputDir: 'dist', //打包的时候生成的一个文件名
	lintOnSave: false,
  	productionSourceMap: false,
  	css: {
	    loaderOptions: {
	      sass: {
	        data: `@import "@/components/themes/_handle.scss";`
	      }
	    },
	    // 是否使用css分离插件 ExtractTextPlugin
	    extract: {
	      // 修改打包后css文件名   // css打包文件,添加时间戳
	      filename: `css/[name].${version}.css`,
	      chunkFilename: `css/[name].${version}.css`
	    }
	 },
  	configureWebpack: {
		output: { // 输出重构  打包编译后的 文件名称  【模块名称.版本号.时间戳】
		     filename: `js/[name].[chunkhash].${version}.js`,
		     chunkFilename: `js/[id].[chunkhash].${version}.js`
		}
	}
}
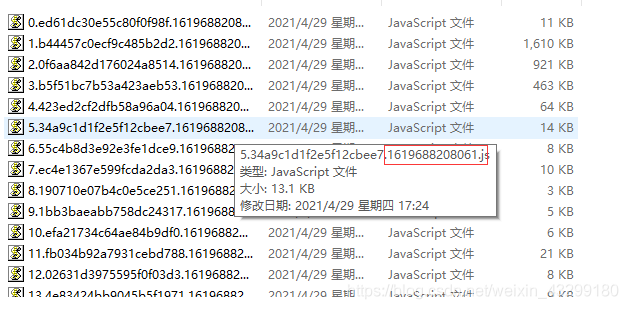
效果:
1.index.html
<!--清除浏览器中的缓存 -->
<meta http-equiv="pragram" content="no-cache">
<meta http-equiv="cache-control" content="no-cache, no-store, must-revalidate">
2.vue.config.js
const timeUpdate  = new Date().getTime();
module.exports = {
  // 解决发布生产以后有缓存的问题
  // 输出重构  打包编译后的 文件名称  【模块名称.版本号.时间戳】
  //一般情况下,该方法就能解决。
  configureWebpack: {
    output: {
      filename: `[name].js?v=${timeUpdate}`,
      chunkFilename: `[name].js?v=${timeUpdate}`
    },
  },
  // 修改打包后css文件名
  css: {
    loaderOptions: {
      sass: {
        data: `@import "@/components/themes/_handle.scss";`
      }
    },
    // 是否使用css分离插件 ExtractTextPlugin
    extract: {
      filename: `static/css/[name].${timeUpdate}.css`,
      chunkFilename: `static/css/[name].${timeUpdate}.css`
    }
  },
  // webpack-chain (链式操作)这个库提供了一个 webpack 原始配置的上层抽象,
  // 使其可以定义具名的 loader 规则和具名插件,并有机会在后期进入这些规则并对它们的选项进行修改。
  // 它允许我们更细的控制其内部配置。
  chainWebpack(config) {
        // img的文件名修改
        config.module
          .rule('images')
          .use('url-loader')
          .tap(options => {
            options.name = `static/img/[name].${timeUpdate}.[ext]`
            options.fallback = {
              loader: 'file-loader',
              options: {
                name: `static/img/[name].${timeUpdate}.[ext]`
              }
            }
            return options
          })
    },
};
以上为个人经验,希望能给大家一个参考,也希望大家多多支持。

