复习一下Redis的部署和应用,并记录了下来!
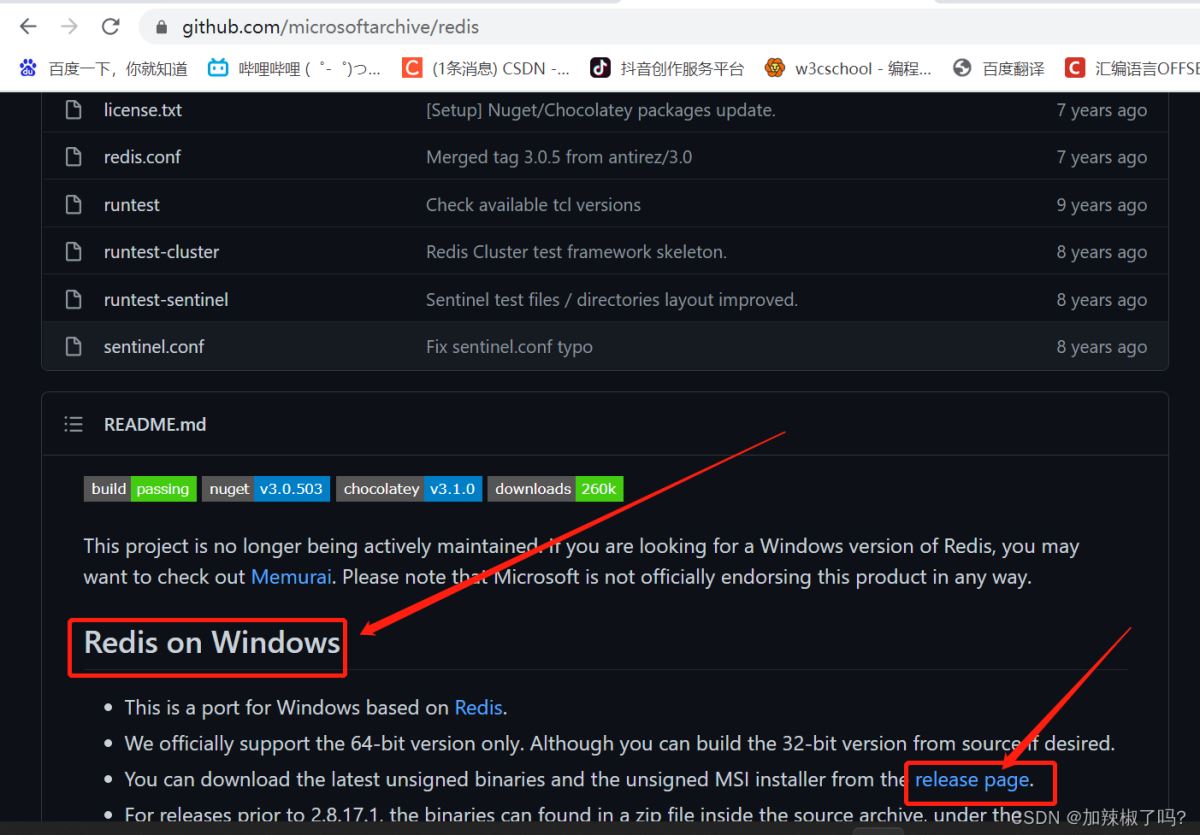


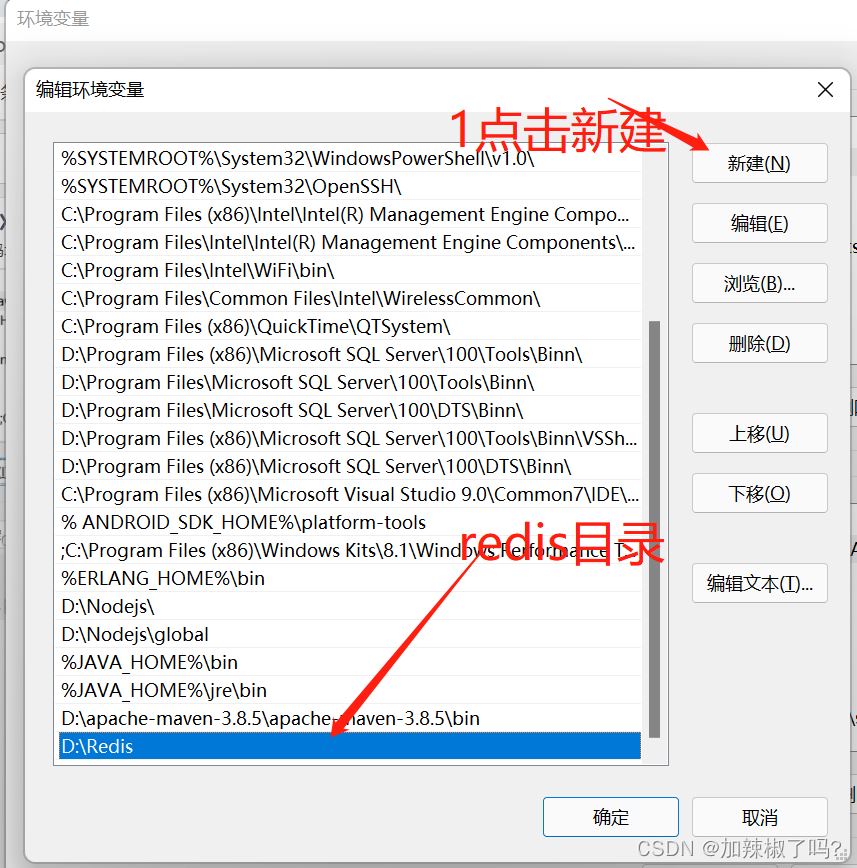


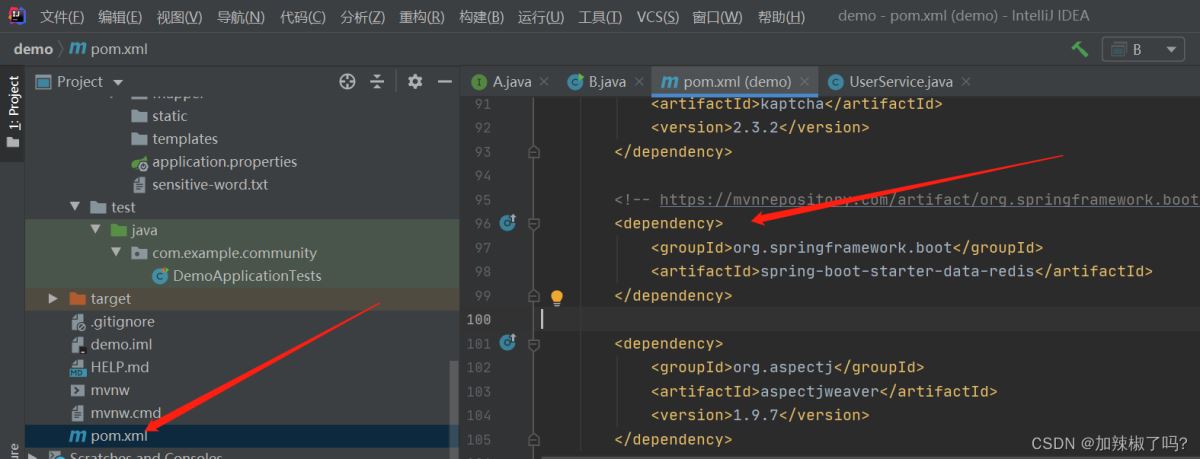
到这里redis部署就完成了!!!下面是redis在idea里面的应用! 三、redis在idea的应用 1.打开pom.xml文件,引入redis架包,代码如下
代码如下:
		<dependency>
			<groupId>org.springframework.boot</groupId>
			<artifactId>spring-boot-starter-data-redis</artifactId>
		</dependency>
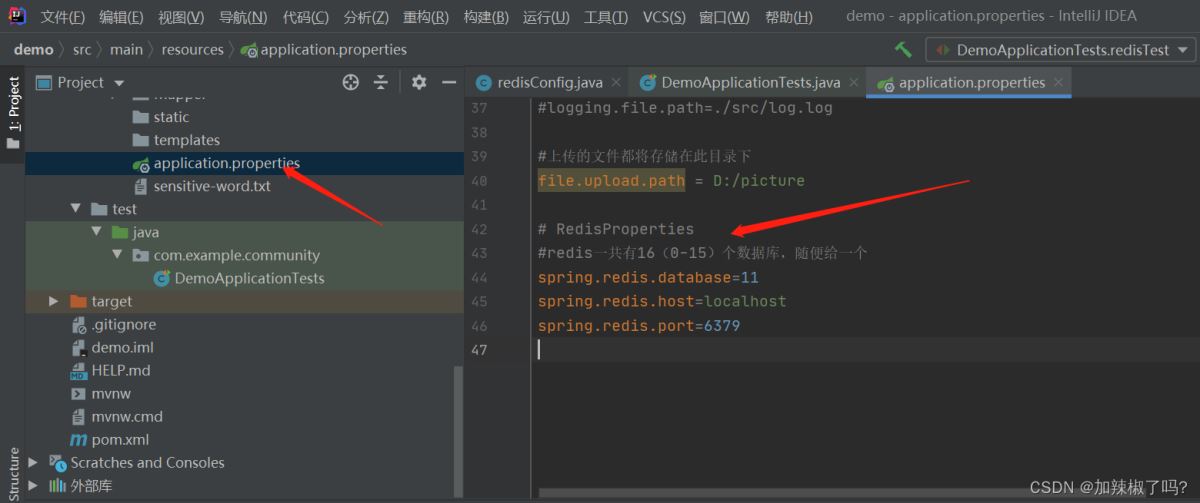
2.打开application.properties配置文件,写入redis的相关配置
代码如下:
# RedisProperties
#redis一共有16(0-15)个数据库,随便给一个
spring.redis.database=11
spring.redis.host=localhost
spring.redis.port=6379
3.新建一个配置类redisConfig.java文件,代码如下
package com.example.community.config;

import org.springframework.context.annotation.Bean;
import org.springframework.context.annotation.Configuration;
import org.springframework.data.redis.connection.RedisConnectionFactory;
import org.springframework.data.redis.core.RedisTemplate;
import org.springframework.data.redis.serializer.RedisSerializer;

/**
 * @ClassName redisConfig
 * @Description TODO
 * @Author 加辣椒了吗?
 * @Date 2022/4/28 2:33
 * @Version 1.0
 **/
@Configuration
public class redisConfig {
    @Bean
    public RedisTemplate<String,Object> redisTemplate(RedisConnectionFactory factory){
        // 将redis注入工厂
        RedisTemplate<String,Object> template = new RedisTemplate<>();
        template.setConnectionFactory(factory);

        // 设置key的序列化方式
        template.setKeySerializer (RedisSerializer.string());
        //设置value的序列化方式
        template.setValueSerializer (RedisSerializer.json());
        // 设置hash的key的序列化方式
        template. setHashKeySerializer (RedisSerializer.string());
        // 设置hash的value的序列化方式
        template.setHashValueSerializer (RedisSerializer.json());
        // 使设置生效
        template.afterPropertiesSet();

        return template;
    }
}
4.测试 在测试类里面添加测试方法,测试通过

代码如下:
package com.example.community.config;

import org.springframework.context.annotation.Bean;
import org.springframework.context.annotation.Configuration;
import org.springframework.data.redis.connection.RedisConnectionFactory;
import org.springframework.data.redis.core.RedisTemplate;
import org.springframework.data.redis.serializer.RedisSerializer;

/**
 * @ClassName redisConfig
 * @Description TODO
 * @Author 加辣椒了吗?
 * @Date 2022/4/28 2:33
 * @Version 1.0
 **/
@Configuration
public class redisConfig {
    @Bean
    public RedisTemplate<String,Object> redisTemplate(RedisConnectionFactory factory){
        // 将redis注入工厂
        RedisTemplate<String,Object> template = new RedisTemplate<>();
        template.setConnectionFactory(factory);

        // 设置key的序列化方式
        template.setKeySerializer (RedisSerializer.string());
        //设置value的序列化方式
        template.setValueSerializer (RedisSerializer.json());
        // 设置hash的key的序列化方式
        template. setHashKeySerializer (RedisSerializer.string());
        // 设置hash的value的序列化方式
        template.setHashValueSerializer (RedisSerializer.json());
        // 使设置生效
        template.afterPropertiesSet();

        return template;
    }
}
或者
打开redis控制台,输入以下命令,测试通过!


