tiles是jsp的前端框架;像fream标签一样可以把多个页面组合起来;
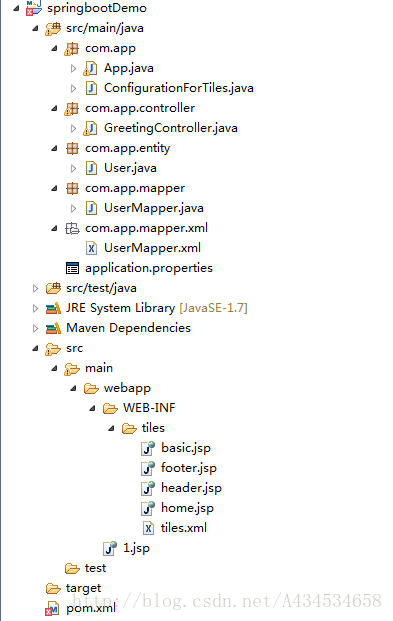
完成后的目录结构:
      <!-- Add Apache Tiles into the mix -->
        <dependency>
            <groupId>org.apache.tiles</groupId>
            <artifactId>tiles-jsp</artifactId>
            <version>3.0.4</version>
</dependency>可以放在WEB-INF/tiles/目录里
<?xml version="1.0" encoding="ISO-8859-1" ?>
<!DOCTYPE tiles-definitions PUBLIC
       "-//Apache Software Foundation//DTD Tiles Configuration 3.0//EN"
       "http://tiles.apache.org/dtds/tiles-config_3_0.dtd">
<tiles-definitions>

    <!-- Templates -->

    <definition name="layout.basic" template="/WEB-INF/tiles/basic.jsp">
        <put-attribute name="title" value="Spring Web MVC with Tiles 3" />
        <put-attribute name="header" value="/WEB-INF/tiles/header.jsp" />
        <put-attribute name="body" value="" />
        <put-attribute name="footer" value="/WEB-INF/tiles/footer.jsp" />
    </definition>

    <!-- Pages -->

    <definition name="site.homepage" extends="layout.basic">
        <put-attribute name="body" value="/WEB-INF/tiles/home.jsp" />
    </definition>

</tiles-definitions>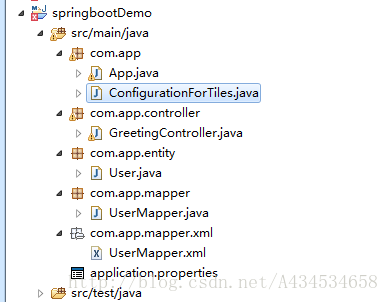
@Configuration
public class ConfigurationForTiles {

    /**
     * Initialise Tiles on application startup and identify the location of the tiles configuration file, tiles.xml.
     *
     * @return tiles configurer
     */
    @Bean
    public TilesConfigurer tilesConfigurer() {
        final TilesConfigurer configurer = new TilesConfigurer();
        configurer.setDefinitions(new String[] { "WEB-INF/tiles/tiles.xml" });
        configurer.setCheckRefresh(true);
        return configurer;
    }

    /**
     * Introduce a Tiles view resolver, this is a convenience implementation that extends URLBasedViewResolver.
     *
     * @return tiles view resolver
     */
    @Bean
    public TilesViewResolver tilesViewResolver() {
        final TilesViewResolver resolver = new TilesViewResolver();
        resolver.setViewClass(TilesView.class);
        return resolver;
    }
}
注意tiles.xml文件目录要正确;

1. basic.jsp
<%@ taglib uri="http://tiles.apache.org/tags-tiles" prefix="tiles"%>
<html>
<head>
<title><tiles:getAsString name="title" /></title>
</head>
<body>
basic.jsp
<!-- Header -->
<tiles:insertAttribute name="header" />
<!-- Body -->
<tiles:insertAttribute name="body" />
<!-- Footer -->
<tiles:insertAttribute name="footer" />
</body>
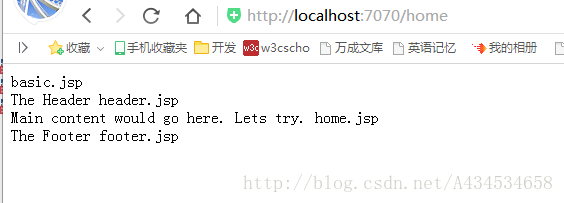
</html>2.footer.jsp
<div>The Footer footer.jsp</div>
3.header.jsp
<div>The Header header.jsp</div>
4.home.jsp
<div>
    Main content would go here. Lets try.     home.jsp
</div>@Controller
public class GreetingController {
private Log log = LogFactory.getLog(this.getClass());
@RequestMapping(value = "/home", method=RequestMethod.GET)
public String home() {
return "site.homepage"; //这个是 definition 的 name="site.homepage"
}
}
完成!
以上为个人经验,希望能给大家一个参考,也希望大家多多支持。

