现在的微服务项目不少都使用的是springboot+spring cloud构建的项目,微服务之间的调用都离不开feign来进行远程调用。那么我们一个服务需要调用第三方的服务的时候,我们常常可能使用httpclient或者restTemplate等客户端api来实现远程调用,其实我们可以在微服务没有适用spring cloud框架的情况下,想调用第三方服务,也可以通过feign组件实现http的远程调用。
<dependency>
    <groupId>org.springframework.boot</groupId>
    <artifactId>spring-boot-starter-web</artifactId>
</dependency>

<dependency>
    <groupId>org.projectlombok</groupId>
    <artifactId>lombok</artifactId>
</dependency>application.yml:
server:
  port: 8080

spring:
  application:
name: serviceDemoUser:
package com.example.servicedemo.entity;

import lombok.Data;

/**
 * 用户信息
 * @author qzz
 */
@Data
public class User {

    private Integer id;
    private String name;
    private Integer age;
}UserController:
package com.example.servicedemo.controller;

import com.example.servicedemo.entity.User;
import org.springframework.web.bind.annotation.RequestMapping;
import org.springframework.web.bind.annotation.RestController;

import java.util.ArrayList;
import java.util.List;

/**
 * @author qzz
 */
@RestController
public class UserController {

    @RequestMapping("/api/user/getUserList")
    public List<User> getUserList(){
        //模拟数据库请求数据
        List<User> list = new ArrayList<>();
        User user = new User();
        user.setId(1);
        user.setName("Jack");
        user.setAge(31);
        list.add(user);
        return list;
    }
}package com.example.servicedemo;
import org.springframework.boot.SpringApplication;
import org.springframework.boot.autoconfigure.SpringBootApplication;
/**
* @author qzz
*/
@SpringBootApplication
public class ServiceDemoApplication {
public static void main(String[] args) {
SpringApplication.run(ServiceDemoApplication.class, args);
}
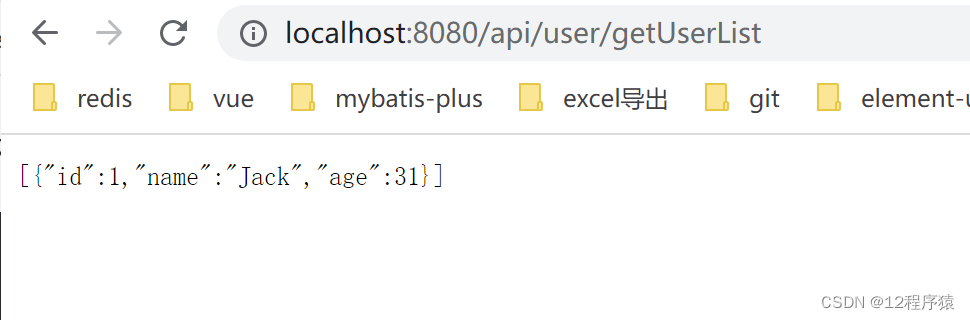
}浏览器访问:http://localhost:8080/api/user/getUserList
<dependency>
    <groupId>org.springframework.boot</groupId>
    <artifactId>spring-boot-starter-web</artifactId>
</dependency>
<dependency>
    <groupId>org.springframework.cloud</groupId>
    <artifactId>spring-cloud-starter-openfeign</artifactId>
</dependency>

<dependency>
    <groupId>org.projectlombok</groupId>
    <artifactId>lombok</artifactId>
</dependency>application.yml:
server:
  port: 8081

spring:
  application:
name: clientNameUser:
package com.example.clientdemo.entity;

import lombok.Data;

/**
 * @author qzz
 */
@Data
public class User {

    private Integer id;
    private String name;
    private Integer age;
}注意:@FeignClient的name和value属性必填其一,另外url必填。
package com.example.clientdemo.feign;

import com.example.clientdemo.entity.User;
import org.springframework.cloud.openfeign.FeignClient;
import org.springframework.web.bind.annotation.RequestMapping;

import java.util.List;

/**
 * openFeign接口
 * URL:就是远程端需要调用接口的服务URL路径,name:就是服务名,value和name一样
 * @author qzz
 */
@FeignClient(name = "serviceDemo",url = "http://localhost:8080")
public interface ServiceDemoFeign {

    /**
     * 获取用户列表
     * @return
     */
    @RequestMapping("/api/user/getUserList")
    List<User> getUserList();

}UserController:
/**
 * @author qzz
 */
@RestController
public class UserController {

     /**
     * 注入OpenFeign接口
     */
    @Autowired
    private ServiceDemoFeign serviceDemoFeign;

    @RequestMapping("/api/client/user/getUserList")
    public List<User> getUserList(){
        return serviceDemoFeign.getUserList();
    }

}启动类需要添加@EnableFeignClients注解。加入EnableFeignClients开启Feign注解,使Feign的bean可以被注入
package com.example.clientdemo;

import org.springframework.boot.SpringApplication;
import org.springframework.boot.autoconfigure.SpringBootApplication;
import org.springframework.cloud.openfeign.EnableFeignClients;

/**
 * @author qzz
 */
@EnableFeignClients
@SpringBootApplication
public class ClientDemoApplication {

    public static void main(String[] args) {
        SpringApplication.run(ClientDemoApplication.class, args);
    }

}
浏览器访问:http://localhost:8081/api/client/user/getUserList
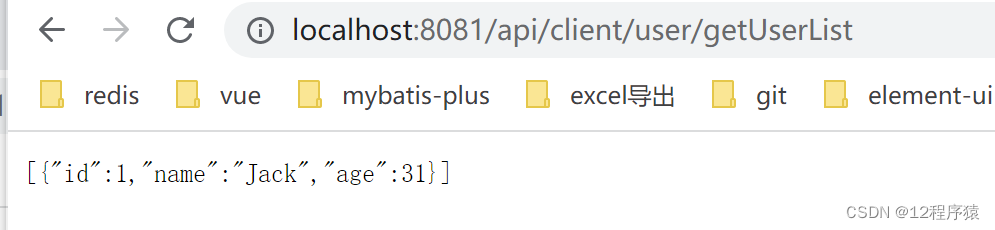
返回结果成功,说明服务调用成功。
完整代码
点击此处进行下载

