有的时候,我们的nacos会出现一个配置文件里,有多个配置项对应的值都是一样的,这个时候nacos就可以用到占位符${}进行参数配置。
例如下面的这个配置
system:
  mapApi:
    host: http://192.168.11.222:
    port: 7777
    header: Authorization
    timeout: 100000
  bigDataApi:
    host: http://192.168.11.222:
    port: 8888
    header: Authorization
    timeout: 200000
可以使用$占位符,进行如下配置
system:
  mapApi:
    host: http://192.168.11.222:
    port: 7777
    header: Authorization
    timeout: 100000
  bigDataApi:
    host: ${system.mapApi.host}
    port: 8888
    header: ${system.mapApi.header}
    timeout: 200000
nacos使用占位符${}进行参数配置后,固定相同值的属性以后就只要改一遍就可以了,是不是很方便?
补充知识点:
引入相关依赖,${spring-cloud-starter.version}是我定义的版本变量,可以改成具体版本,例如:2.2.3.RELEASE
<dependency>
      <groupId>com.alibaba.cloud</groupId>
      <artifactId>spring-cloud-starter-alibaba-nacos-config</artifactId>
      <version>${spring-cloud-starter.version}</version>
</dependency>
<dependency>
      <groupId>com.alibaba.cloud</groupId>
      <artifactId>spring-cloud-starter-alibaba-nacos-discovery</artifactId>
      <version>${spring-cloud-starter.version}</version>
</dependency>
项目中配置文件,本次我使用了两个文件,具体配置信息如下
bootstrap.yml 配置参数
spring:
  application:
    name: hm-user #需要与配置中心的文件前缀匹配
  profiles:
    active: dev #环境
bootstrap-dev.yml 配置参数
spring:
  profiles: dev
  cloud:
    nacos:
      #配置中心设置
      config:
        username: nacos
        password: nacos
        #设置配置中心服务端地址
        server-addr: 127.0.0.1:8848
        namespace: hm-dev
        file-extension: yml
        #引用扩展配置
        extension-configs[0]:
          dataId: hm-client-info.yml #扩展配置的名字
          group: DEFAULT_GROUP #扩展配置的分组
          refresh: true #刷新
Nacos配置文件如下
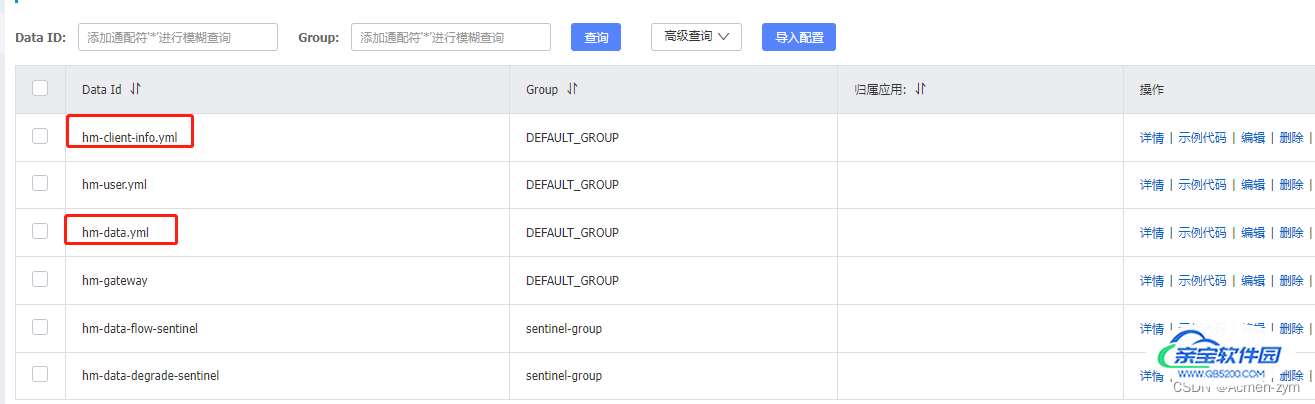
hm-client-info.yml 配置参数
hm:
  redis:
    host: 127.0.0.1
    port: 6379
    database: 2
  mysql:
    url: jdbc:mysql://127.0.0.1:3306/jpa_test_db?useUnicode=true&characterEncoding=utf8&rewriteBatchedStatements=true
    username: root
    password: abc4561231
hm-user.yml 配置参数
server:
port: 8081
spring:
datasource:
url: ${hm.mysql.url}
username: ${hm.mysql.username}
password: ${hm.mysql.password}
#驱动类
driver-class-name: com.mysql.cj.jdbc.Driver
redis:
host: ${hm.redis.host}
port: ${hm.redis.port}
database: ${hm.redis.database}
cloud:
sentinel:
enabled: true
transport:
dashboard: 127.0.0.1:7777
user:
name: ${hm.redis.host}——${hm.mysql.username}
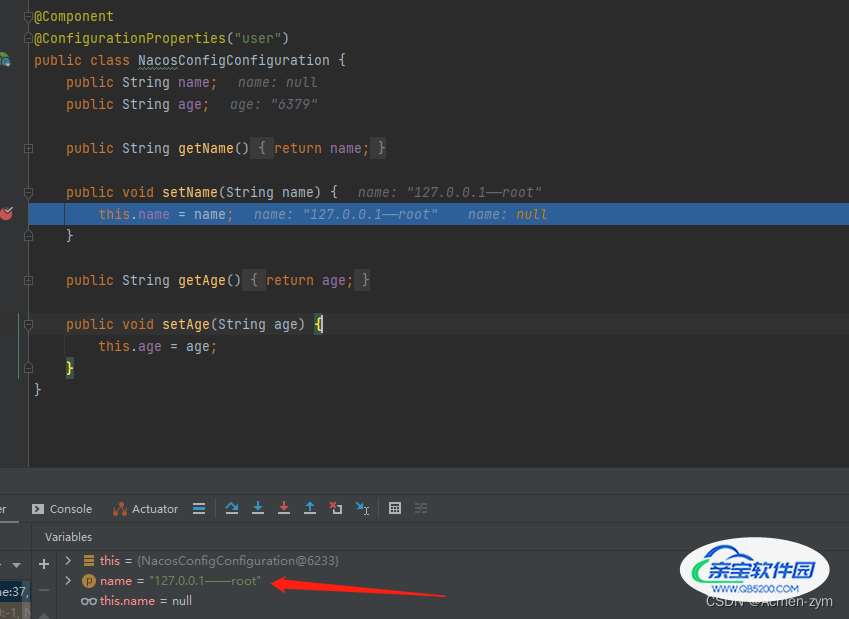
age: ${hm.redis.port}创建一个properties类获取配置文件中的信息
@Component
@ConfigurationProperties("user")
public class NacosConfigConfiguration {
    public String name;
    public String age;

    public String getName() {
        return name;
    }

    public void setName(String name) {
        this.name = name;
    }

    public String getAge() {
        return age;
    }

    public void setAge(String age) {
        this.age = age;
    }
}
启动项目在set方法中打断点,查看值是否正确
Nacos配置MySQL持久化,Nacos下载地址
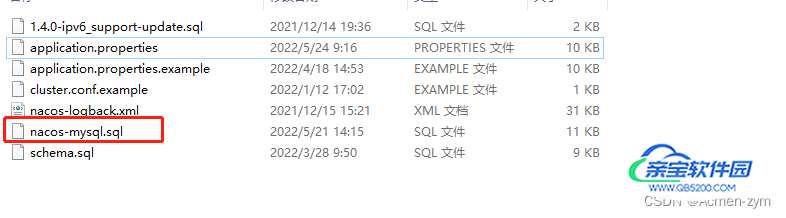
我本次下载的是.zip的压缩包

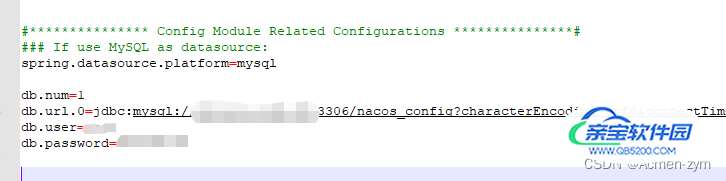
将压缩包解压进入 nacos\conf 目录,修改 application.properties 中的数据源
1、开启spring.datasource.platform
2、添加自己想要配置的数据库地址与账号密码
3、去配置的MySQL数据库中,创建对应的database nacos_config
4、在nacos_config控制台中执行 nacos-mysql.sql 中的SQL语句