Compose 具有超强的兼容性,兼容现有的所有代码,Compose 能够与现有 View 体系并存,可实现渐进式替换。这就很有意义了,我们可以在现有项目中一小块一小块逐步地替换Compose,或者在旧项目中实现新的需求的时候,使用Compose。
今天,我们就来演示一下,Compose和Android View怎么互相调用,以及在双层嵌套(原生View嵌套Compose,Compose中又嵌套原生View)的情况下,在最外层原生View中,怎么获取到Compose内部的原生View。
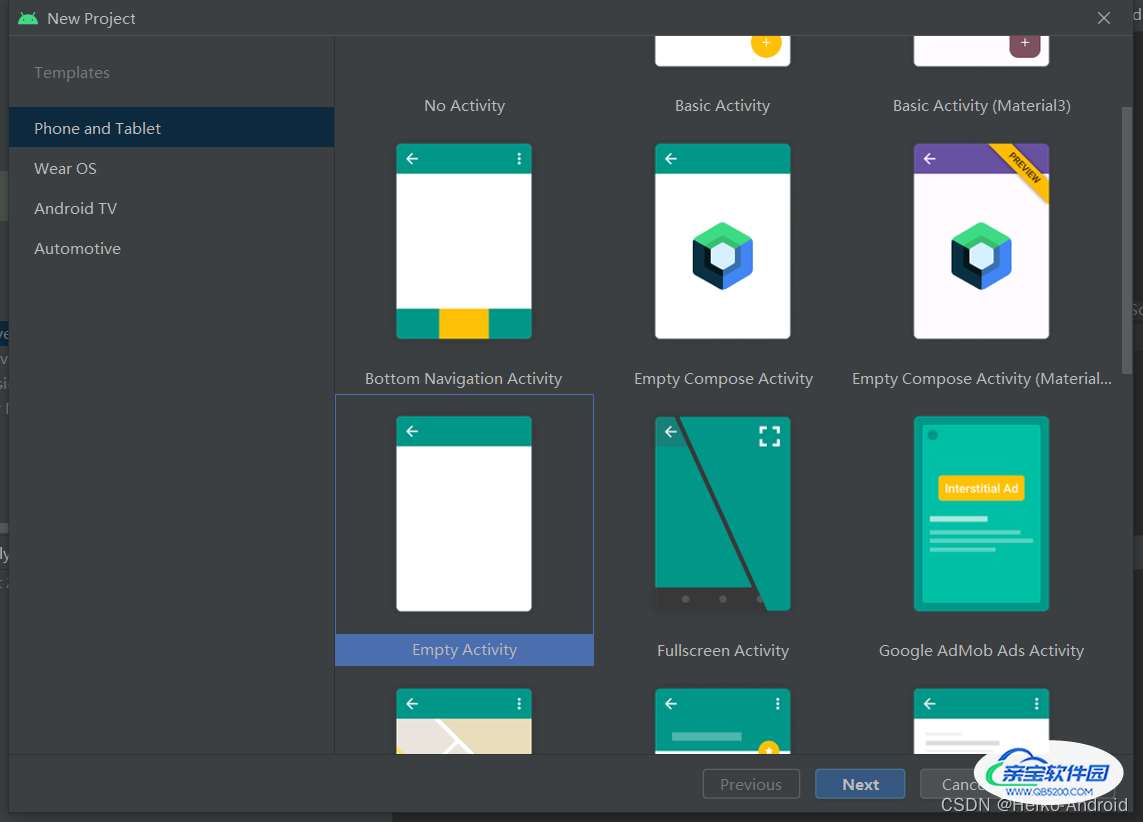
新建项目的时候选择 Empty Activity
在app的build.config android代码块中添加
buildFeatures {
compose true
}
composeOptions {
kotlinCompilerExtensionVersion '1.1.1'
}
在app的build.config dependencies代码块中添加
dependencies {
//...省略...def compose_ui_version = '1.1.1'
implementation "androidx.compose.ui:ui:$compose_ui_version"
implementation "androidx.compose.ui:ui-tooling-preview:$compose_ui_version"
androidTestImplementation "androidx.compose.ui:ui-test-junit4:$compose_ui_version"
debugImplementation "androidx.compose.ui:ui-tooling:$compose_ui_version"
debugImplementation "androidx.compose.ui:ui-test-manifest:$compose_ui_version"implementation 'androidx.activity:activity-compose:1.3.1' //kotlin对应版本1.6.20
implementation 'androidx.compose.material:material:1.1.1'
}
在MainActivity.kt中定义Compose函数
@Composable
fun ComposeContent() {
    Box(
        modifier = Modifier.fillMaxSize(),
        contentAlignment = Alignment.Center
    ) {
        Text(text = "Hello world!")
    }
}
在activity_main.xml中添加androidx.compose.ui.platform.ComposeView
<?xml version="1.0" encoding="utf-8"?>
<LinearLayout xmlns:android="http://schemas.android.com/apk/res/android"
    xmlns:app="http://schemas.android.com/apk/res-auto"
    xmlns:tools="http://schemas.android.com/tools"
    android:layout_width="match_parent"
    android:layout_height="match_parent"
    android:orientation="vertical"
    tools:context=".MainActivity">
    <androidx.compose.ui.platform.ComposeView
        android:id="@+id/compose_view"
        android:layout_width="match_parent"
        android:layout_height="match_parent" />
</LinearLayout>
在MainActivity.kt中,先通过findViewById找到ComposeView,然后通过composeView.setContent将Android 传统View和Compose建立关联。
override fun onCreate(savedInstanceState: Bundle?) {
    super.onCreate(savedInstanceState)
    setContentView(R.layout.activity_main)
    val composeView : ComposeView = findViewById(R.id.compose_view)
    composeView.setContent {
        ComposeContent()
    }
}
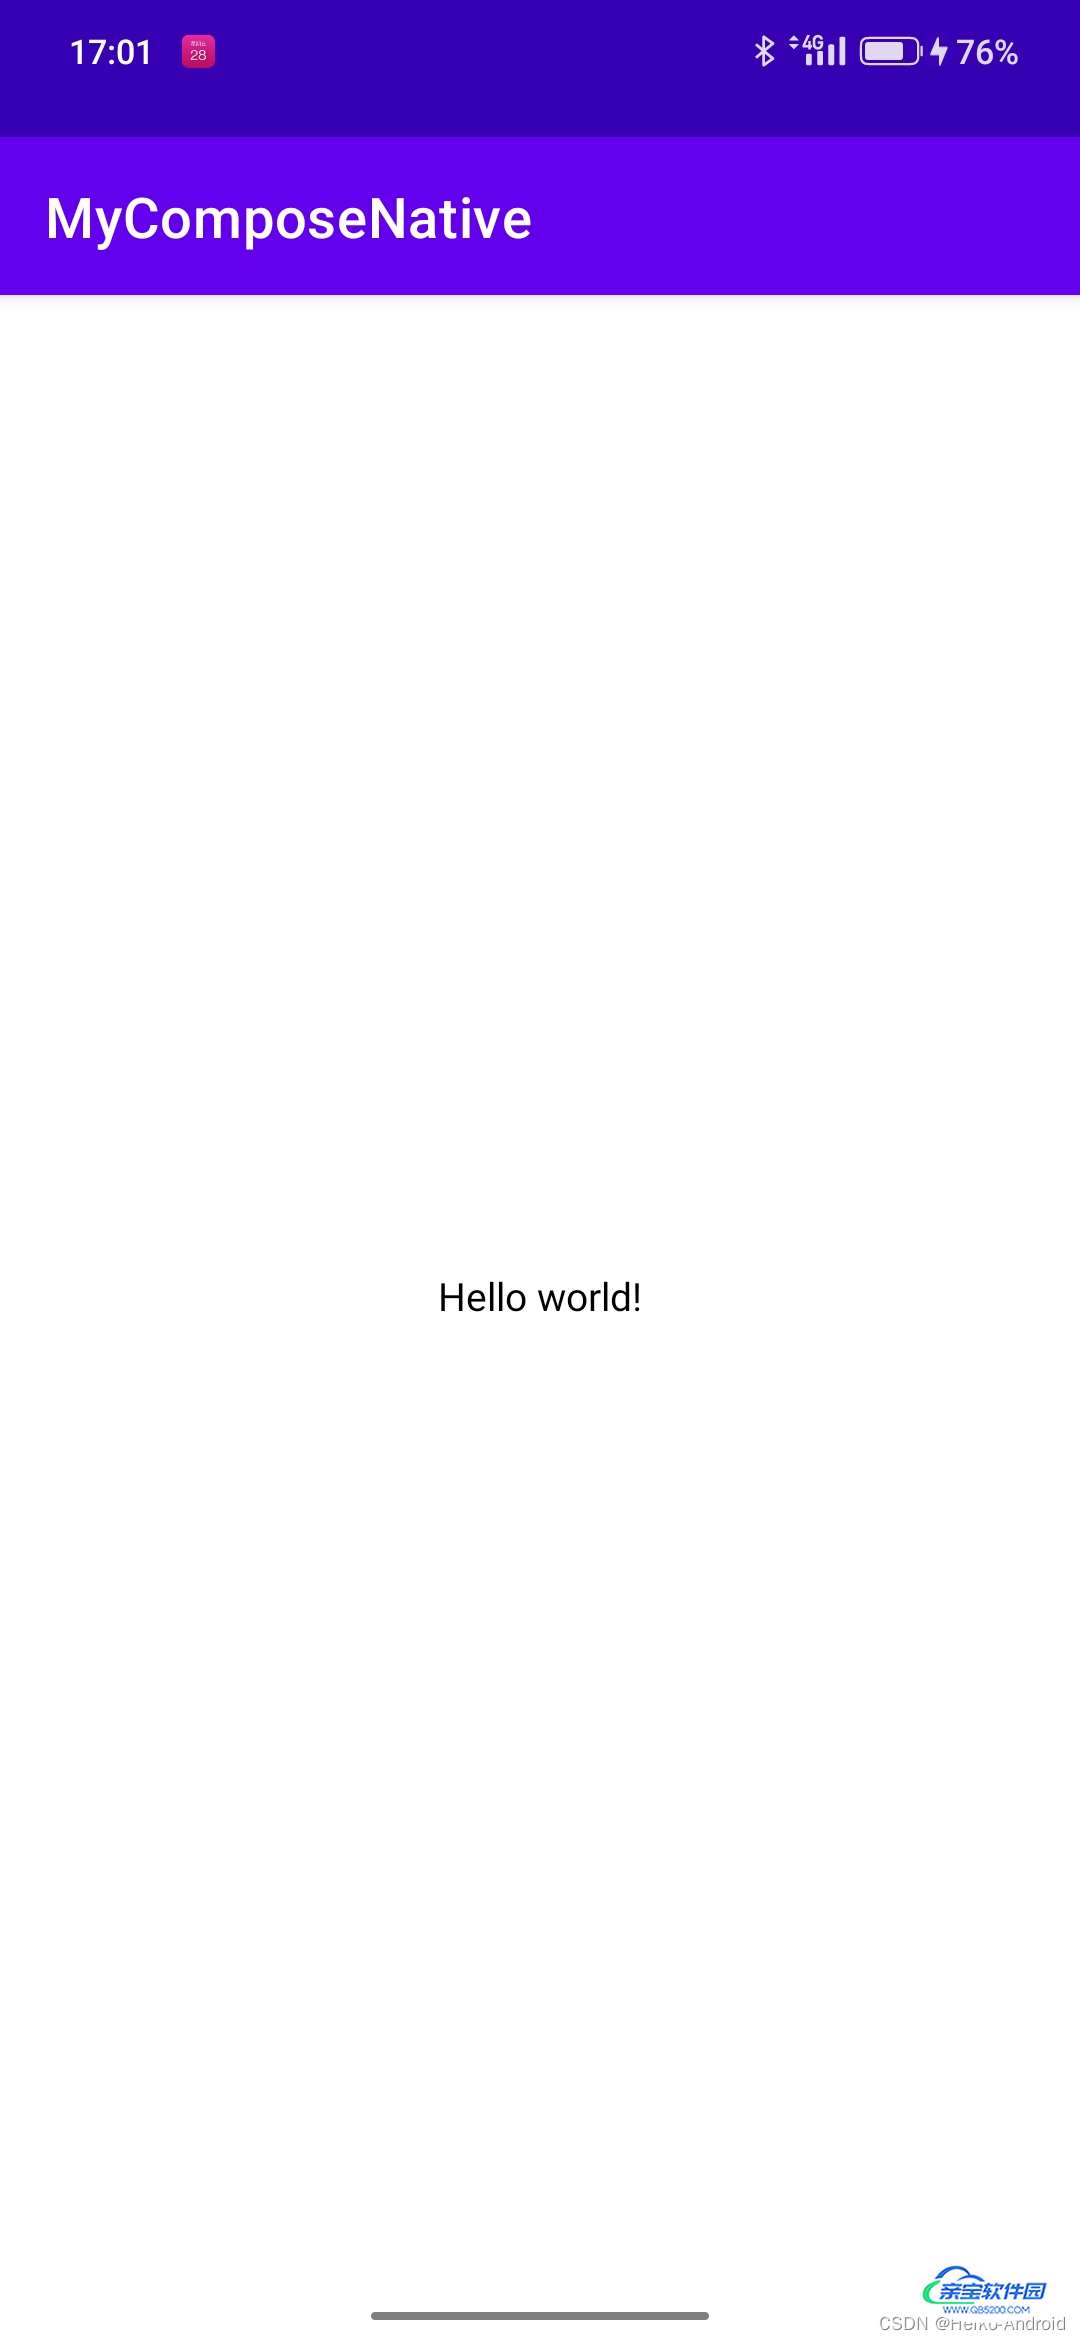
可以发现界面显示如下,成功在传统View项目中调用了Compose了
在@Composable内使用: androidx.compose.ui.viewinterop.AndroidView,然后在factory里面返回原生View即可
@Composable
fun AndroidViewPage() {
    AndroidView(factory = {
        CalendarView(it)
    }, modifier = Modifier.fillMaxWidth(), update = {
        it.setOnDateChangeListener { view, year, month, day ->
            Toast.makeText(view.context, "${year}年${month}月${day}日", Toast.LENGTH_SHORT).show()
        }
    })
}
首先需要在AndroidManifest.xml中添加网络权限
<uses-permission android:name="android.permission.INTERNET" />
@Composable
private fun rememberWebViewLifecycleObserver(webView: WebView): LifecycleEventObserver {
    return remember(webView) {
        LifecycleEventObserver { _, event ->
            run {
                when (event) {
                    Lifecycle.Event.ON_RESUME -> webView.onResume()
                    Lifecycle.Event.ON_PAUSE -> webView.onPause()
                    Lifecycle.Event.ON_DESTROY -> webView.destroy()
                    else -> Log.e("WebView", event.name)
                }
            }
        }
    }
}
创建有状态的WebView,并注册生命周期
@Composable
fun rememberWebViewWIthLifecycle(): WebView {
    val context = LocalContext.current
    val webView = remember {
        WebView(context)
    }
    val lifecycleObserver = rememberWebViewLifecycleObserver(webView)
    val lifecycle = LocalLifecycleOwner.current.lifecycle
    DisposableEffect(lifecycle) {
        lifecycle.addObserver(lifecycleObserver)
        onDispose {
            lifecycle.removeObserver(lifecycleObserver)
        }
    }
    return webView
}
@Composable
fun WebViewPage() {
//创建有状态的WebView,并注册生命周期
val webView = rememberWebViewWIthLifecycle()
AndroidView(factory = {
webView
}, modifier = Modifier
.fillMaxSize() //宽高占满父布局
.background(Color.Red),
update = {webView ->
//设置支持JavaScript
val webSettings = webView.settings
webSettings.javaScriptEnabled = true
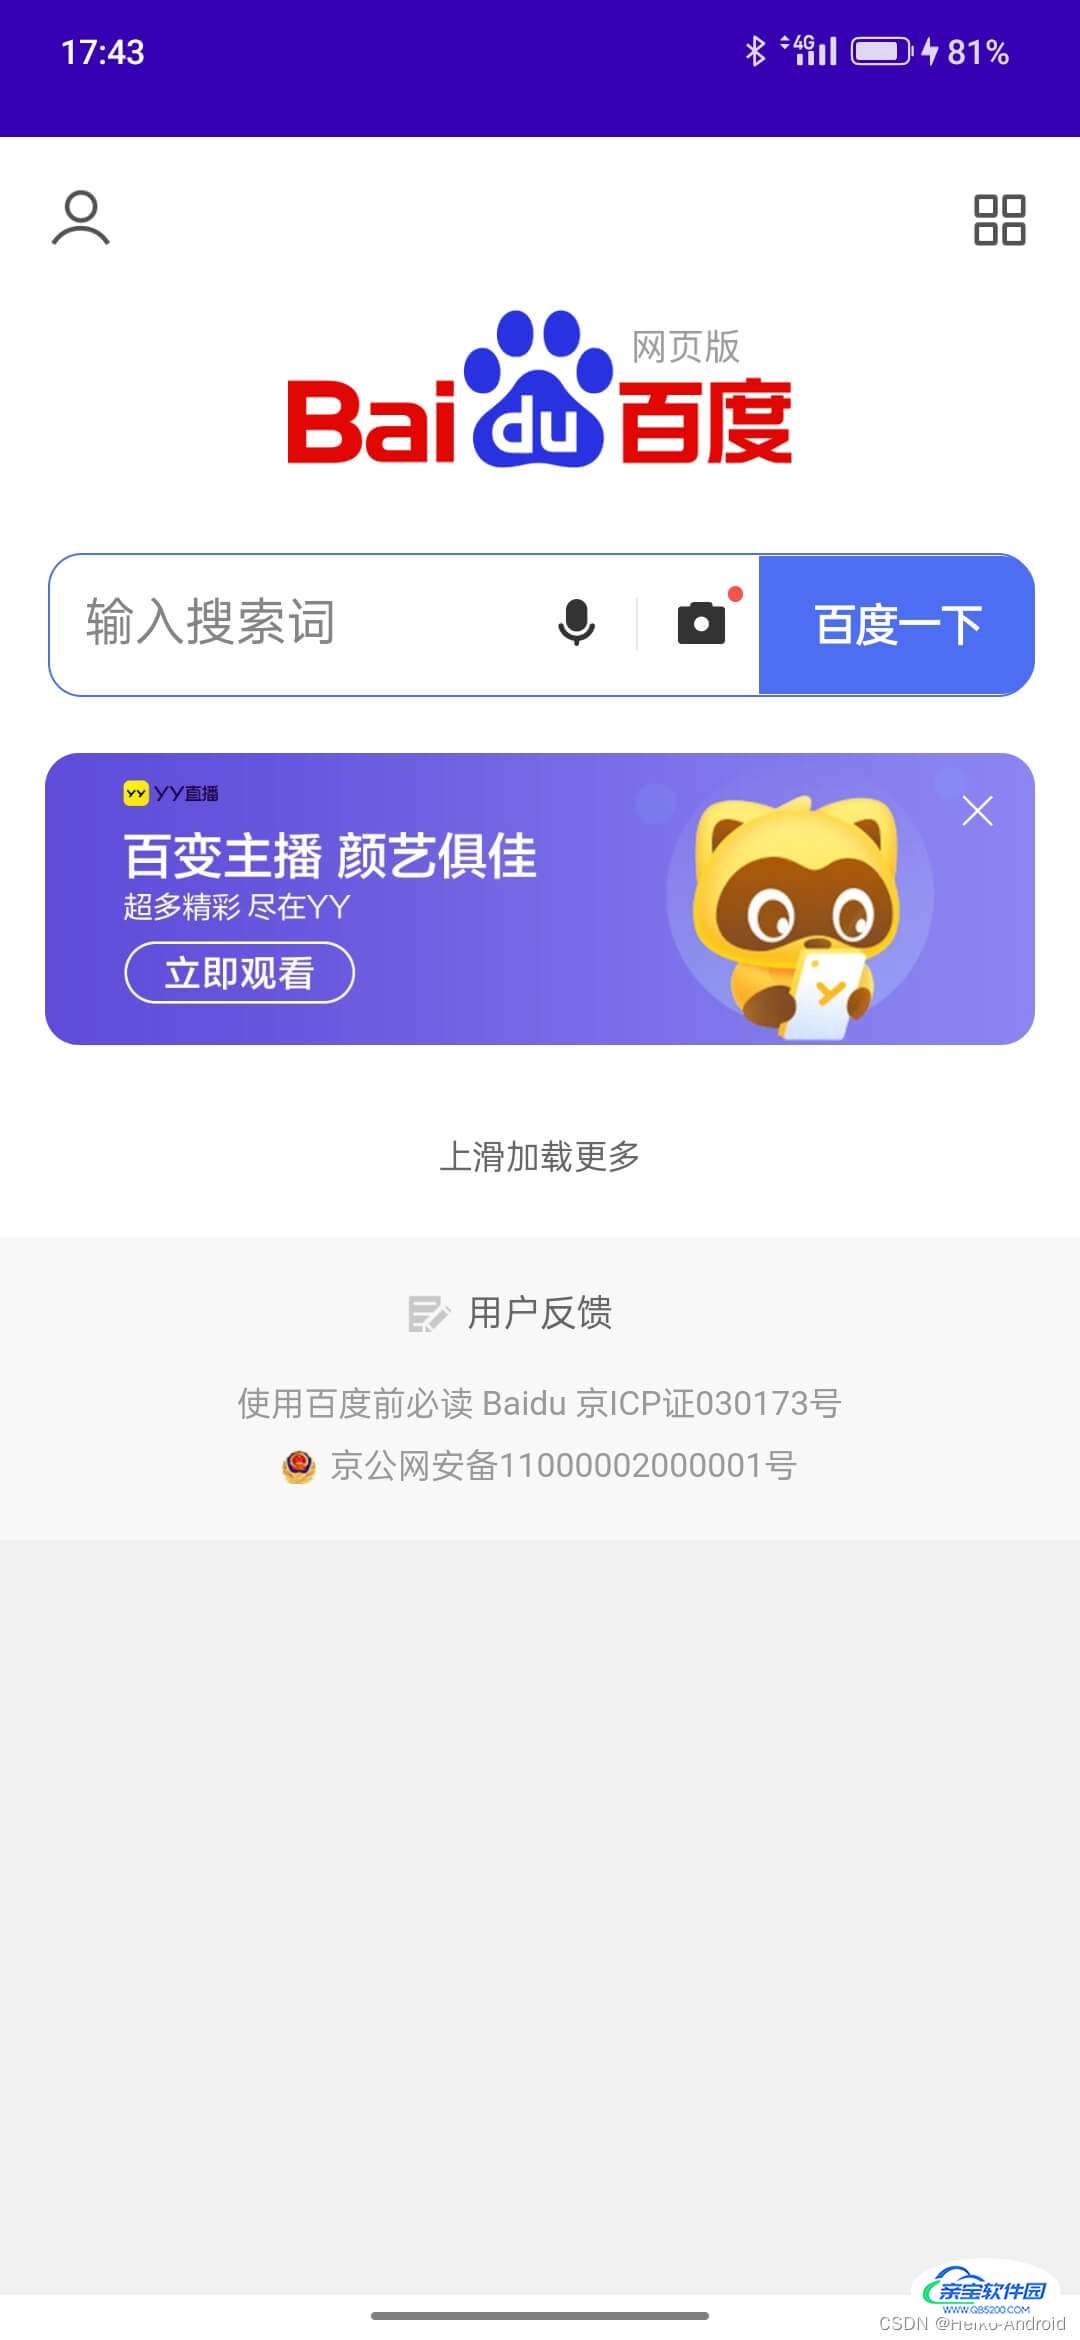
webView.loadUrl("https://www.baidu.com")
})
}
获取AndroidView中的原生View id
有时候,我们会遇到这种情况,就是在原生项目了,页面中有部分使用了Compose,然后在Compose中又有部分组件使用了原生View,这种情况下,要如何取到AndroidView中的原生View id 呢 ?
<LinearLayout xmlns:android="http://schemas.android.com/apk/res/android"
    xmlns:app="http://schemas.android.com/apk/res-auto"
    xmlns:tools="http://schemas.android.com/tools"
    android:layout_width="match_parent"
    android:layout_height="match_parent"
    android:orientation="vertical"
    tools:context=".MainActivity">
    <androidx.compose.ui.platform.ComposeView
        android:id="@+id/compose_view"
        android:layout_width="match_parent"
        android:layout_height="match_parent" />
</LinearLayout>
在MainActivity.kt中,先通过findViewById找到ComposeView,然后通过composeView.setContent将Android 传统View和Compose建立关联。
override fun onCreate(savedInstanceState: Bundle?) {
    super.onCreate(savedInstanceState)
    setContentView(R.layout.activity_main)
    val composeView : ComposeView = findViewById(R.id.compose_view)
    composeView.setContent {
        ComposeContent()
    }
}
@Composable
fun ComposeContent() {
	//....
}
在resources/values目录下创建ids.xml
<?xml version="1.0" encoding="utf-8"?>
<resources>
    <item type="id" name="my_calendar_view" />
</resources>
@Composable
fun ComposeContent() {
    AndroidView(factory = {
        //这里也可以通过 layoutInflater.inflate(R.layout.xxxxxx) 的方式返回原生View
        val calendarView = CalendarView(it)
        val keyboard = R.id.my_calendar_view
        Log.i(TAG,"my_calendar_view id:$keyboard")
        calendarView.id = keyboard
        calendarView
    }, modifier = Modifier.fillMaxWidth(), update = {
        it.setOnDateChangeListener { view, year, month, day ->
            Toast.makeText(view.context, "${year}年${month}月${day}日", Toast.LENGTH_SHORT).show()
        }
    })
}
在原生代码的地方,通过composeView.findViewById查找id为my_calendar_view的原生View
window?.decorView?.post {
    val calendarViewId = R.id.my_calendar_view
    Log.i(TAG,"my_calendar_view id ===>:$calendarViewId")
    val calendarView = composeView.findViewById<CalendarView>(calendarViewId)
    Log.i(TAG,"calendarView:$calendarView")
    calendarView.setOnDateChangeListener { view, year, month, day ->
        Toast.makeText(view.context, "!!!! ${year}年${month}月${day}日", Toast.LENGTH_SHORT).show()
    }
}
注意这里的window?.decorView?.post : 必须在页面加载完成后,才能查找到my_calendar_view对应的原生View,如果直接在onCreate里面去查找,会发现composeView.findViewById<CalendarView>(calendarViewId)返回的是null
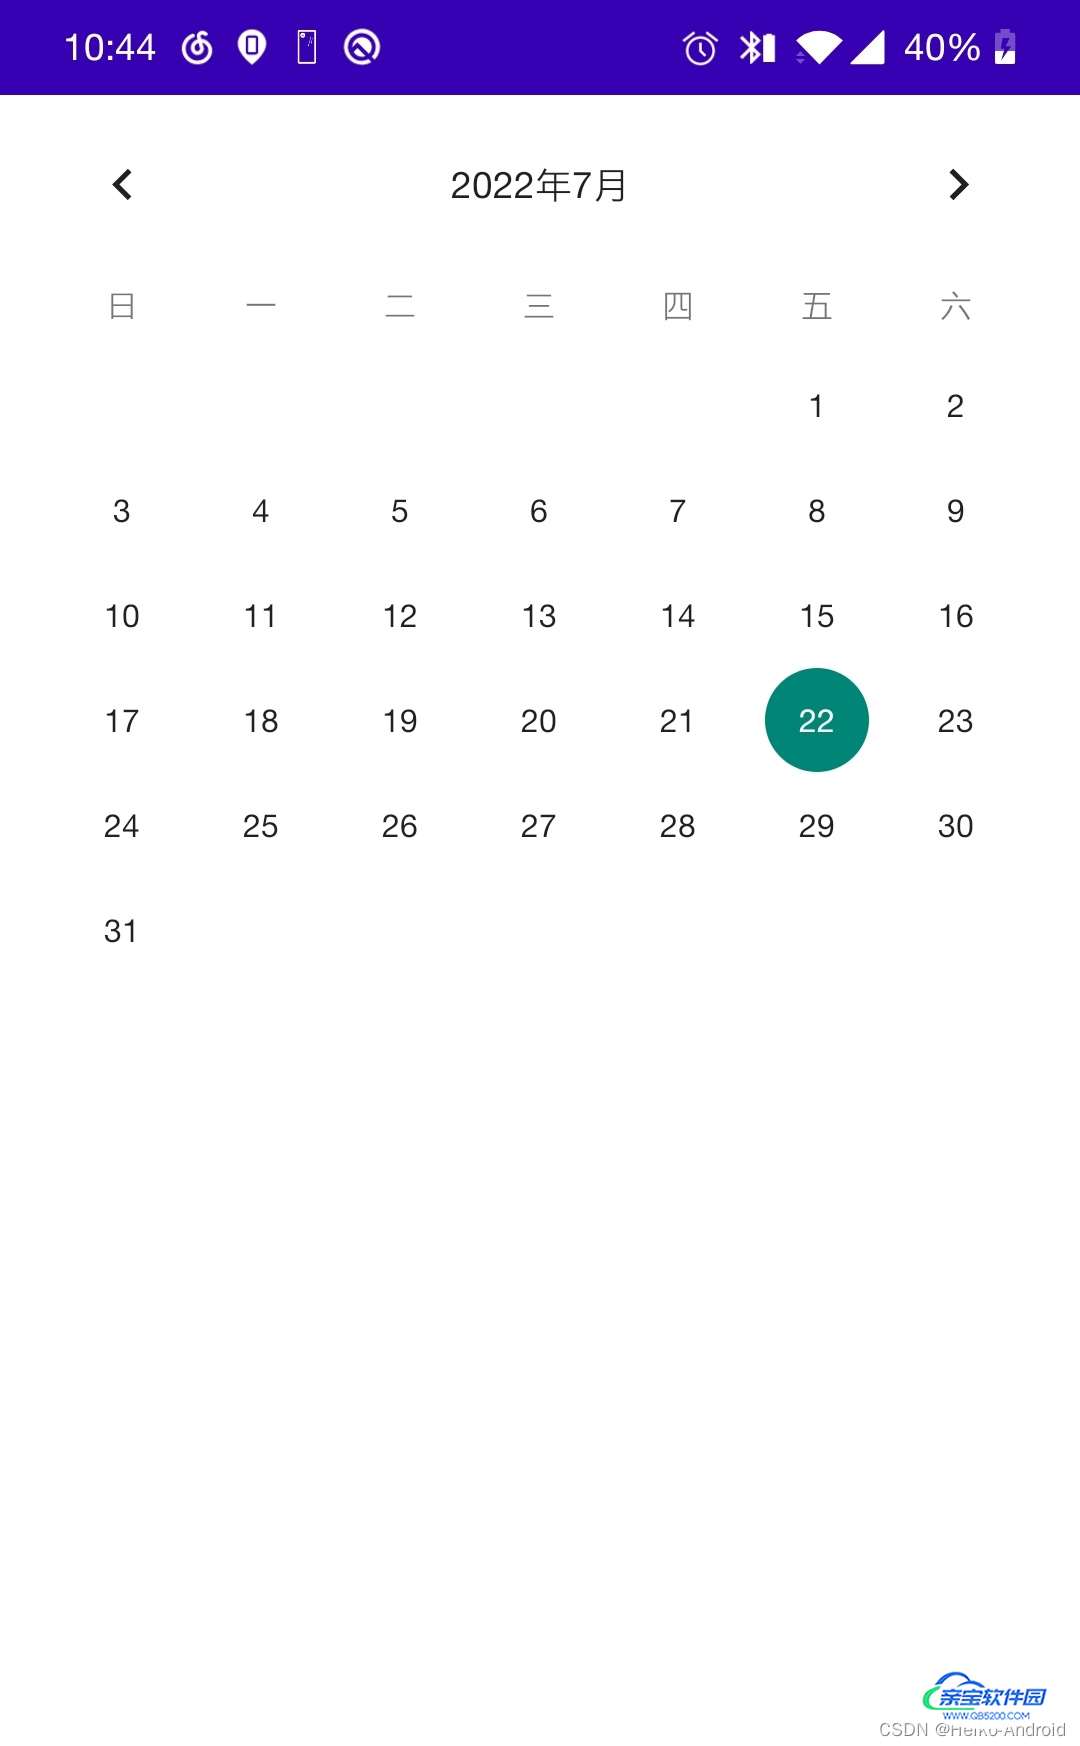
选择任意一个日期,可以发现弹出的toast是!!!! year年month月day日,即原生的setOnDateChangeListener覆盖了Compose中的setOnDateChangeListener监听,这样说明我们也在原生代码处,取到了Compose内部的原生View了。
本文源码下载地址 : 传送门

