不多说了,直接按下面的步骤进行吧。

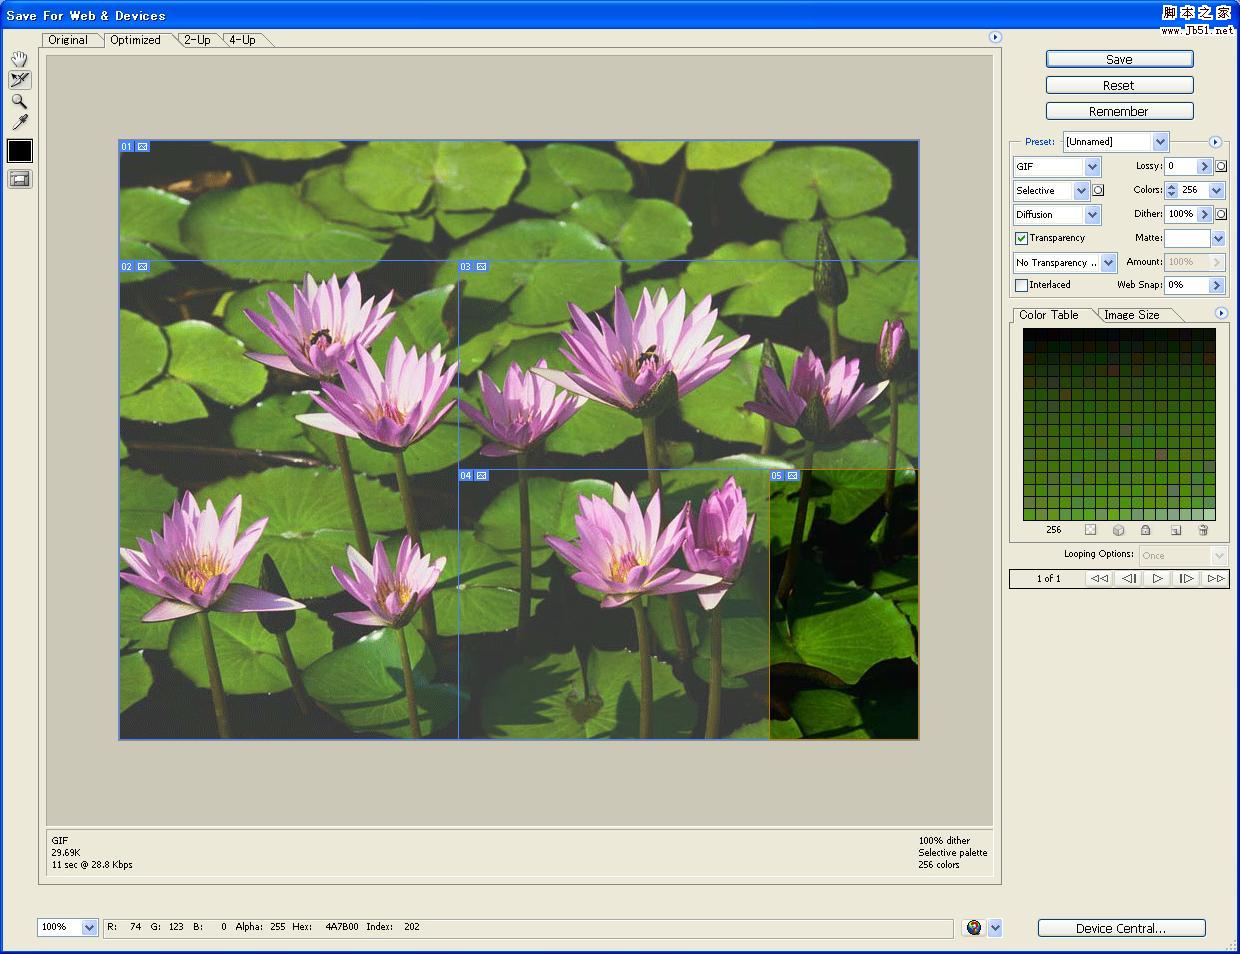
点击右上角save保存,对话框中选择保存成html。
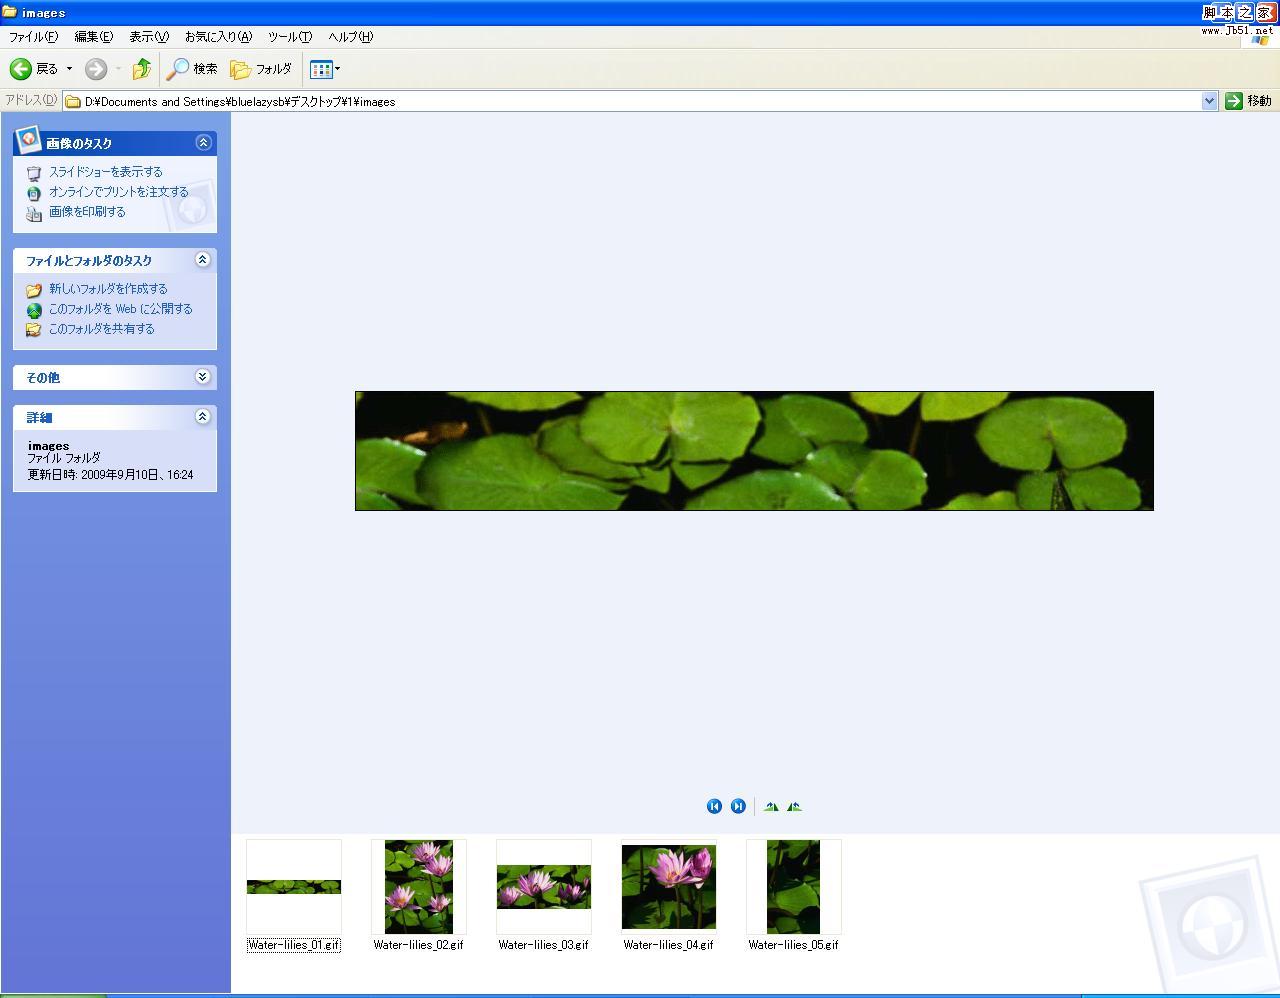
生成的html代码如下所示:
<html>
<head>
<title>Water lilies</title>
<meta http-equiv="Content-Type" content="text/html; charset=shift_jis">
</head>
<body bgcolor="#FFFFFF" leftmargin="0" topmargin="0" marginwidth="0" marginheight="0">
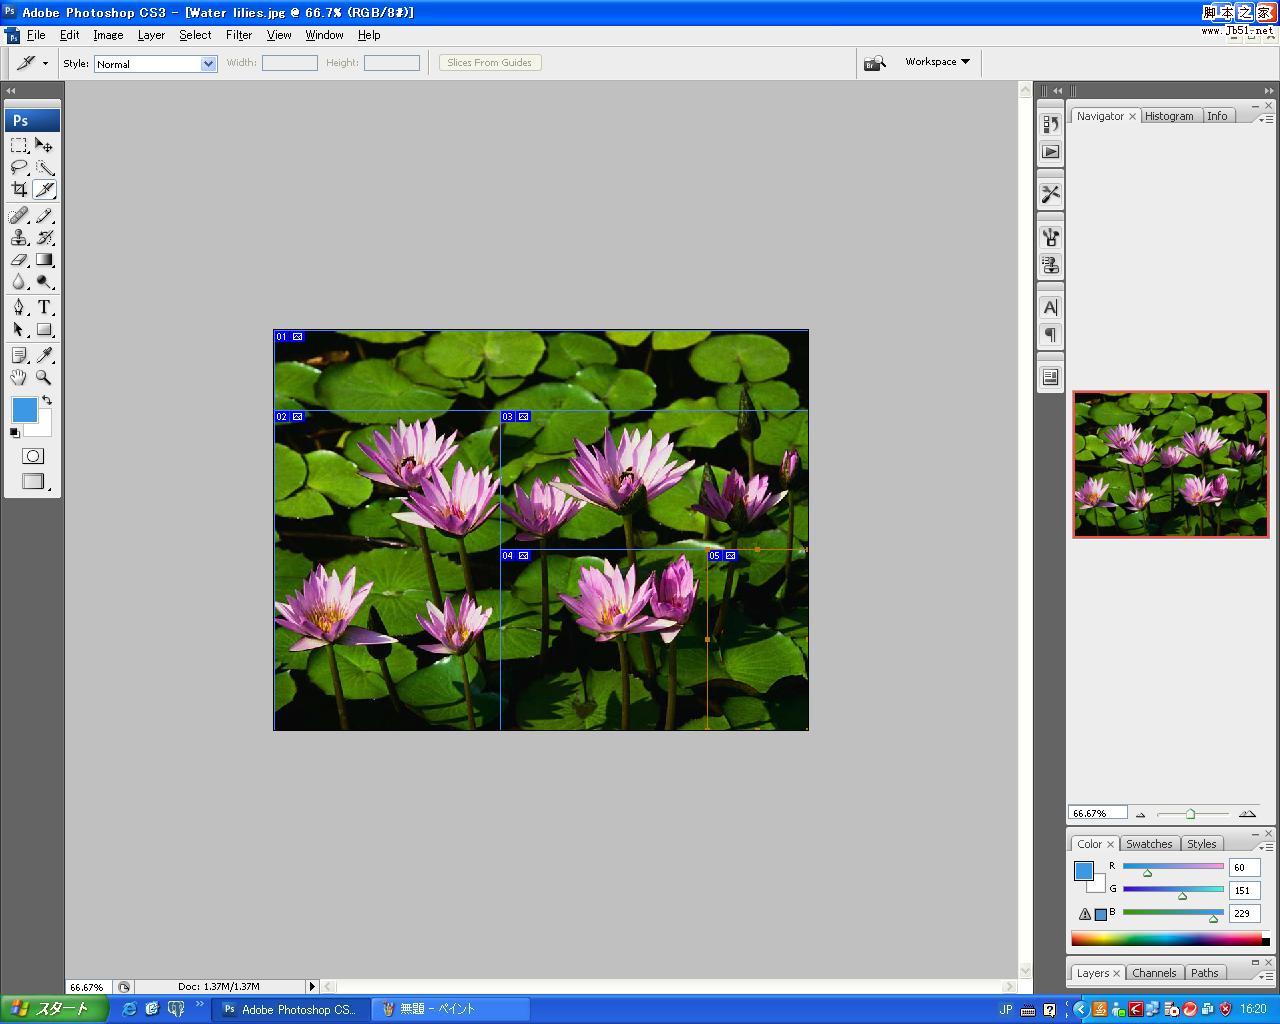
<!-- ImageReady Slices (Water lilies.jpg) -->
<table id="Table_01" width="800" height="600" border="0" cellpadding="0" cellspacing="0">
<tr>
<td colspan="3">
<img src="images/Water-lilies_01.gif" width="800" height="120" alt=""></td>
</tr>
<tr>
<td rowspan="2">
<img src="images/Water-lilies_02.gif" width="339" height="480" alt=""></td>
<td colspan="2">
<img src="images/Water-lilies_03.gif" width="461" height="209" alt=""></td>
</tr>
<tr>
<td>
<img src="images/Water-lilies_04.gif" width="311" height="271" alt=""></td>
<td>
<img src="images/Water-lilies_05.gif" width="150" height="271" alt=""></td>
</tr>
</table>
<!-- End ImageReady Slices -->
</body>
</html>