环境:
1台 CentOS Linux release 7.5.1804 (Core)
关闭防火墙和selinux
开始部署:
1、安装nginx
@1.1 依赖安装
yum -y install wget gcc gcc-c++ pcre-devel openssl-devel
@1.2 nginx软件包下载
wget http://nginx.org/download/nginx-1.19.0.tar.gz
@1.3 解压、编译、安装
[root@localhost ~]# tar xf nginx-1.19.0.tar.gz
[root@localhost ~]# cd nginx-1.19.0
[root@localhost nginx-1.19.0]# ./configure --prefix=/usr/local/nginx --with-http_stub_status_module --with-http_ssl_module && make && make install
@1.4 切换到 nginx 目录、做个软链接
[root@localhost nginx-1.19.0]# cd /usr/local/nginx/
[root@localhost nginx]# ln -s /usr/local/nginx/sbin/nginx /usr/local/sbin/nginx
2、配置私钥和证书
@2.1 创建私钥
[root@localhost nginx]# mkdir sslkey
[root@localhost nginx]# cd sslkey/
[root@localhost sslkey]# openssl genrsa -des3 -out server.key 1024

@2.2 生成证书文件
[root@localhost sslkey]# openssl req -new -key server.key -out server.csr

[root@localhost sslkey]# openssl req -x509 -days 3650 -key server.key -in server.csr > server.crt

-days参数指明证书有效期,单位为天
x509表示生成的为X.509证书
以上签署证书仅仅做测试用,真正运行的时候,应该将CSR发送到一个CA返回真正的证书
用openssl x509 -noout -text -in server.crt 可以查看证书的内容。证书实际上包含了Public Key
@2.3 生成无密的私钥
[root@localhost sslkey]# openssl rsa -in server.key -out server.key.unsecure

查看生成证书与私钥文件

3、nginx配置https
@3.1 修改配置nginx.conf,将监听端口80替换成443,配置ssl认证
[root@localhost conf]# pwd
/usr/local/nginx/conf
[root@localhost conf]# vim nginx.conf
server {
  listen  443;
  server_name localhost;
  ssl_certificate   /usr/local/nginx/sslkey/server.crt;
  ssl_certificate_key  /usr/local/nginx/sslkey/server.key.unsecure;
  ssl_protocols   TLSv1 TLSv1.1 TLSv1.2;
  ssl_ciphers  ECDHE-RSA-AES128-GCM-SHA256:ECDHE:ECDH:AES:HIGH:!NULL:!aNULL:!MD5:!ADH:!RC4;
  ssl_prefer_server_ciphers on;

@3.2 启动 nginx 并查看端口
[root@localhost conf]# nginx
[root@localhost conf]# ss -nltp|grep 443
LISTEN  0  128   *:443      *:*     users:(("nginx",pid=25949,fd=6),("nginx",pid=25948,fd=6))
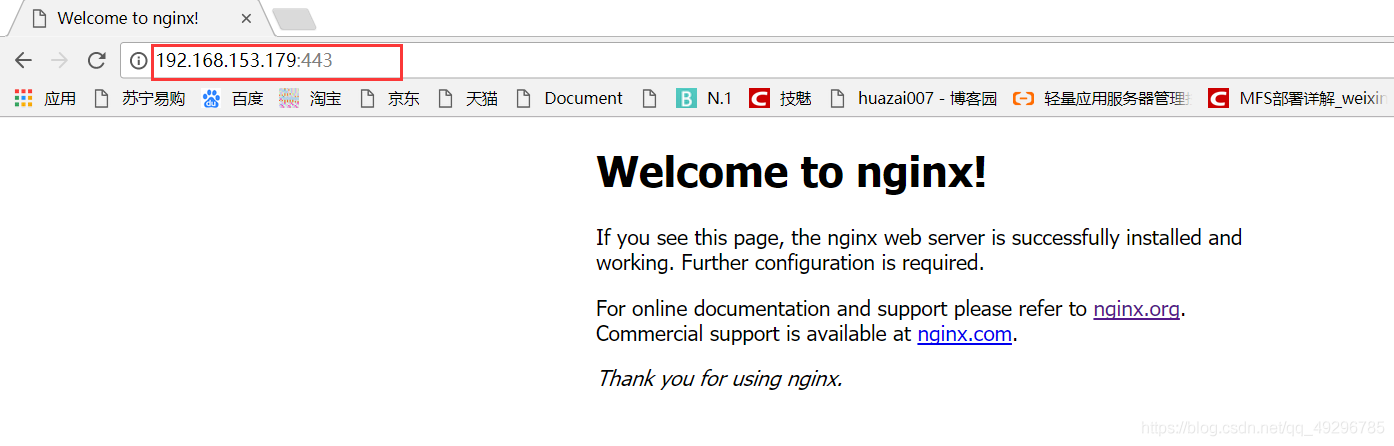
4 浏览器访问即可!