序
Vue 3.0 全家桶发布内容包括:
可以看到 Vue 3.0 beta 版本是一个项目系列,包含了我们在开发过程中需要的套件、webpack 插件等等,本文将带大家快速搭建基于 Vue 3.0 的项目框架,这和之前很多 Vue 3.0 的 Demo 不同,是具备商业化项目能力的框架,本文将包括以下内容:
说个题外话,今天中午我搭建 Vue 3.0 项目时,发现了 vue-router-next 一个 block 级别的 BUG,想在 vue-router-next 项目 issue 中反馈时,发现已经有人提交了相似问题,随后晚上测试时,bug 已经被 fixed,为 Vue 团队的高效点赞,issue 地址,所以当大家发现使用中问题时,可以及时到项目 issue 下进行反馈,这是一支可以信赖的团队!
Vue 3.0 项目初始化
Vue 3.0 项目初始化过程和 Vue 2.0 类似,具体步骤如下:
Vue 项目初始化
第一步,安装 vue-cli:
npm install -g @vue/cli
注意以下命令是错误的!
npm install -g vue
npm install -g vue-cli
安装成功后,我们即可使用 vue 命令,测试方法:
$ vue -V
@vue/cli 4.3.1
第二步,初始化 vue 项目:
vue create vue-next-test
输入命令后,会出现命令行交互窗口,这里我们选择 Manually select features:
Vue CLI v4.3.1
? Please pick a preset:
 default (babel, eslint)
❯ Manually select features
随后我们勾选:Router、Vuex、CSS Pre-processors 和 Linter / Formatter,这些都是开发商业级项目必须的:
Vue CLI v4.3.1
? Please pick a preset: Manually select features
? Check the features needed for your project:
 ◉ Babel
 ◯ TypeScript
 ◯ Progressive Web App (PWA) Support
 ◉ Router
 ◉ Vuex
 ◉ CSS Pre-processors
❯◉ Linter / Formatter
 ◯ Unit Testing
 ◯ E2E Testing
注意:Vue 3.0 项目目前需要从 Vue 2.0 项目升级而来,所以为了直接升级到 Vue 3.0 全家桶,我们需要在 Vue 项目创建过程中勾选 Router 和 Vuex,所以避免手动写初始化代码
回车后会自动安装依赖,为了加速安装速度,我们可以使用淘宝源来加快初始化速度:
vue create -r https://registry.npm.taobao.org vue-next-test
项目创建完毕后,目录结构如下:
.
├── README.md
├── babel.config.js
├── package-lock.json
├── package.json
├── public
│  ├── favicon.ico
│  └── index.html
└── src
  ├── App.vue
  ├── assets
  │  └── logo.png
  ├── components
  │  └── HelloWorld.vue
  ├── main.js
  ├── router
  │  └── index.js
  ├── store
  │  └── index.js
  └── views
    ├── About.vue
    └── Home.vue
升级 Vue 3.0 项目
目前创建 Vue 3.0 项目需要通过插件升级的方式来实现,vue-cli 还没有直接支持,我们进入项目目录,并输入以下指令:
cd vue-next-test
vue add vue-next
执行上述指令后,会自动安装 vue-cli-plugin-vue-next 插件(查看项目代码),该插件会完成以下操作:
完成上述操作后,项目正式升级到 Vue 3.0,注意该插件还能支持 typescript,用 typescript 的同学还得再等等。
Vue 3.0 基本特性体验
下面我们从项目开发的角度逐步体验 Vue 3.0 的开发流程
创建路由
项目开发中,我们通常需要创建新页面,然后添加路由配置,我们在 /src/views 目录下创建 Test.vue:
<template>
 <div class="test">
  <h1>test page</h1>
 </div>
</template>

<script>
 export default {
 }
</script>

<style lang="less" scoped>
.test {
 color: red;
}
</style>
之后在 /src/router/index.js 中创建路由配置:
import { createRouter, createWebHashHistory } from 'vue-router'
import Home from '../views/Home.vue'

const routes = [
 {
  path: '/',
  name: 'Home',
  component: Home
 },
 {
  path: '/about',
  name: 'About',
  component: () => import(/* webpackChunkName: "about" */ '../views/About.vue')
 },
 {
  path: '/test',
  name: 'Test',
  component: () => import(/* webpackChunkName: "test" */ '../views/Test.vue')
 }
]

const router = createRouter({
 history: createWebHashHistory(),
 routes
})

export default router
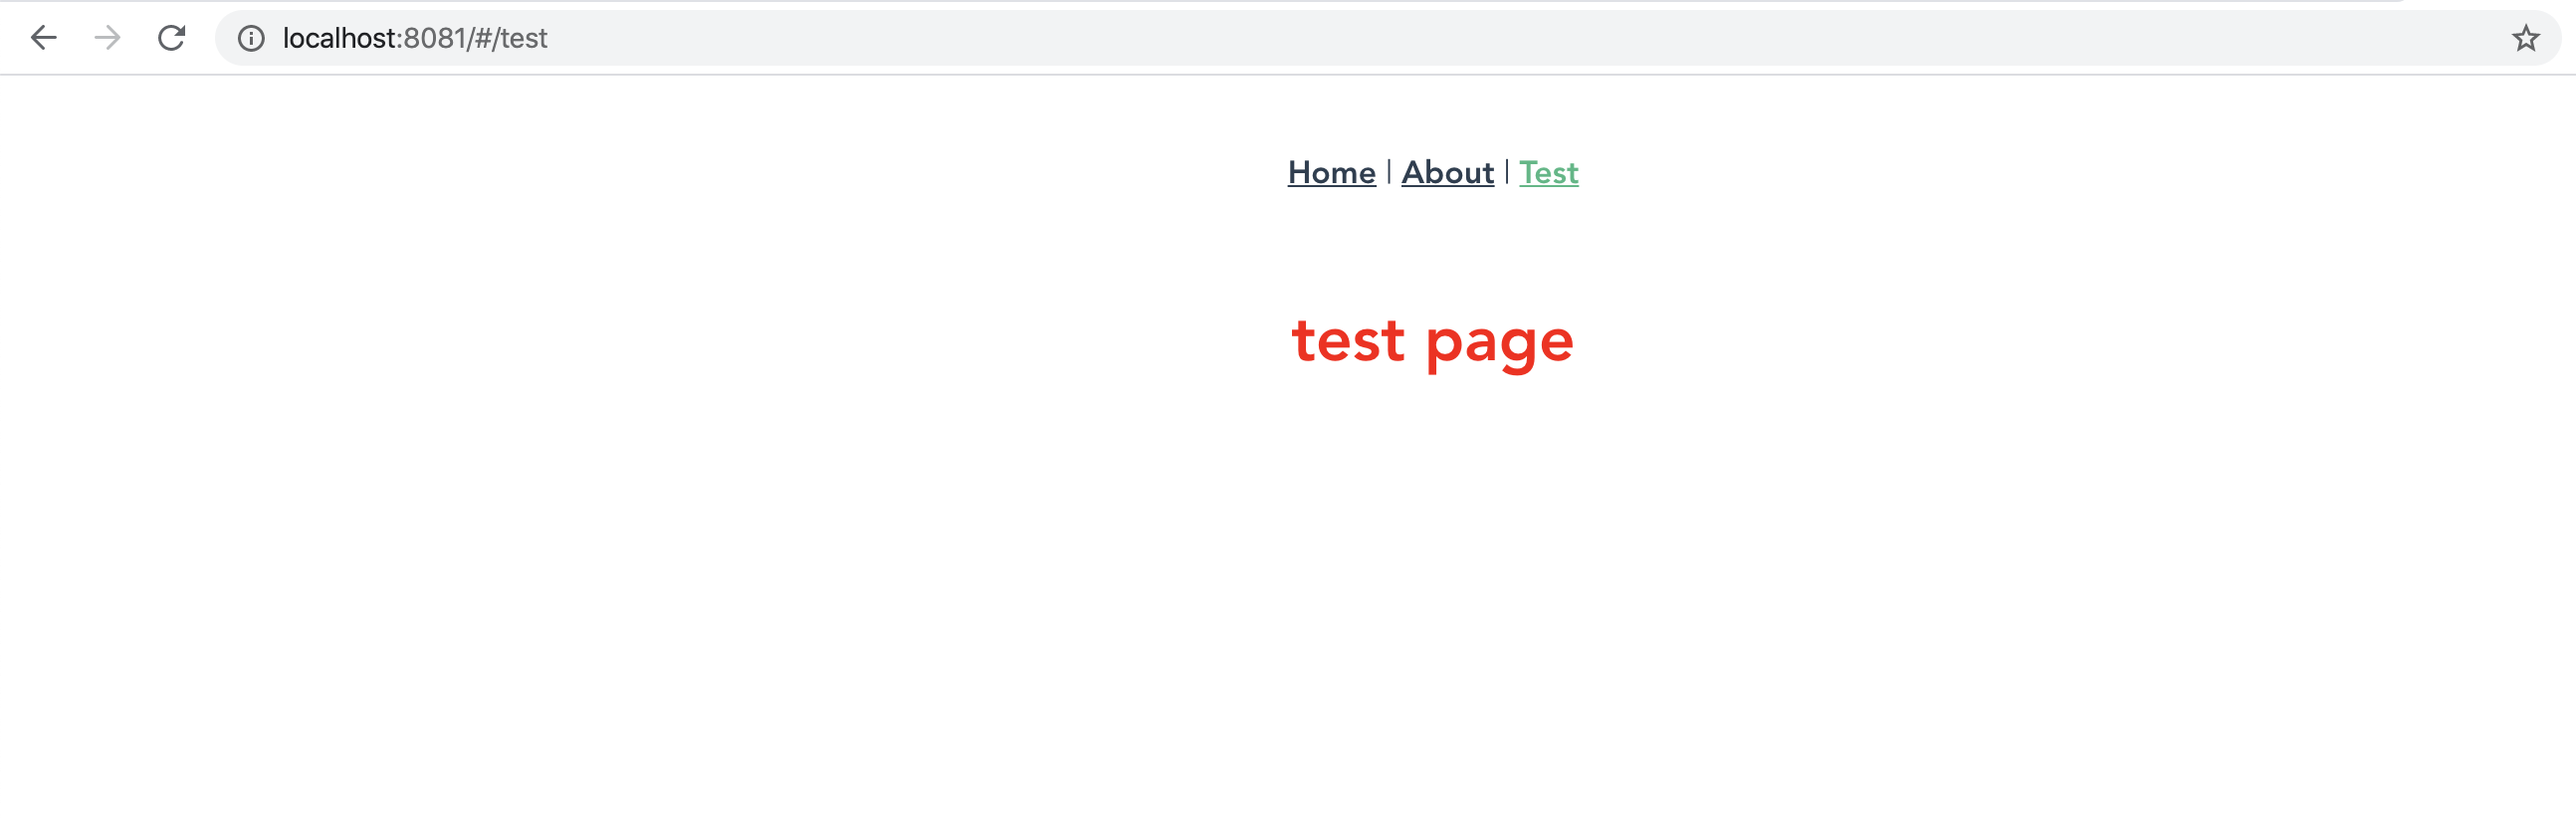
初始化 Vue Router 的过程与 3.0 版本变化不大,只是之前采用构造函数的方式,这里改为使用 createRouter 来创建 Vue Router 实例,配置的方法基本一致,配置完成后我们还需要在 App.vue 中增加链接到 Test.vue 的路由:
<template>
 <div id="app">
  <div id="nav">
   <router-link to="/">Home</router-link> |
   <router-link to="/about">About</router-link> |
   <router-link to="/test">Test</router-link>
  </div>
  <router-view/>
 </div>
</template>
启动项目:
npm run serve
在浏览器中访问项目地址,此时已经可以跳转到 Test 页面:
状态和事件绑定
Vue 3.0 中定义状态的方法改为类似 React Hooks 的方法,下面我们在 Test.vue 中定义一个状态 count:
<template>
 <div class="test">
  <h1>test count: {{count}}</h1>
 </div>
</template>

<script>
 import { ref } from 'vue'

 export default {
  setup () {
   const count = ref(0)
   return {
    count
   }
  }
 }
</script>
Vue 3.0 中初始化状态通过 setup 方法,定义状态需要调用 ref 方法。接下来我们定义一个事件,用来更新 count 状态:
<template>
 <div class="test">
  <h1>test count: {{count}}</h1>
  <button @click="add">add</button>
 </div>
</template>

<script>
 import { ref } from 'vue'

 export default {
  setup () {
   const count = ref(0)
   const add = () => {
    count.value++
   }
   return {
    count,
    add
   }
  }
 }
</script>
这里的 add 方法不再需要定义在 methods 中,但注意更新 count 值的时候不能直接使用 count++,而应使用 count.value++,更新代码后,点击按钮,count 的值就会更新了:

计算属性和监听器
Vue 3.0 中计算属性和监听器的实现依赖 computed 和 watch 方法:
<template>
 <div class="test">
  <h1>test count: {{count}}</h1>
  <div>count * 2 = {{doubleCount}}</div>
  <button @click="add">add</button>
 </div>
</template>

<script>
 import { ref, computed, watch } from 'vue'

 export default {
  setup () {
   const count = ref(0)
   const add = () => {
    count.value++
   }
   watch(() => count.value, val => {
    console.log(`count is ${val}`)
   })
   const doubleCount = computed(() => count.value * 2)
   return {
    count,
    doubleCount,
    add
   }
  }
 }
</script>
计算属性 computed 是一个方法,里面需要包含一个回调函数,当我们访问计算属性返回结果时,会自动获取回调函数的值:
const doubleCount = computed(() => count.value * 2)
监听器 watch 同样是一个方法,它包含 2 个参数,2 个参数都是 function:
watch(() => count.value,
 val => {
  console.log(`count is ${val}`)
 })
第一个参数是监听的值,count.value 表示当 count.value 发生变化就会触发监听器的回调函数,即第二个参数,第二个参数可以执行监听时候的回调
获取路由
Vue 3.0 中通过 getCurrentInstance 方法获取当前组件的实例,然后通过 ctx 属性获得当前上下文,ctx.$router 是 Vue Router 实例,里面包含了 currentRoute 可以获取到当前的路由信息
<script>
 import { getCurrentInstance } from 'vue'

 export default {
  setup () {
   const { ctx } = getCurrentInstance()
   console.log(ctx.$router.currentRoute.value)
  }
 }
</script>
Vuex 集成
Vuex 的集成方法如下:
定义 Vuex 状态
第一步,修改 src/store/index.js 文件:
import Vuex from 'vuex'

export default Vuex.createStore({
 state: {
  test: {
   a: 1
  }
 },
 mutations: {
  setTestA(state, value) {
   state.test.a = value
  }
 },
 actions: {
 },
 modules: {
 }
})
Vuex 的语法和 API 基本没有改变,我们在 state 中创建了一个 test.a 状态,在 mutations 中添加了修改 state.test.a 状态的方法: setTestA
引用 Vuex 状态
第二步,在 Test.vue 中,通过计算属性使用 Vuex 状态:
<template>
 <div class="test">
  <h1>test count: {{count}}</h1>
  <div>count * 2 = {{doubleCount}}</div>
  <div>state from vuex {{a}}</div>
  <button @click="add">add</button>
 </div>
</template>

<script>
 import { ref, computed, watch, getCurrentInstance } from 'vue'

 export default {
  setup () {
   const count = ref(0)
   const add = () => {
    count.value++
   }
   watch(() => count.value, val => {
    console.log(`count is ${val}`)
   })
   const doubleCount = computed(() => count.value * 2)
   const { ctx } = getCurrentInstance()
   console.log(ctx.$router.currentRoute.value)
   const a = computed(() => ctx.$store.state.test.a)
   return {
    count,
    doubleCount,
    add,
    a
   }
  }
 }
</script>
这里我们通过计算属性来引用 Vuex 中的状态:
const a = computed(() => ctx.$store.state.test.a)
ctx 是上节中我们提到的当前组件实例
更新 Vuex 状态
更新 Vuex 状态仍然使用 commit 方法,这点和 Vuex 3.0 版本一致:
<template>
 <div class="test">
  <h1>test count: {{count}}</h1>
  <div>count * 2 = {{doubleCount}}</div>
  <div>state from vuex {{a}}</div>
  <button @click="add">add</button>
  <button @click="update">update a</button>
 </div>
</template>

<script>
 import { ref, computed, watch, getCurrentInstance } from 'vue'

 export default {
  setup () {
   const count = ref(0)
   const add = () => {
    count.value++
   }
   watch(() => count.value, val => {
    console.log(`count is ${val}`)
   })
   const doubleCount = computed(() => count.value * 2)
   const { ctx } = getCurrentInstance()
   console.log(ctx.$router.currentRoute.value)
   const a = computed(() => ctx.$store.state.test.a)
   const update = () => {
    ctx.$store.commit('setTestA', count)
   }
   return {
    count,
    doubleCount,
    add,
    a,
    update
   }
  }
 }
</script>
这里我们点击 update a 按钮后,会触发 update 方法,此时会通过 ctx.$store.commit 调用 setTestA 方法,将 count 的值覆盖 state.test.a 的值
总结
通过我第一时间体验 Vue 3.0-beta 版本后,感觉 Vue 3.0 已经具备了商业项目开发的必备条件,语法精炼,不管是代码可读性还是运行效率都非常赞。但由于未深入使用,目前还无法提出更多问题,需要在项目实战中进一步发现和总结问题,再和大家分享交流。
到此这篇关于Vue 3.0 全家桶抢先体验的文章就介绍到这了,更多相关Vue 3.0 全家桶内容请搜索以前的文章或继续浏览下面的相关文章希望大家以后多多支持!

