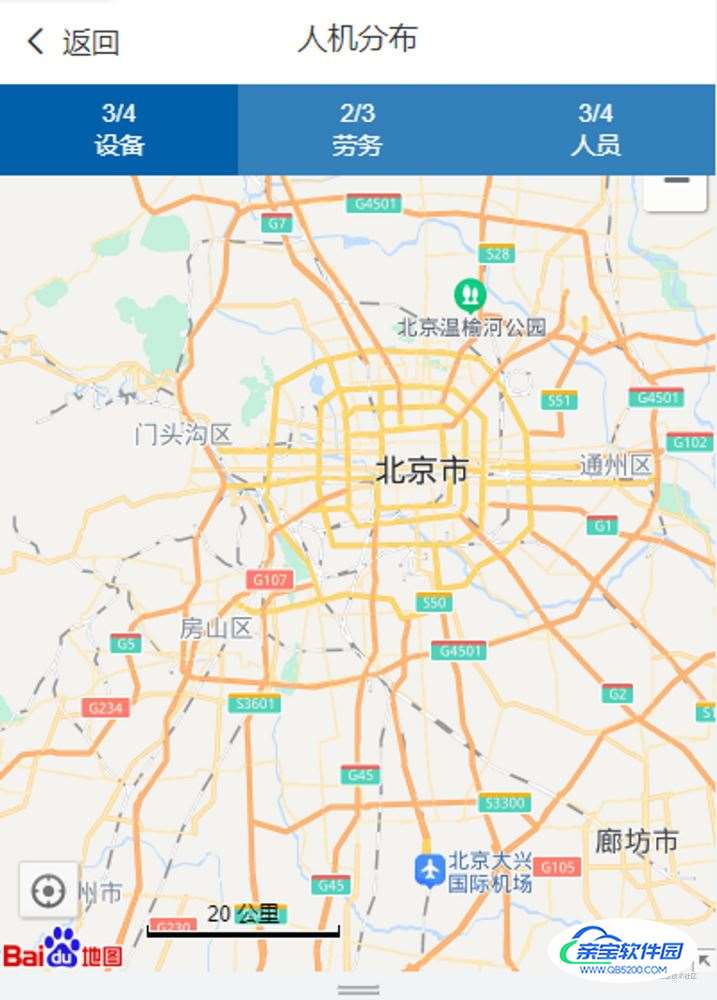
在工作中接到的一个任务,在app端实现如下功能:
但是uniapp原有的map标签不支持点聚合功能(最新的版本支持了点聚合功能),所以采取了hybrid 原生html文件开发的方式
最新的版本map已支持,如下:
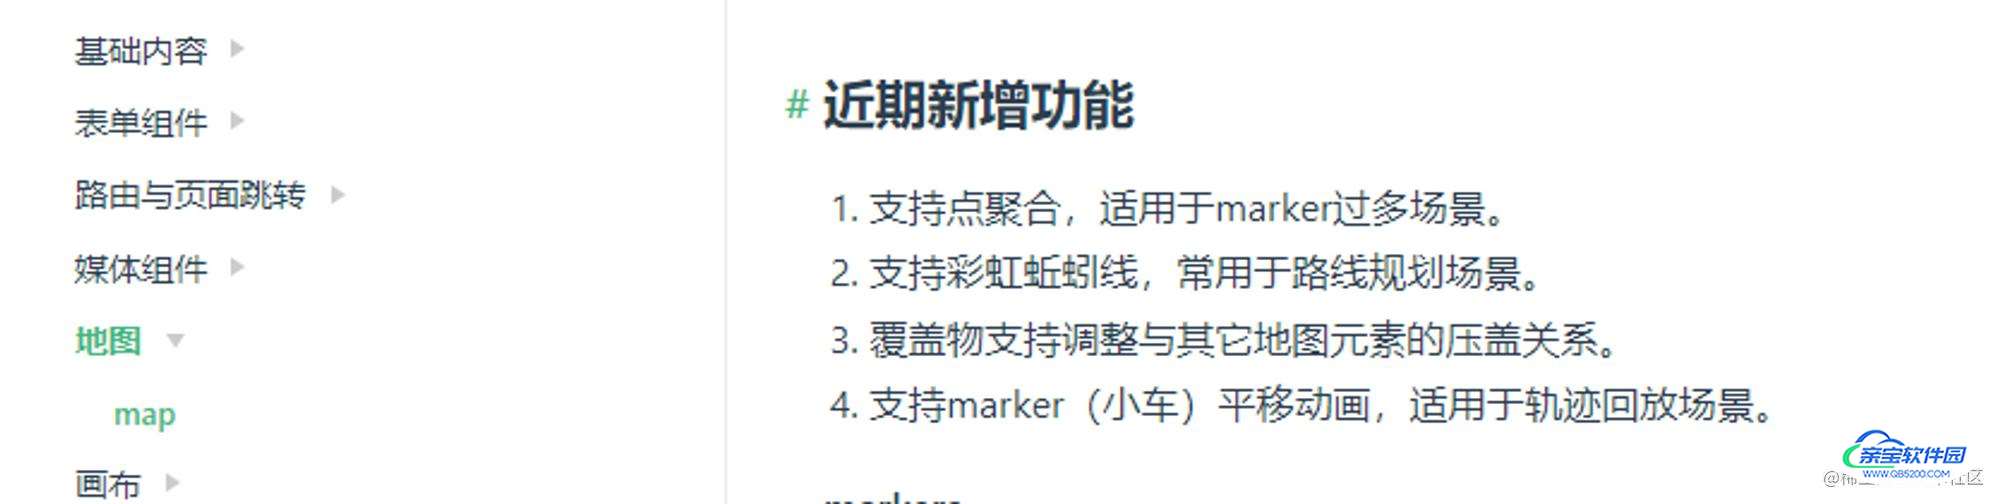
h5的效果图,与真机有点偏差
在pages.json中定义distribution.vue页面
{
    "path": "pages/distribution/distribution",
    "style": {
        "navigationBarTitleText": "人机分布",
        "navigationBarTextStyle": "black"
    }
},页面结构主要分为三个部分:顶部标题,tab切换,地图画布
顶部标题就不用讲了,一般打开微信小程序页面或者app页面,都是左—返回,中—标题,右—其他。存在默认设置,但这里的话存在web-view(web 浏览器组件,可以用来承载网页的容器),很有可能将顶部标题覆盖掉,所以使用自定义标题,具体实现如下:
<view class="tab">
  <!-- :isBack="true" -->
  <tab-left bgColor="bg-gradual-white" :isBack="true" :url="gobackurl">
    <block slot="backText">返回</block>
    <block slot="content">人机分布</block>
  </tab-left>
</view>主要实现设备/劳务/人员的tab切换,固定在app内容顶部,难点在于tab切换时,需要实现页面和html页面通信,改变地图内容,主要需要做以下几个功能:
// 获取导航栏数值
getNav(){
	let params={
		ProjectId:this.projectId,
		OrgCode:this.orgcode
	}
	Api.getNavInfo(params).then(res=>{
		console.log('嘻嘻',res)
		if(res.data.length>0){
			res.data.forEach((item,index)=>{
				this.maplists[index].number=item
			})
		}else{
			uni.showToast({
				title:'获取导航栏数值失败',
				icon:'none'
			})
		}
	})
},swichNav(item) {
// this.reportisChoose = parseInt(e.currentTarget.id - 1);
// this.url += encodeURIComponent(JSON.stringify([{'s':1111}]));
item.check=!item.check
if(item.check){
this.maker.push(item.id)
}else{
let index=0
this.maker.forEach((x,i)=>{
if(x===item.id){
index=i
}
})
this.maker.splice(index,1)
}
console.log('this.makerxxx',this.maker)
this.url ='../../hybrid/html/map.html?'+ "access_token="+this.token+"&maker="+JSON.stringify(this.maker)+"&baseUrl="+this.baseUrl+"&projectId=" + this.projectId+"&OrgCode="+this.orgcode
},地图画布主要是嵌入map.html,这里主要是用到了web-view,需要注意以下两个地方:
web-view:一般是占满全屏的,优先级最高,所以会覆盖tab部分,故要设定高度或者top值,主要实现如下:
// 获取设备信息
getEqData() {
    let _this=this
    console.log('进来来');
    let projectId = this.$store.state.user.projectId;
    Api.getEqlocation(projectId).then(res => {
        if (res.data.success) {
            this.eqData = res.data.data;
            console.log('结果是', this.eqData);
            this.eqData.forEach(item=>{
                item['x']=this.longitude+Math.random(0,1000)
                item['y']=this.latitude+Math.random(0,1000)
                item['text']='设备信息'
                item['path']='../../static/01.png'
            })

        }
    })
},
// 获取屏幕高度
getwh() {
    const { windowWidth, windowHeight } = uni.getSystemInfoSync();
    console.log('windowWidth, windowHeight', windowWidth, windowHeight);
    this.height = windowHeight;
    this.width = windowWidth;
    let _this = this;
    this.$nextTick(function() {
        this.computeHeight();
        this.setWebHeight()
    });
},
// 设置web-view样式
setWebHeight(){
    let _this=this
    console.log('height',this.$scope)
    // #ifdef APP-PLUS
    var currentWebview = this.$scope.$getAppWebview(); //获取当前web-view
    setTimeout(function(){
        var wv = currentWebview.children()[0];
        console.log('wv',wv);
        wv.setStyle({
            //设置web-view距离顶部的距离以及自己的高度,单位为px
            top: _this.top,
            height: _this.height,
            // 双指缩放
            scalable:true
        });
    },1000)
    // #endif
},
// 计算导航栏和顶部高度
computeHeight() {
    let _this = this;
    let info = uni.createSelectorQuery().select('.map-top-tab');
    info.boundingClientRect(function(data) {
        console.log('计算出来什么高度', data);
        _this.top = data.height;
    }).exec();
    let info2=uni.createSelectorQuery().select('.tab')
    info2.boundingClientRect(function(data) {
        console.log('计算出来什么高度222', data);
        _this.top += data.height;
        _this.height = _this.height-_this.top;
    }).exec();
    console.log('sssssssssssssssss',this.height,this.top)
}../../hybrid/html 文件下,这个官网给出了建议和结构图,如下: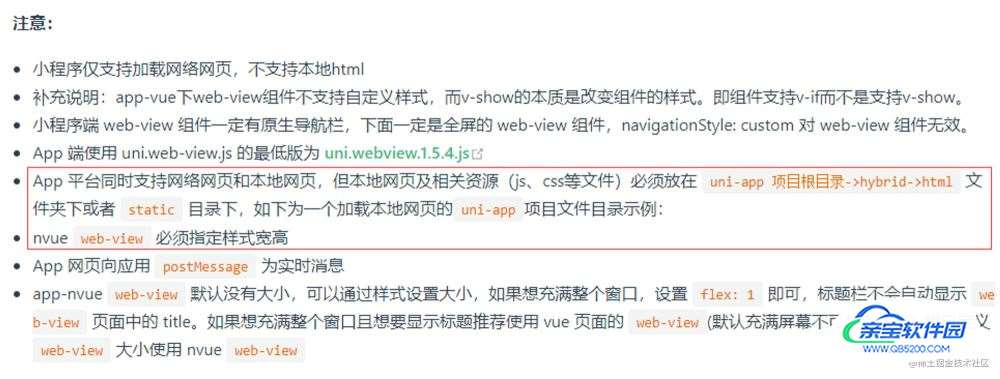
┌─components
├─hybrid
│ └─html
│ ├─css
│ │ └─test.css
│ ├─img
│ │ └─icon.png
│ ├─js
│ │ └─test.js
│ └─local.html
├─pages
│ └─index
│ └─index.vue
├─static
├─main.js
├─App.vue
├─manifest.json
└─pages.json
虽然是个html页面,但主要是实现地图点聚合(主要使用百度地图api实现) 的功能,所以主要要引入以下几个依赖:
<link rel="stylesheet" href="https//api.map.baidu.com/library/SearchInfoWindow/1.5/src/SearchInfoWindow_min.css" rel="external nofollow"  />
<script type="text/javascript" src="https://api.map.baidu.com/api?v=2.0&ak=Ps5KaIdB9sSNUbDwECgTtBL7xluVv91s"></script>
<script src="//libs.baidu.com/jquery/1.9.0/jquery.js"></script>
<script type="text/javascript" src="https://api.map.baidu.com/library/TextIconOverlay/1.2/src/TextIconOverlay_min.js"></script>
<script type="text/javascript" src="js/MakerClusterer.js"></script>
<script src="js/vue.min.js"></script>
<script src="js/axios.js"></script>
created() {
    axios.defaults.headers.post['Content-Type'] = 'application/json';
    let _this = this
    this.baseUrl = this.getQueryString('baseUrl')
    this.projectId = this.getQueryString('projectId');
    this.access_token_app = this.getQueryString('access_token');
    this.OrgCode = this.getQueryString('OrgCode')
    // console.log('传过来的数据', this.baseUrl, this.projectId, this.access_token_app, this.OrgCode)

    localStorage.setItem('baseUrl', this.baseUrl)
    localStorage.setItem('access_token_app', this.access_token_app)
    axios.defaults.headers.common['Authorization'] = "Bearer " + localStorage.getItem('access_token_app')

    this.maker = this.getQueryString('maker')
    // console.log('this.maker111', this.maker)
    this.maker = JSON.parse(this.maker)
    // console.log('this.maker', this.maker)
    if (this.maker !== null) {
        // 1--设备,2--劳务,3--人员
        this.maker.forEach(y => {
            // 1--设备,2--劳务,3--人员
            switch (y) {
                case 1:
                    console.log('进入设备区域了')
                    _this.getEqData()
                    break
                case 2:
                    console.log('进入劳务区域了')
                    _this.getServiceData()
                    break
                case 3:
                    console.log('进入人员区域了')
                    _this.getUserData()
                    break
            }
        })
    }

    this.$nextTick(function() {
        _this.initMap()
    })
},
mounted() {
    document.addEventListener('UniAppJSBridgeReady', function() {
        uni.getEnv(function(res) {
            console.log('当前环境:' + JSON.stringify(res));
        });
    });
},
methods:{
	//取url中的参数值
	getQueryString(name) {
	    // 正则:[找寻'&' + 'url参数名字' = '值' + '&']('&'可以不存在)
	    var reg = new RegExp('(^|&)' + name + '=([^&]*)(&|$)', 'i');
	    let r = window.location.search.substr(1).match(reg);
	    if (r != null) {
	        // 对参数值进行解码
	        return r[2]
	    }
	    return null;
	},
}// 初始化地图
initMap() {
// 百度地图API功能
this.map = new BMap.Map("allmap");
// 初始化地图,创建中心坐标和地图实例
this.map.centerAndZoom(new BMap.Point(116.331398, 39.897445), 10);
// this.map.addEventListener("tilesloaded",function(){alert("地图加载完毕");})
// 启用拖拽
// this.map.enableInertialDragging()
// this.map.enableScrollWheelZoom();
// 启用双指缩放
// this.map.enablePinchToZoom()
// this.map.addControl(new BMap.NavigationControl());
this.map.addControl(new BMap.ScaleControl());
this.map.addControl(new BMap.OverviewMapControl());
let temMap = this.map
// 添加带有定位的导航控件,放大,缩小
var navigationControl = new BMap.NavigationControl({
// 靠左上角位置
anchor: BMAP_ANCHOR_TOP_RIGHT,
// 偏移值
offset: new BMap.Size(5, 50),
// LARGE类型
type: BMAP_NAVIGATION_CONTROL_LARGE,
// 是否显示级别
showZoomInfo: true,
// 启用显示定位
enableGeolocation: true
});
this.map.addControl(navigationControl);
// 添加定位控件
var geolocationControl = new BMap.GeolocationControl();
geolocationControl.addEventListener("locationSuccess", function(e) {
// 定位成功事件
var address = '';
address += e.addressComponent.province;
address += e.addressComponent.city;
address += e.addressComponent.district;
address += e.addressComponent.street;
address += e.addressComponent.streetNumber;
});
geolocationControl.addEventListener("locationError", function(e) {
// 定位失败事件
alert(e.message);
});
this.map.addControl(geolocationControl);
},主要起作用的是MarkerClusterer类
watch: {
    markerArr(val) {
        if (val != null) {
            console.log('ccccc', val)
            if (this.markerClusterer) {
                this.markerClusterer.clearMarkers()
            }
            this.markerClusterer = new BMapLib.MarkerClusterer(this.map, {
                markers: val
            });
						// 所有标记显示在地图内
            this.map.setViewport(this.pointArray)
            console.log('当前地图级别', this.map.getZoom())
        }
    },
}// 根据名称搜索项目
searchByName() {
console.log('运动少杀杀杀', this.arrAll)
let markerByName = this.arrAll.filter(item => item.name.indexOf(this.keyword) !== -1)
console.log('过滤后的照片', markerByName)
if (markerByName.length === 0) {
alert('搜索内容无定位信息,请重新搜索')
this.keyword = ''
return
}
// 设置最大级别数
// this.map.setMaxZoom(10)
this.markerArr = []
this.createDefineMarker(markerByName)
this.map.setViewport(this.pointArray)
console.log('当前地图级别', this.map.getZoom())
},
