用的也是之前那篇文章里面的文件
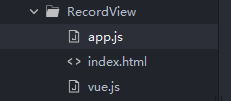
用的是HBuilder X开发,目录如下:
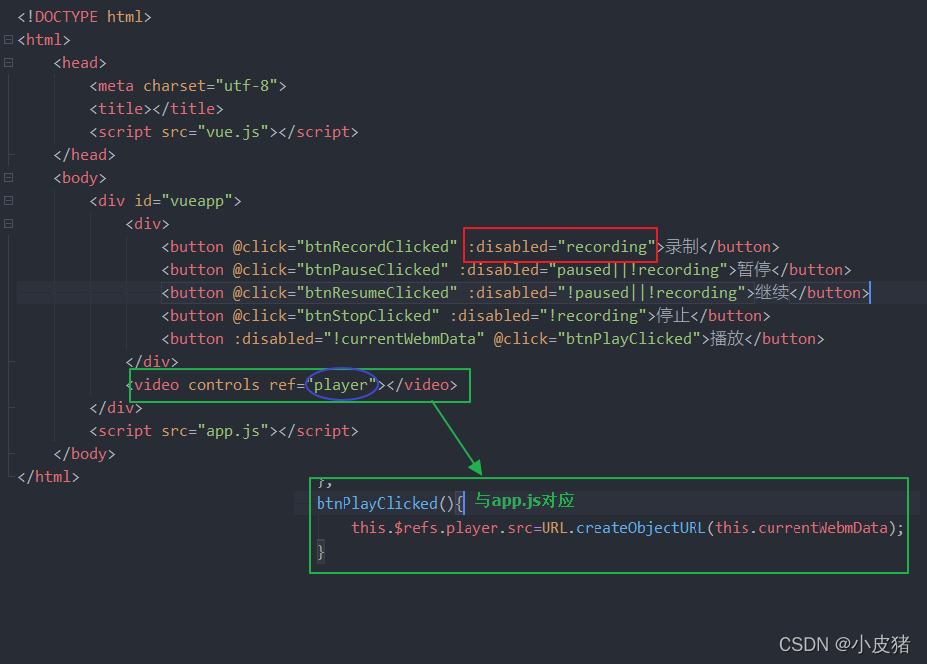
具体代码:
<!DOCTYPE html>
<html>
	<head>
		<meta charset="utf-8">
		<title></title>
		<script src="vue.js"></script>
	</head>
	<body>
		<div id="vueapp">
			<div>
				<button @click="btnRecordClicked" :disabled="recording">录制</button>
				<button @click="btnPauseClicked" :disabled="paused||!recording">暂停</button>
				<button @click="btnResumeClicked" :disabled="!paused||!recording">继续</button>
				<button @click="btnStopClicked" :disabled="!recording">停止</button>
				<button :disabled="!currentWebmData" @click="btnPlayClicked">播放</button>
			</div>
			<video controls ref="player"></video>
		</div>
		<script src="app.js"></script>
	</body>
</html>

具体代码:
new Vue({
el:"#vueapp",
data:{
currentWebmData:0,
recording:false,
paused:false
},
mounted() {
this._initApp();
},
methods:{
async _initApp(){
// this._stream=await navigator.mediaDevices.getUserMedia({audio:true,video:false});
this._stream=await navigator.mediaDevices.getDisplayMedia();
this._recorder=new MediaRecorder(this._stream,{mimeType:"video/webm;codecs=h264"});
this._recorder.ondataavailable=this.recorder_dataAvailableHandler.bind(this);
},
recorder_dataAvailableHandler(e){
console.log(e);
this.currentWebmData=e.data;
},
btnRecordClicked(){
this.recording=true;
this.paused=false;
this._recorder.start();
},
btnPauseClicked(){
this.paused=true;
this._recorder.pause();
},
btnResumeClicked(){
this.paused=false;
this._recorder.resume();
},
btnStopClicked(){
this.recording=false;
this._recorder.stop();
},
btnPlayClicked(){
this.$refs.player.src=URL.createObjectURL(this.currentWebmData);}
}
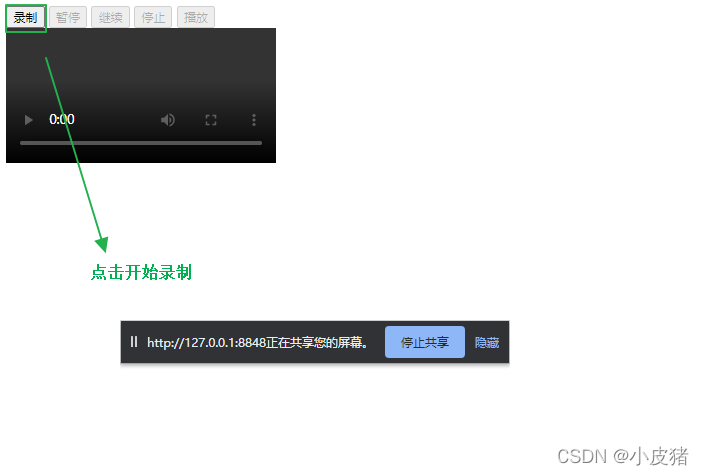
});效果: